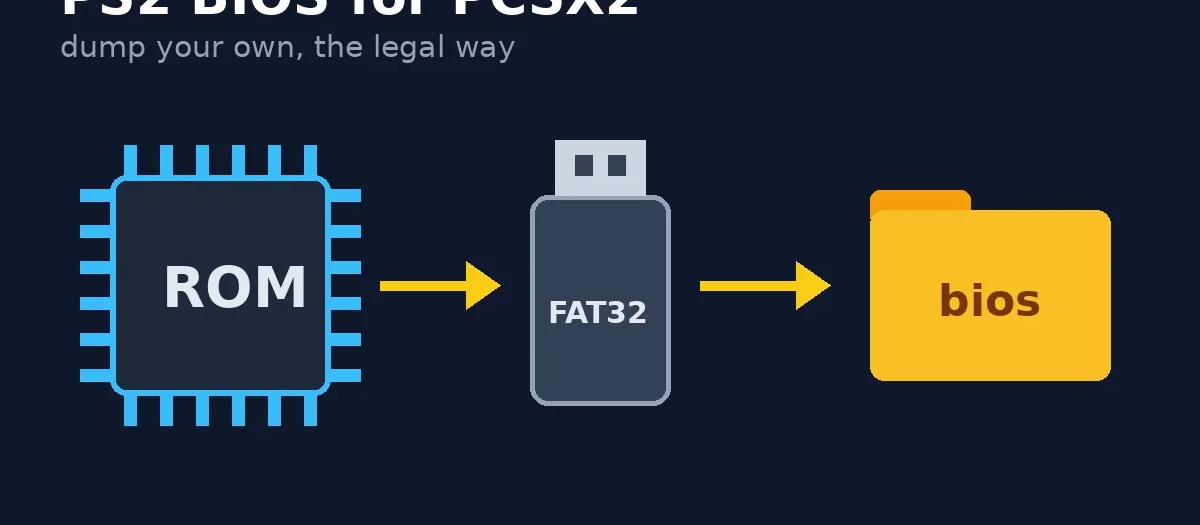
Quick answer: PCSX2 needs a PlayStation 2 BIOS, and the only legal way to get one is to dump it from a PS2 you own. The PCSX2 team’s own guide says the files “are proprietary software and must therefore be dumped from your own console”, and that “no open-source alternative exists”. The easiest route is a FreeMcBoot memory card (about $15) or a free FreeDVDBoot disc to launch the biosdrain tool, which copies the BIOS to a FAT32 USB stick. Then put the files in PCSX2’s bios folder and click Refresh List.
This page links no BIOS downloads, and never will. Downloading a BIOS from a website is copying Sony’s copyrighted software, even if you own a PS2. The PCSX2 project does not provide BIOS files either.
Affiliate links: if you buy through the Amazon links on this page we may earn a small commission at no extra cost to you. We only link a plain USB stick here. We do not link pre-loaded memory cards, “BIOS included” bundles or anything sold with games.
What you need
- A PS2 you own. Any model works. A fat PS2 or a slim works with at least one of the methods below.
- A way to run homebrew on it: a FreeMcBoot or Fortuna memory card, or a burned FreeDVDBoot DVD.
- A USB flash drive, formatted FAT32 with an MBR partition table. PCSX2 recommends a USB 2.0 stick if the PS2 will not see the first one you try. A small, plain stick such as the SanDisk Cruzer Blade 32GB (USB 2.0) is the kind to use.
- biosdrain, the free dumping tool the PCSX2 team recommends, from its official GitHub releases page.
- A PC running PCSX2 2.x. See the requirements table further down.
5 ways to dump a PS2 BIOS, compared
This is the PCSX2 project’s own comparison, from its BIOS dumping guide. The first two are “softmods”: they live on a memory card or disc and do not permanently change the console.
| Method | Skill | Cost | Works on | Risk | Recommended? |
|---|---|---|---|---|---|
| FreeMcBoot memory card | Very low | About $15 | All fat models and all but the newest slims | Minimal | Yes |
| FreeDVDBoot (burned DVD) | Low | Free (a blank DVD-R) | Many slims and some fat models | Minimal | Yes |
| Fortuna memory card | Low | About $15 | All slim models | Minimal | For slims that FreeMcBoot does not support |
| Disc swap exploit | Advanced | A PS2 game disc plus a burned disc | Unknown | Moderate | No |
| Modchip | Expert (soldering) | About $10 to $60 | Unknown | High | Only if you want to do more than dump a BIOS |
Which should you use?
- You have a fat PS2 or an older slim: buy a FreeMcBoot card. It is the least fiddly option.
- You have a late slim (SCPH-9xxxx): check the serial on the sticker. PCSX2 notes that FreeMcBoot does not work on 9xxxx slims with a date code later than 8B. Use Fortuna or FreeDVDBoot instead.
- You do not want to spend anything: try FreeDVDBoot. It needs a DVD burner, and it only works on specific DVD player versions (see below).
- Your PS2 already has a modchip: use it to install FreeMcBoot or Fortuna, then disable the modchip before dumping. PCSX2 warns that an active modchip can produce an incomplete or corrupted dump.
Checking FreeDVDBoot compatibility
FreeDVDBoot uses a bug in the PS2’s DVD player, so the disc you burn has to match your console’s DVD player version. According to the project’s README, it supports every slim and only fat consoles with DVD player versions 2.10 (some models), 2.12 and 3.04. To check yours, start the PS2 with no disc, press Triangle on the main menu and read the DVD player version. Burn the matching ISO from the FreeDVDBoot GitHub to a DVD-R at the lowest speed your burner offers, and set the PS2’s system language to English, because the exploit depends on it.
How to dump your PS2 BIOS with biosdrain
These steps follow PCSX2’s official guide.
- Format the USB stick as FAT32 on an MBR partition table. On Windows, PCSX2 suggests Rufus (Boot selection “Non bootable”, Partition scheme “MBR”, File system “FAT32”). On a Mac, use Disk Utility with “MS-DOS (FAT)” and “Master Boot Record”. This wipes the stick.
- Copy biosdrain.elf from the biosdrain release to the root of the stick.
- Start uLaunchELF on the PS2. With FreeMcBoot: put the card in memory card slot 1, leave the disc tray empty, switch on and choose uLaunchELF from the menu. With FreeDVDBoot: insert your burned disc and reset; uLaunchELF opens on its own.
- Plug the USB stick into the PS2, open the device called mass: in uLaunchELF, and run biosdrain.elf.
- Wait for “Finished Everything”. USB on the PS2 is slow, so give it time and do not pull the stick early.
- Copy the files to your PC. You will see files named after your console model ID, ending in .rom0, .rom1, .rom2, .nvm and similar. Keep all of them together.
If mass: is empty, the PS2 has not recognised your stick. Try a different USB 2.0 stick before anything else. The biosdrain README also suggests a smaller partition (for example 1 GB) if a large stick is not detected.
The biosdrain developers “politely ask that you do not share your BIOS files”. The dump is for your own use.
Where to put the BIOS files in PCSX2
PCSX2 looks for BIOS files in its bios folder. The quickest way to find it is Settings > BIOS > Open BIOS Folder inside PCSX2. The usual locations are:
| PCSX2 install | Default BIOS folder |
|---|---|
| Windows (installer) | Documents\PCSX2\bios |
| Windows (portable build) | the bios folder next to the PCSX2 program file |
| Linux AppImage | ~/.config/PCSX2/bios |
| Linux Flatpak and Steam Deck | ~/.var/app/net.pcsx2.PCSX2/config/PCSX2/bios |
| macOS | ~/Library/Application Support/PCSX2/bios |
Copy all the dumped files directly into that folder, not into a subfolder. Then go back to Settings > BIOS, click Refresh List and select your BIOS. On a first run, PCSX2’s setup wizard asks for the BIOS in the same way.
“No BIOS found” and other fixes
| Problem | Likely cause | Fix |
|---|---|---|
| The BIOS list in PCSX2 is empty | Files are in a subfolder or in the wrong folder | Use Open BIOS Folder, move the files straight into it, then click Refresh List |
| PCSX2 still shows nothing after moving the files | PCSX2 is set to look in a different folder | Check the BIOS directory setting at the top of Settings > BIOS, or reset it to the default |
| Flatpak or Steam Deck cannot use a folder you picked | The Flatpak sandbox cannot see that folder | Use the default path above, or give PCSX2 access to your folder with a flatpak override |
| uLaunchELF shows an empty mass: device | The PS2 does not support that USB stick | Try another stick, preferably USB 2.0, formatted FAT32 on MBR |
| The dump is the wrong size or will not verify | An active modchip or an interrupted dump | Disable the modchip, run biosdrain again and wait for “Finished Everything” |
| The FreeDVDBoot disc does not boot | Wrong ISO for your DVD player version, language not English, or a fast burn | Check the version with Triangle, set English, burn a DVD-R at the lowest speed |
How to check your dump is good
You do not have to verify the dump, but it rules out a bad copy. PCSX2 points to the Redump project, which lists the correct hash for every PS2 BIOS version. Work out the SHA1 hash of your file and compare it:
| System | Command |
|---|---|
| Windows (PowerShell) | Get-FileHash path\to\file -Algorithm SHA1 |
| macOS (Terminal) | shasum path/to/file |
| Linux | sha1sum path/to/file |
If the hash matches the Redump entry for your console’s BIOS version, your dump is bit-perfect.
Will your PC run PCSX2?
From PCSX2’s published requirements, checked 28 October 2026:
| Tier | CPU | GPU | RAM |
|---|---|---|---|
| Minimum | SSE4.1, PassMark single-thread rating of 1,500+, 2 cores | PassMark G3D Mark 600+ | 8 GB |
| Recommended for moderate games | AVX2, single-thread rating 2,000+, 4 cores | G3D Mark 6,000+, 4 GB VRAM | 16 GB |
| Heavy games | Single-thread rating 2,600+, 6 cores | G3D Mark 12,000+ | Not listed separately |
PCSX2 is mostly limited by single-thread CPU speed. If you are buying hardware just for it, our guide to the best mini PC for PS2 emulation covers what to look for.
What to play first
Once the BIOS is set up, you need your own game discs, ripped to ISO on your PC. If you are not sure where to start, our best PS2 games of all time list ranks 30 games and shows what each costs on disc today. For the less obvious picks, see the underrated PS2 games worth playing.
Related guides
- Best PS2 games of all time: 30 ranked, with prices
- Best mini PC for PS2 emulation
- Legal ways to emulate retro games
- How to connect a PS2 to HDMI (if you would rather play on the real console)
- PS2 disc read error fix
Sources: PCSX2, Dumping BIOS and Requirements; biosdrain README and releases (v2.2.2, 30 July 2025); FreeDVDBoot README. This guide explains the process from those official sources. We have not run it on our own hardware, and it is not legal advice.
FAQ
Is downloading a PS2 BIOS legal?
No. The PS2 BIOS is copyrighted Sony software. The PCSX2 team says it must be dumped from your own console, and downloading a copy from a website is generally copyright infringement, even if you own a PS2. Dumping your own console’s BIOS for personal use is the accepted route.
Can PCSX2 run without a BIOS?
No. PCSX2 cannot play games without a PS2 BIOS, and no open-source replacement exists.
What is the easiest way to dump a PS2 BIOS?
Use a FreeMcBoot memory card (about $15) to open uLaunchELF, then run biosdrain from a FAT32 USB stick. FreeDVDBoot does the same job for free if you can burn a DVD-R and your DVD player version is supported.
Where do I put the BIOS files for PCSX2?
In PCSX2’s bios folder, not a subfolder. Open it from Settings > BIOS > Open BIOS Folder, copy the files in, then click Refresh List.
Which BIOS files does biosdrain create?
Files named after your console model ID, ending in .rom0, .rom1, .rom2, .nvm and similar. Keep them all together in the bios folder.
Why does PCSX2 say no BIOS found?
Usually the files are in a subfolder or the wrong folder, or PCSX2 is pointed at another directory. Move the files straight into the bios folder, check the BIOS directory in Settings > BIOS and click Refresh List.