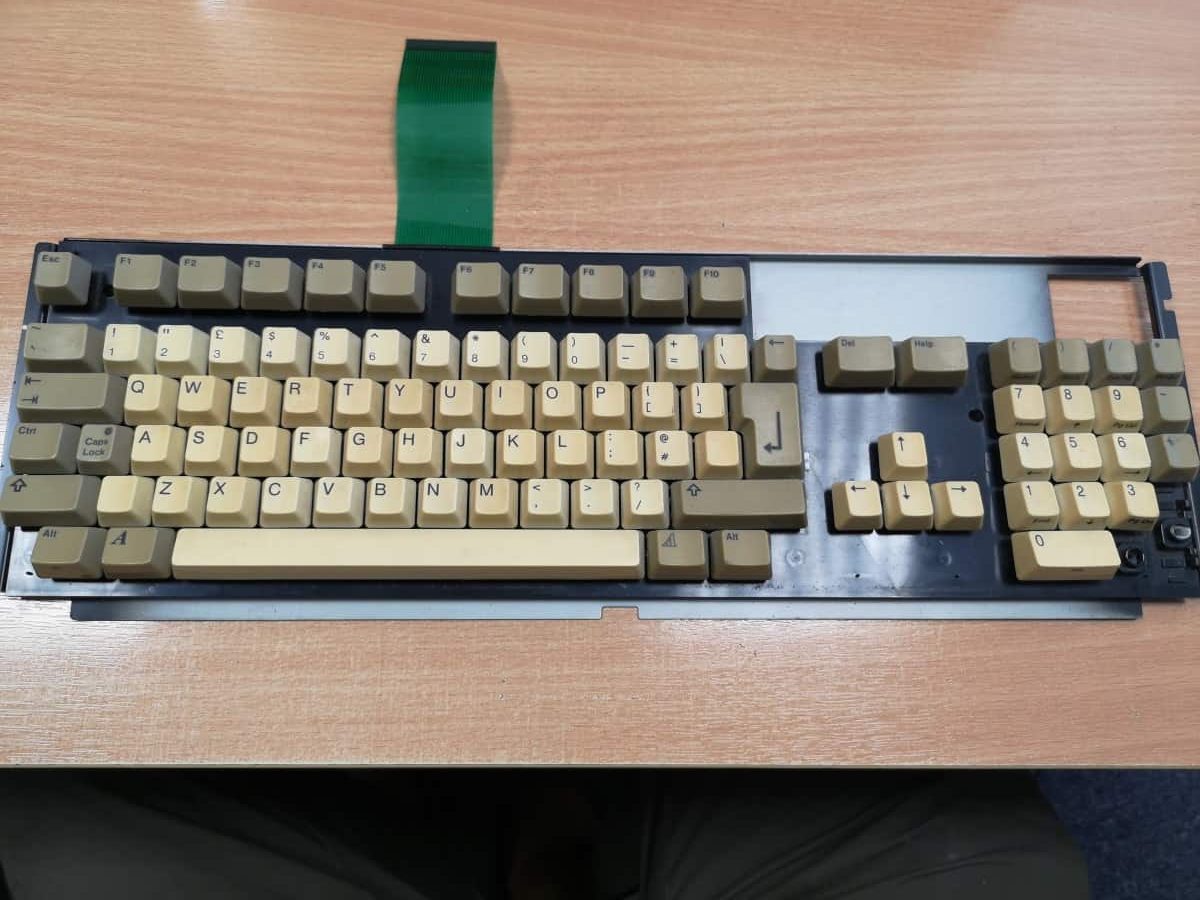
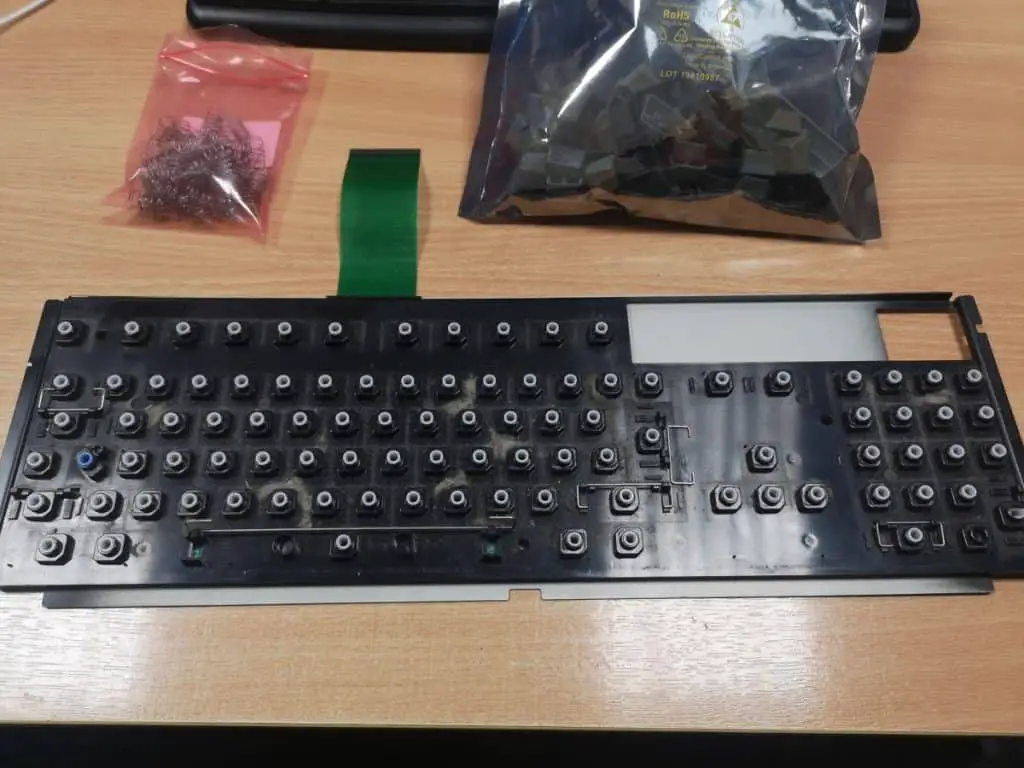
I removed the keyboard from the A1200 making sure to carfully detach the ribbon cable from the pcb connector.
![amiga 1200 keyboard repair and restoration](https://www.retrotechlab.com/wp-content/uploads/2020/04/IMG_20200420_125717-e1587386353188-1024x768-1.webp)
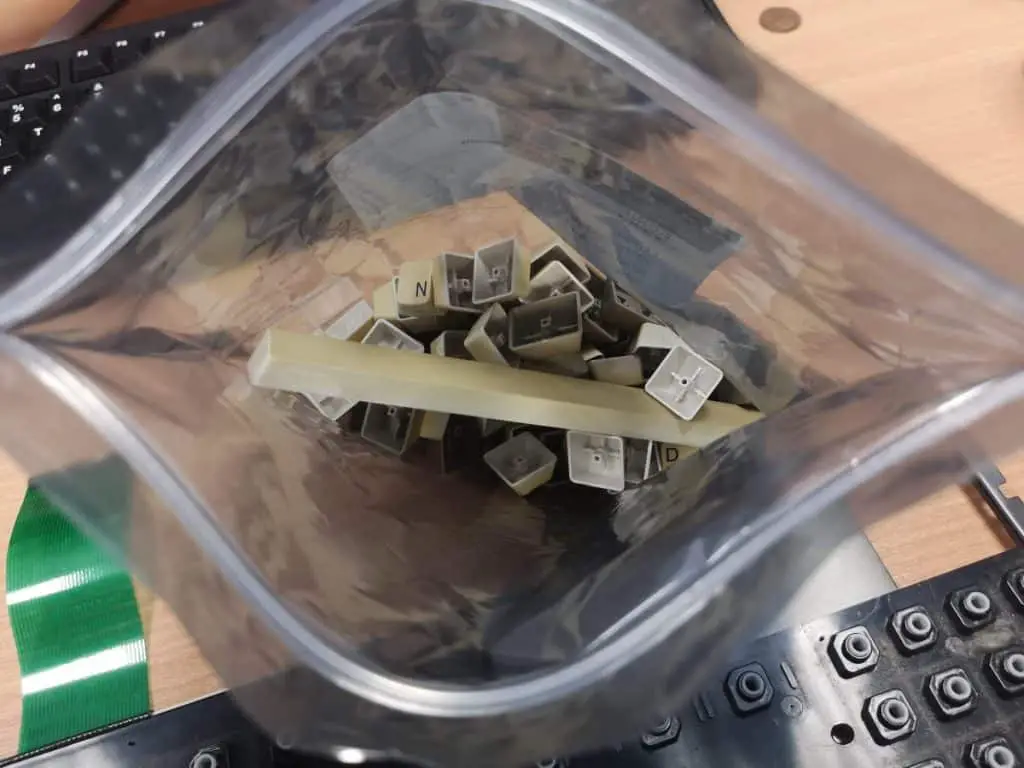
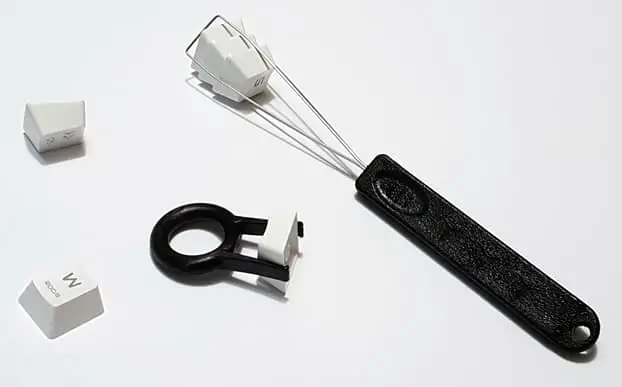
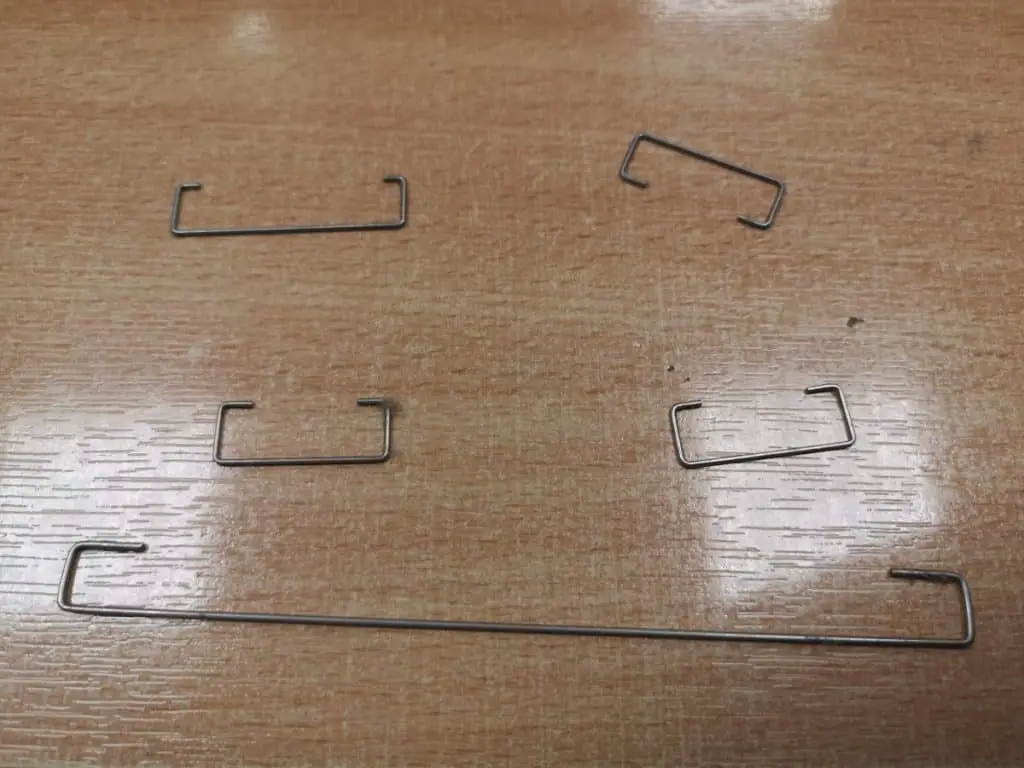
Next I carfully started to remove each of the keys from the keyboard using a key cap puller tool similar to the one below.
![](https://www.retrotechlab.com/wp-content/uploads/2020/04/keycap-puller-tool.webp)
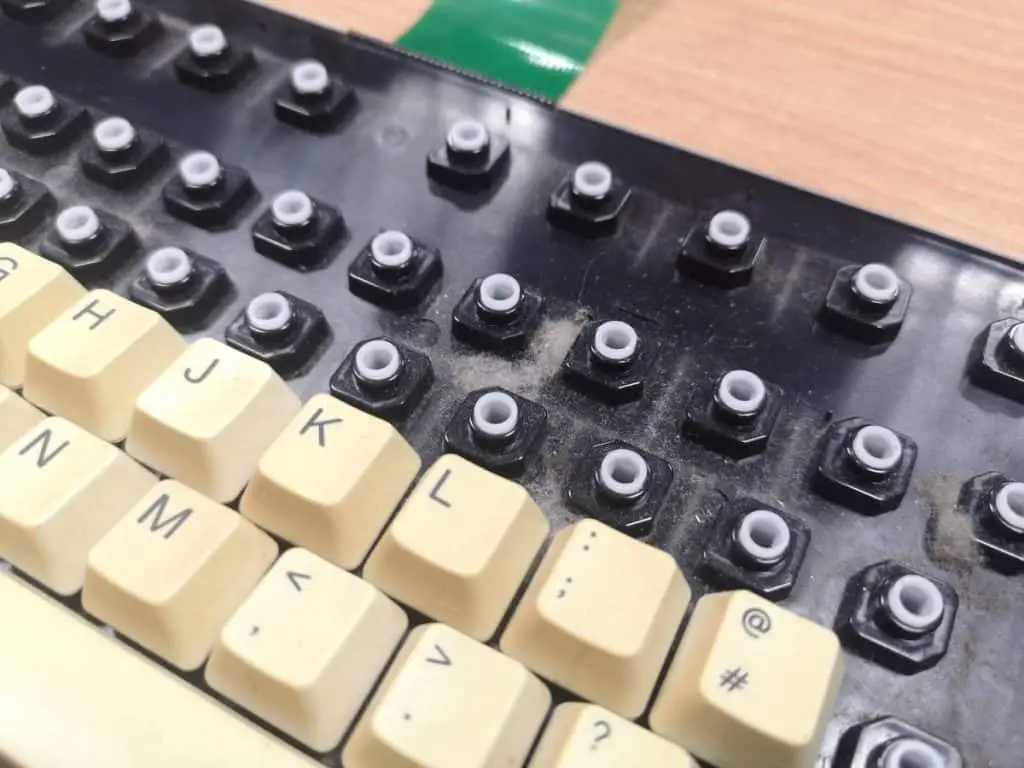
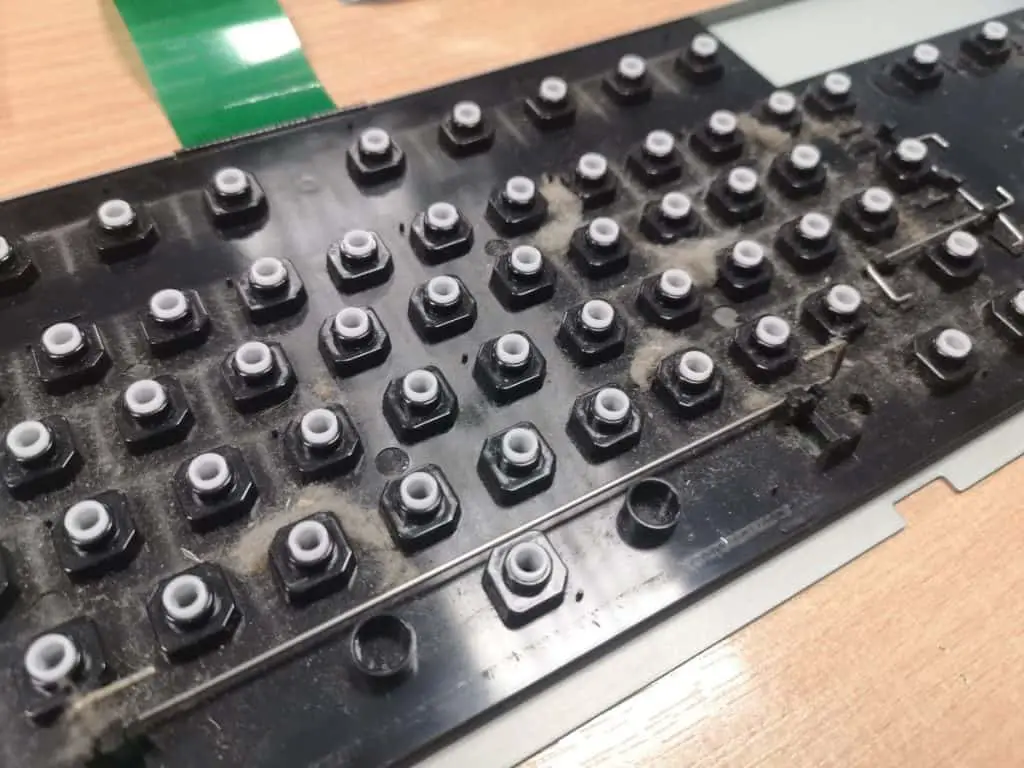
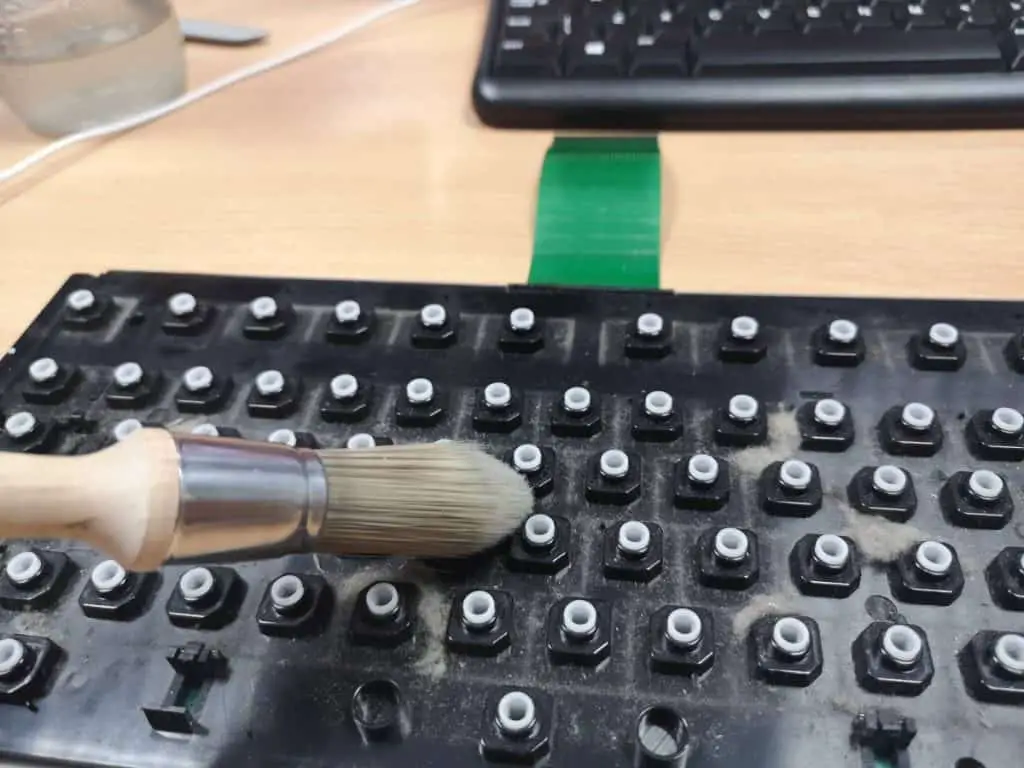
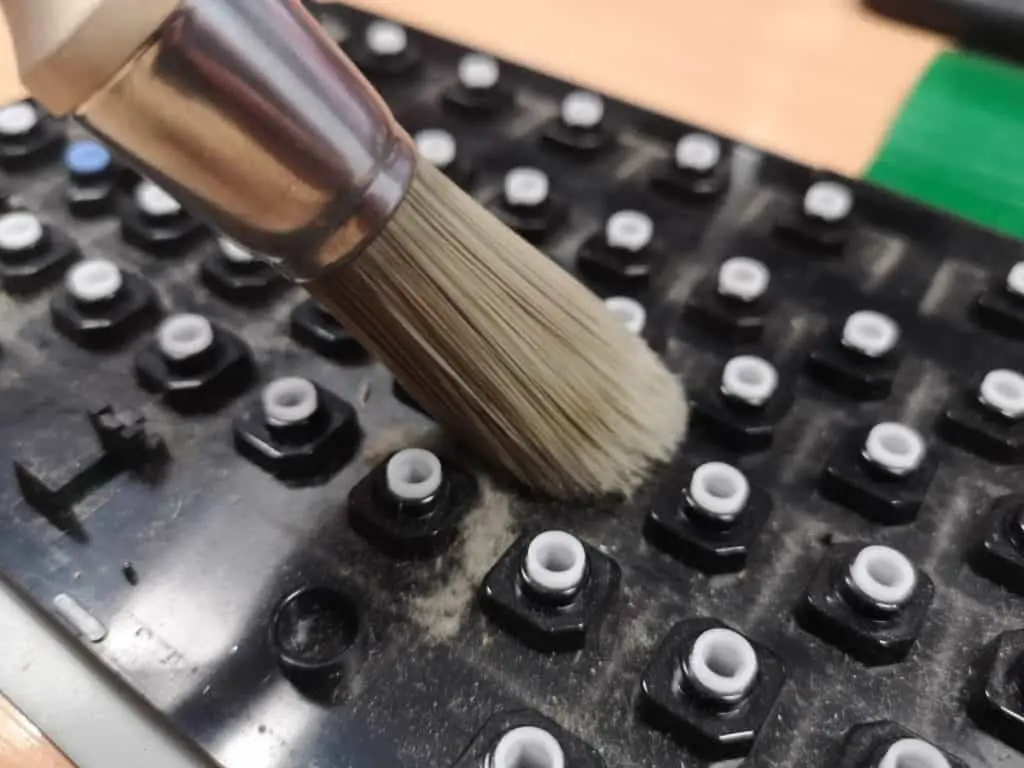
As you can see the keyboard is very dirty underneath the keycaps and will need a good clean.
![](https://www.retrotechlab.com/wp-content/uploads/2020/04/IMG_20200422_065046-1024x768-1.webp)
![](https://www.retrotechlab.com/wp-content/uploads/2020/04/IMG_20200422_065801-1024x768-1.webp)
![](https://www.retrotechlab.com/wp-content/uploads/2020/04/IMG_20200422_065806-1024x768-1.webp)
![](https://www.retrotechlab.com/wp-content/uploads/2020/04/IMG_20200422_070213-1024x768-1.webp)
![](https://www.retrotechlab.com/wp-content/uploads/2020/04/IMG_20200422_070219-1024x768-1.webp)
![](https://www.retrotechlab.com/wp-content/uploads/2020/04/IMG_20200422_070231-1024x768-1.webp)
Table of Contents
amiga 1200 keyboard connector
amiga 1200 keyboard membrane
Get a replacement Amiga 1200 keyboard membrane here
amiga 1200 keycaps
![amiga 1200 keycaps](https://www.retrotechlab.com/wp-content/uploads/2020/04/IMG_20200422_065814-1024x768-1.webp)