Retro computing fans often struggle to connect their old machines to new screens. This guide explores ways to link vintage and modern tech so you can enjoy classic computers on today’s displays. We’ll cover how to hook up machines like the Commodore 64 or Super Nintendo to smart TVs with helpful tips and advice.
Table of Contents
Key Takeaways: Retro Computer to Modern Monitor Connections
- Understanding vintage video output standards is crucial for successful connections
- Basic adapters can provide simple solutions for many retro systems
- Advanced upscalers offer superior image quality and additional features
- Different retro computers may require specific connection approaches
- Audio connections are equally important and may need separate consideration
- Optimizing display settings can greatly enhance the retro computing experience
- DIY solutions and modifications can yield excellent results for tech-savvy enthusiasts
- Troubleshooting common issues is part of the retro computing journey
- Future-proofing your setup ensures long-term enjoyment of vintage systems
Understanding Video Output Standards
Before we look at solutions, it’s important to know about the different video outputs old computers used. These standards have changed a lot over time, each with its own features and limits. Knowing about these standards will help you make good choices when connecting your old hardware to new screens:
Key Points: Vintage Computer Displays
- Early computers used CRT (Cathode Ray Tube) monitors
- Common display technologies included composite video, S-Video, and VGA
- Screen resolutions were much lower than today’s standards
- Many vintage displays were monochrome (single color)
- Refresh rates were typically lower, causing visible flicker
Each of these standards has its own characteristics that can really affect how you see things on screen. For example, composite video works with lots of devices but often makes images look softer than other types. Understanding these differences is key when picking how to convert your retro setup to work with modern displays. Also, some old computers might have more than one way to output video, letting you choose the best quality signal to convert for new screens.
Modern Display Input Options
Today’s monitors and TVs usually have several ways to connect devices. Each option has its own good points and things to think about. Understanding these new standards is important for choosing the right way to connect your old computer:
Retrocomputing: Exploring Computing’s Past
- Retrocomputing involves using older computer hardware and software as a hobby
- Enthusiasts collect rare vintage computers and software for historical preservation
- Early home computers from the 1970s-1980s are popular among collectors
- Vintage computers can be worth $1,000 to $700,000+ depending on rarity and condition
- 8-bit computers are often used for teaching introductory programming
- Some collectors create modern replicas of vintage computer systems
- Annual Vintage Computer Festival celebrates classic machines since 1997
HDMI has become the most common way to connect devices to screens. It offers good quality video and audio in one cable. Since it’s used so widely, it’s a good target for connecting retro computers. But connecting an old computer to an HDMI screen usually needs some kind of converter, as old systems don’t have HDMI built-in. This conversion can be as simple as using a basic adapter or as complex as using a fancy upscaling device, depending on how good you want the image to look and what features you want. When picking a way to convert, think about things like how much delay it adds, what resolutions it supports, and if it works with your specific old system to make sure you get the best experience.
Basic Adapters for Simple Connections
For many old computers, a simple adapter might be all you need to connect to a new screen. These adapters are a cheap and easy way to bridge the gap between old and new tech. Here are some common options:
- Composite to HDMI adapters: These change the analog composite signal to digital HDMI, good for many older game consoles and computers.
- S-Video to HDMI adapters: These give slightly better quality than composite and are great for systems with S-Video output.
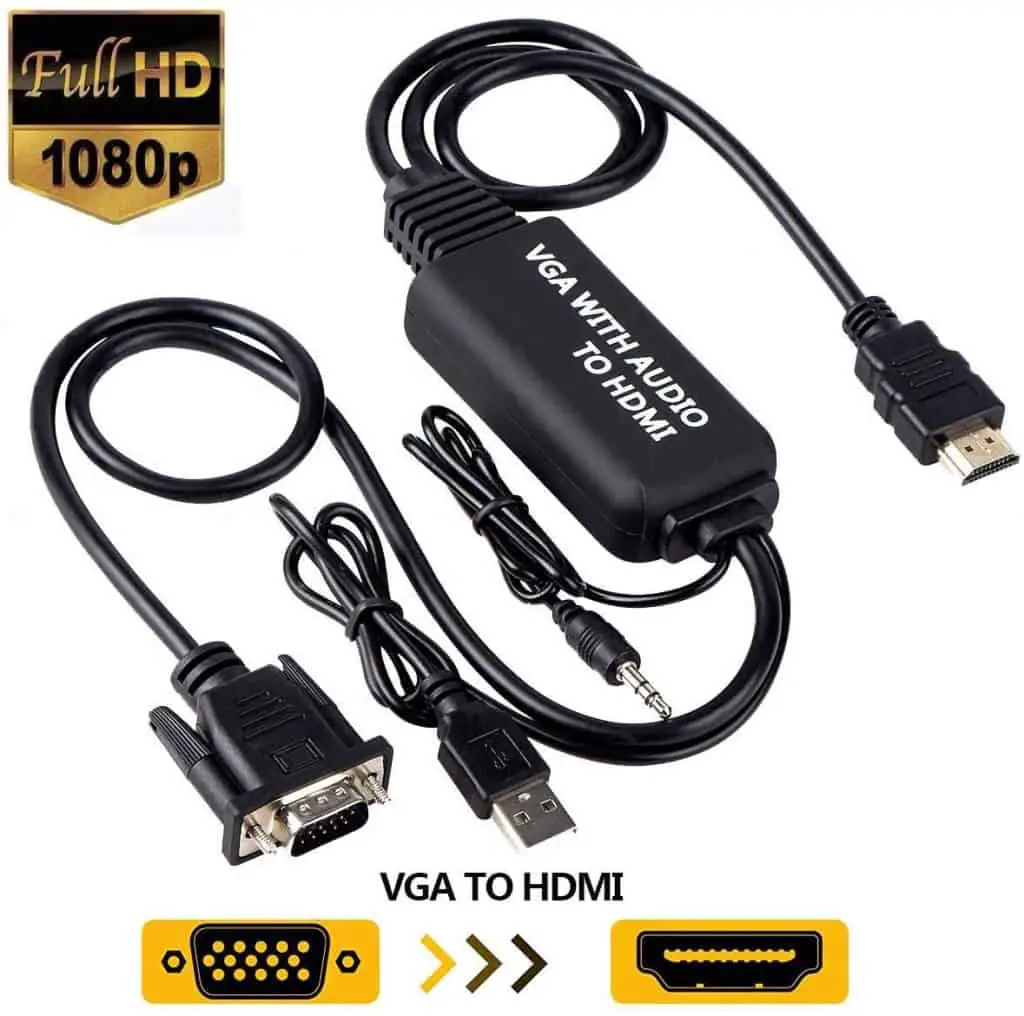
- VGA to HDMI adapters: Perfect for connecting older PCs or systems with VGA output to modern HDMI screens.
These adapters are often cheap and easy to use, making them a good starting point for retro fans. They usually just need to be plugged in to work, which is great for casual users or those new to retro computing. But keep in mind, they might not give the best image quality or work with everything. For example, when connecting a Super Nintendo to a smart TV, a basic composite to HDMI adapter might work, but it won’t give you the best possible picture. These adapters often don’t have advanced features like making the image bigger or adjusting how it fits on the screen, which can be important for making old games look good on new TVs.
Advanced Upscalers and Converters
For fans who want the best possible picture quality and a more authentic retro experience, advanced upscalers and converters offer better results. These fancy devices do more than just change the signal – they make it better. They not only convert the video signal but also improve it, often adding features like making the image look like it’s on an old TV and adjusting how it fits on the screen to make old systems look more like they did originally.
Some popular options for advanced retro gaming and computing converters include:
- RetroTINK products: A series of plug-and-play devices that offer quick conversion and various ways to make the image look better.
- OSSC (Open Source Scan Converter): A highly regarded converter that provides almost instant conversion and works with many different types of inputs.
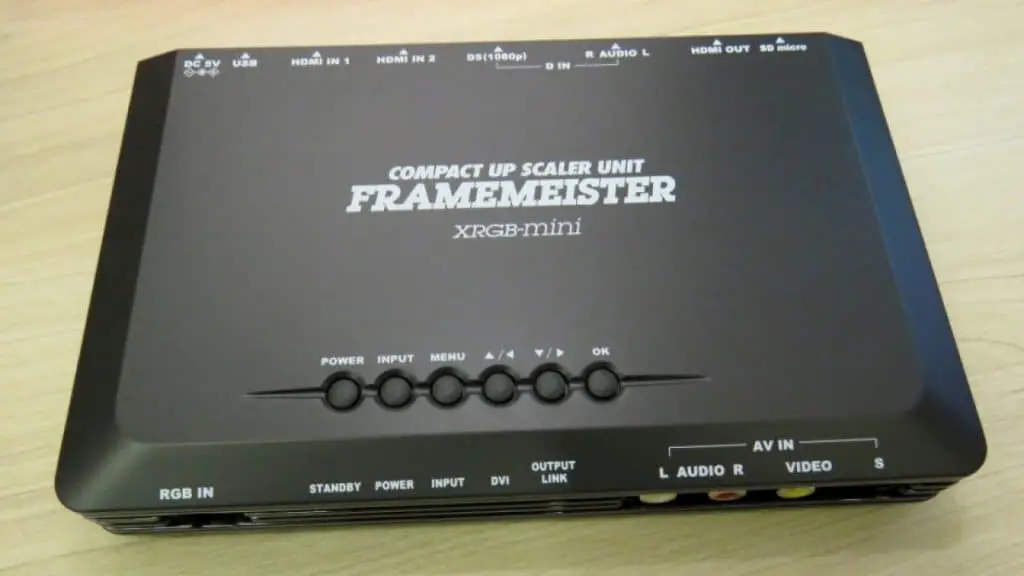
- Framemeister: Though not made anymore, this device is still wanted for its excellent ability to make images bigger and let you customize how they look.
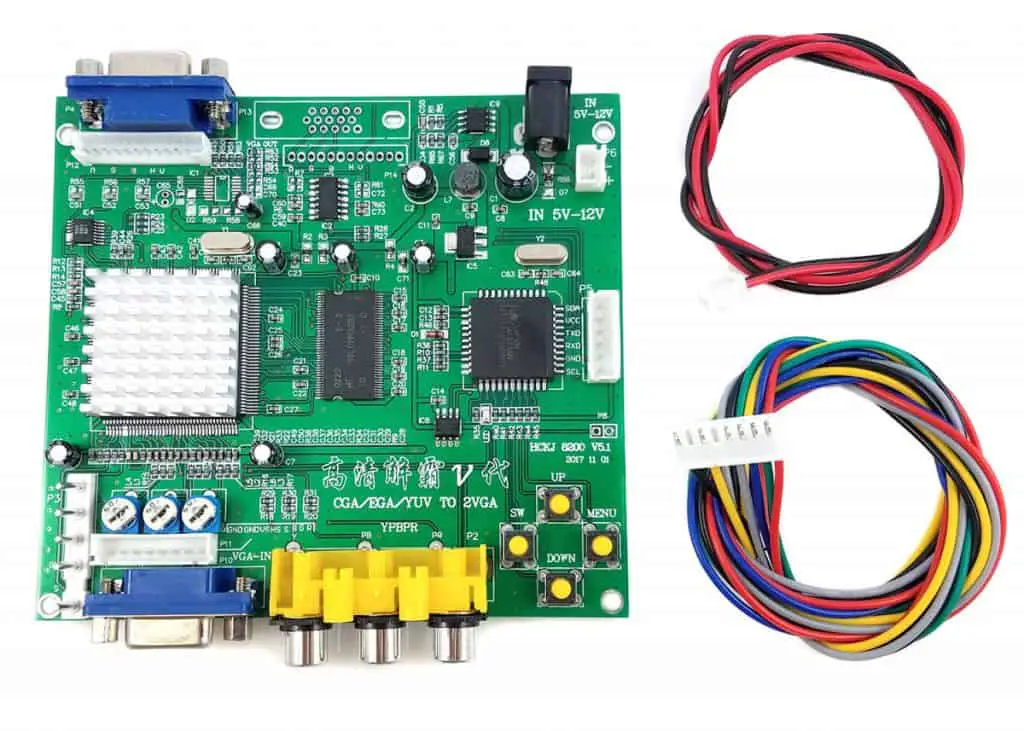
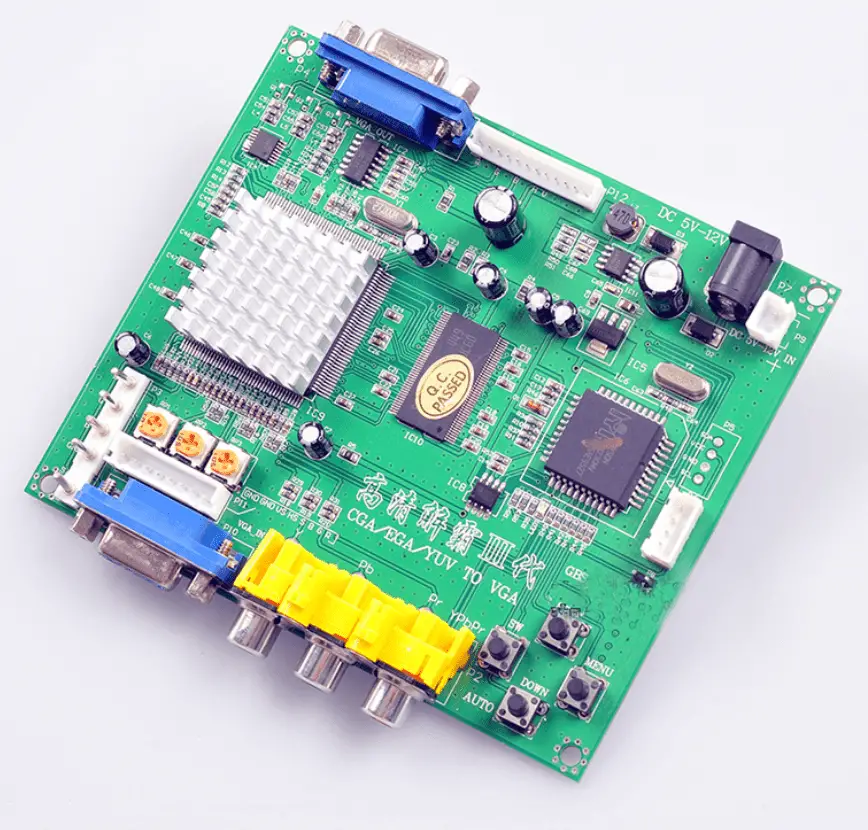
- GBS-Control: A do-it-yourself solution based on the GBS8200, offering advanced features through custom software.
These devices can really improve how retro computers look on new screens. They offer benefits like sharper images, less delay when you press buttons, and ways to customize how things look. For instance, when using an HDMI converter for an original Xbox, an advanced upscaler can make the image much sharper and more like the original compared to a basic adapter. This kind of quality improvement can make a big difference in how much you enjoy using or playing on your old computer, especially for fans who care a lot about accuracy and how good things look.
Connecting Specific Retro Computers
Different old computers might need different ways to connect them for the best results, as each system has its own unique video output and things to consider. Let’s look at some popular old systems and the best ways to connect them to new screens:
Commodore 64 to HDMI
A lovely 80s computer monitor. A 12″ CRT, with RCA inputs. https://t.co/X6gu3m4Qkv pic.twitter.com/ncZKHjq1PZ— foone🏳️⚧️ (@Foone) May 25, 2018
Connecting a Commodore 64 to HDMI often needs a special adapter or upscaler because this famous old computer outputs a unique video signal. The C64 puts out a special kind of video that needs careful conversion for new screens. Some fans use custom-made cables that get the best possible signal from the computer before converting it, like S-Video or even RGB mods. These changes can make the image look much better when used with the right converter. Also, some new solutions like the C64 HDMI cable offer an easy-to-use option that combines getting the signal and converting it in one unit.
Amiga to Modern Displays
Amiga computers have several ways to output video, including RGB and composite, which makes them a bit easier to connect to new screens. For the best quality, an RGB-to-HDMI converter is often recommended, as it can keep the Amiga’s bright colors and sharp graphics. Some new solutions even let you add lines to the screen to make it look like an old TV, which can make Amiga games and demos feel more like they did back then. When connecting an Amiga, it’s important to think about which model you have, as different models like the A500 or A1200 might have different ways to output video.
Apple II Series Connectivity
Apple II computers usually output a composite video signal, which was normal for home computers of its time. While this can be connected directly to some new TVs through their composite input (if they have one), using a good composite-to-HDMI converter will usually make things look better. Some converters are made specially to handle the unique color effects of the Apple II’s video output, keeping the characteristic look of graphics and text on these classic machines. For Apple II fans who want to keep things authentic, there are even solutions that make the screen look like the green or amber screens of old monitors, making it feel just like using an early Apple computer.
IBM PC and Compatibles
Early IBM PCs and similar computers often used CGA, EGA, or VGA outputs, with newer models moving to SVGA. For these machines, a VGA-to-HDMI converter is usually the best choice, working well with many different PC models. More advanced solutions can even handle CGA and EGA signals, allowing them to work with a wider range of PC models from different times. When connecting these systems, it’s important to think about what graphics standards your machine supports and choose a converter that can handle these properly. Some fans even use old-style CRT monitors for the most authentic experience, especially when using software that was made with CRT displays in mind.
Dealing with Audio Connections
While we’ve mostly talked about video connections, audio is just as important for enjoying old computers. Getting good sound can really make using vintage software and games more fun. Here are some things to think about for audio connections:
- Separate audio adapters: Some video converters don’t handle sound, so you might need a separate way to connect audio. In these cases, you might need to use a special audio cable to connect your old computer’s sound output to your new sound system or TV. This can sometimes make the sound better, as it doesn’t go through the video conversion process.
- Combined audio-video solutions: Many HDMI converters can handle both video and audio signals, making it easier to connect everything. These all-in-one solutions are convenient but might not always give the best sound quality. It’s worth comparing the sound from combined solutions to separate audio connections to see which works best for your setup.
- Amplifiers and speakers: For the most authentic retro sound, think about using audio equipment from the same time period. Old computer speakers or hi-fi systems can make the original audio experience feel more real than new sound systems. Some fans even use specific models of amplifiers or speakers that were popular when their old computer was new.
Sometimes, you might want to use a special audio setup to get the best sound quality from your old computer. This can be especially important for music programs or when using software with complex sound capabilities. For example, the Commodore 64’s SID chip is famous for its unique sound, and using a high-quality audio setup can help you really appreciate what it can do. Similarly, Amiga computers are known for their advanced audio features, and a good sound system can make a big difference when enjoying Amiga music or games.
Optimizing Display Settings
Once you’ve connected your old computer to a new screen, you might need to adjust some settings to make it look its best. Getting these settings right can really change how your old software looks and feels on a new screen. Here are some important things to focus on:
- Aspect ratio: Many old computers used a 4:3 aspect ratio, which might need to be adjusted on widescreen displays. Most new TVs and monitors have ways to show 4:3 content correctly, either by adding black bars on the sides or by stretching the image. Try different settings to find what looks best and most authentic for your old system.
- Overscan: Some converters let you adjust for overscan, which can help fit the whole image on screen. Overscan was common on old TVs but can cause problems on new flat screens. Adjusting overscan settings can make sure you’re seeing everything from your old computer without cutting off the edges.
- Input lag: Look for “game mode” or similar settings on your new display to reduce delay. This is really important for games or any software where you need to react quickly. Reducing input lag can make using your old computer feel more responsive and authentic.
- CRT filters: Some upscalers offer filters that make the screen look like an old TV. These can add lines to the screen, make it look slightly curved, or even make it glow like old monitors did. Not everyone likes these effects, but they can make the old computer experience feel more real.
Trying out these settings can help you find a good balance between making things look authentic and making them easy to use on your new setup. It’s worth taking the time to get these options just right, as the correct settings can make using old software and games much more enjoyable. Remember that different types of software might look better with different display settings, so don’t be afraid to change your setup based on what you’re using.
DIY Solutions and Modifications
For those who are good with technology, there are several do-it-yourself ways to improve connections for old computers. These methods can often give better results than ready-made solutions, but they need more technical knowledge and skill. Here are some popular DIY options:
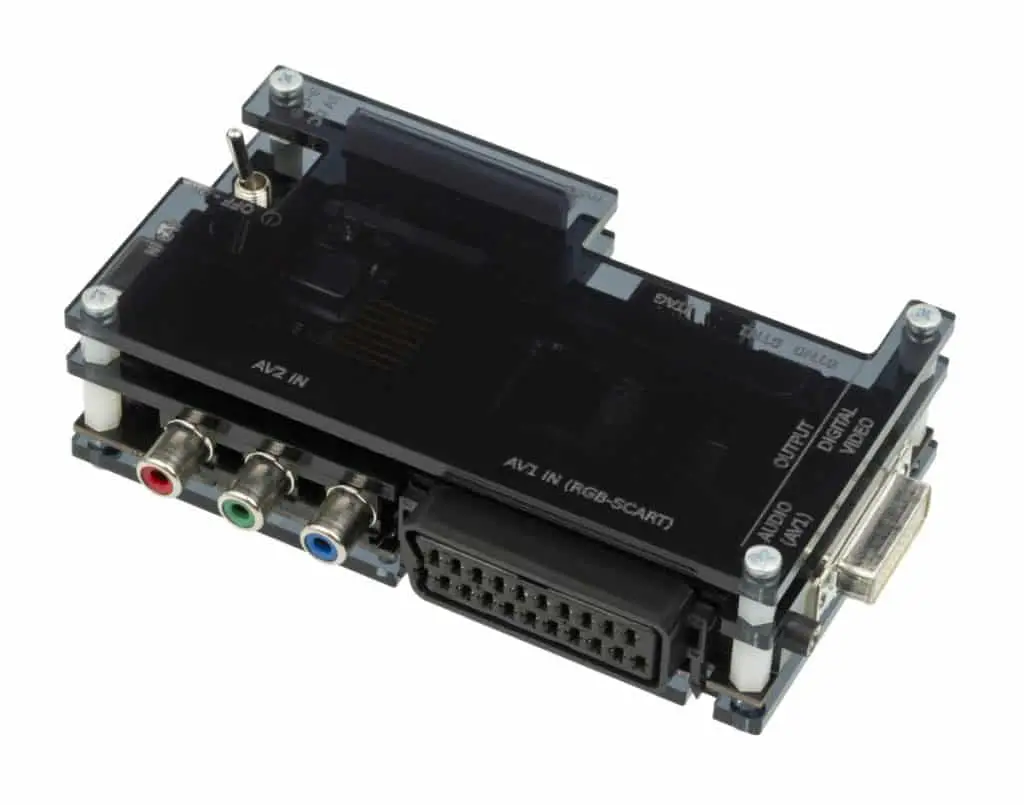
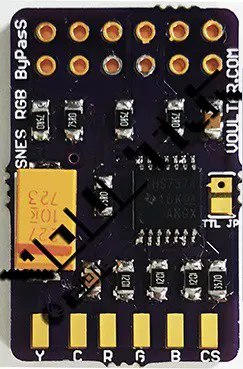
- RGB mod: Many old computers can be changed to output cleaner RGB signals, which can then be converted to HDMI. This usually involves adding or changing internal parts to get a purer video signal directly from the computer’s video chip. RGB mods can really improve image quality, especially for systems that originally only had composite output.
- Custom cables: Making your own cables can sometimes give better results than store-bought ones. Custom cables can be made specifically for your old system and new display, potentially reducing signal loss and interference. This approach is particularly useful for systems with unusual video outputs or when combining multiple signals into one cable.
- FPGA-based solutions: Devices like MiSTer offer very accurate hardware emulation of various old systems. While not strictly a connection solution, FPGA systems can provide an excellent alternative to physical old hardware, offering high compatibility and the ability to output directly to new displays without needing additional conversion.
While these approaches need more technical know-how, they can often provide the best possible results in terms of video quality and compatibility. DIY solutions allow for a lot of customization and can be particularly rewarding for fans who enjoy tinkering with their old hardware. However, it’s important to be careful when doing these modifications, as they may involve working with delicate old electronics.
Troubleshooting Common Issues
Even with the right equipment, you might run into some problems when connecting old computers to new displays. Being able to solve these problems is an important skill for anyone interested in old computers. Here are some common issues and possible solutions:
- No signal detection: Make sure all connections are tight and try different input modes on your display. Some converters might need you to manually select the input resolution or refresh rate. Also, check that your old computer is actually sending out a video signal by testing it on a display you know works if possible.
- Poor image quality or weird effects: Try adjusting the settings on your converter or upscaler. Problems like colors bleeding, flickering, or distorted images can often be fixed by fine-tuning converter settings. Sometimes, using better quality cables or adding signal boosters can improve image quality.
- Audio sync problems: Some converters might make the audio lag behind the video; look for options to adjust audio sync. If your setup uses separate paths for audio and video, you might need to add a slight delay to either the audio or video to get them perfectly in sync.
- Compatibility issues with specific software: Certain programs might not work well with new displays, especially those designed for specific old TV timings or resolutions. In these cases, consider using an old CRT monitor for these specific applications or look for community-made patches that might fix compatibility issues.
Remember that using old computers often involves some trial and error. Don’t be afraid to experiment with different settings and setups to find what works best for you. It’s also worth noting that some issues might be inherent to the original hardware or software and might not have perfect solutions when using new displays. In these cases, understanding the limitations and finding acceptable compromises is part of the experience of using old computers.
Future-Proofing Your Retro Setup
As technology keeps changing, it’s worth thinking about how to make sure your old computer setup will still work in the future. This forward-thinking approach can save you time and money in the long run, making sure that your vintage systems stay usable and fun for years to come. Here are some strategies to consider:
- Invest in good quality converters and cables that are likely to work with future displays. Look for devices that support a wide range of input and output standards, as this flexibility can help with both what you need now and possible future upgrades.
- Consider getting upscalers or converters that work with multiple systems. Devices that can handle several old systems can be more cost-effective and take up less space, especially if you plan to get more old computers in the future.
- Balance authenticity with convenience; sometimes, modern solutions can provide a more sustainable long-term setup. While some people prefer original hardware, emulation or FPGA-based solutions can work really well with new displays and might be easier to keep working in the long run.
By choosing versatile and high-quality equipment, you can make sure that your old computer hobby stays enjoyable for years to come. Also, staying connected with other old computer fans can help you know about new developments in conversion technology and compatibility solutions. Participating in forums and following blogs about old computers can give you valuable insights into new trends and technologies that can help future-proof your setup.

Conclusion: Embracing Retro Computing
Connecting old computers to new screens can be a fun challenge. It lets us enjoy classic machines on modern displays, bridging the gap between past and present tech. Whether you’re using simple adapters or advanced upscalers, the goal is to recreate the magic of vintage computing while making it work with today’s technology.
Remember, there’s no one-size-fits-all solution. Each old computer might need a different approach. The key is to experiment, learn, and find what works best for you. Don’t be afraid to try different methods or ask for help from other retro computing fans.
As you set up your retro computer, think about what’s most important to you. Do you want the most authentic experience possible, or are you okay with some modern conveniences? Your choice of connection method can really change how you enjoy your vintage system.
Lastly, have fun with it! Using old computers is about more than just making them work – it’s about experiencing a piece of computing history. Each successful connection is a small victory that brings us closer to understanding and appreciating the evolution of technology. So plug in, power up, and enjoy your journey through computing’s past!