Introduction
In the era of smart TVs and high-definition content, connecting your vintage Super Nintendo console might seem like a daunting task. However, with the right equipment and a few simple steps, you can easily relive your favorite 16-bit games on your modern TV. This article will guide you through the process, provide troubleshooting tips, and highlight potential issues you might encounter.
- Step-by-step guide to connect your Super Nintendo to a Smart TV
- List of necessary equipment
- Potential issues and their solutions
- Troubleshooting tips
Connecting Your Super Nintendo to a Smart TV: Step-by-Step Guide
Step 1: Gather Your Equipment
Before you start, ensure you have the following equipment:
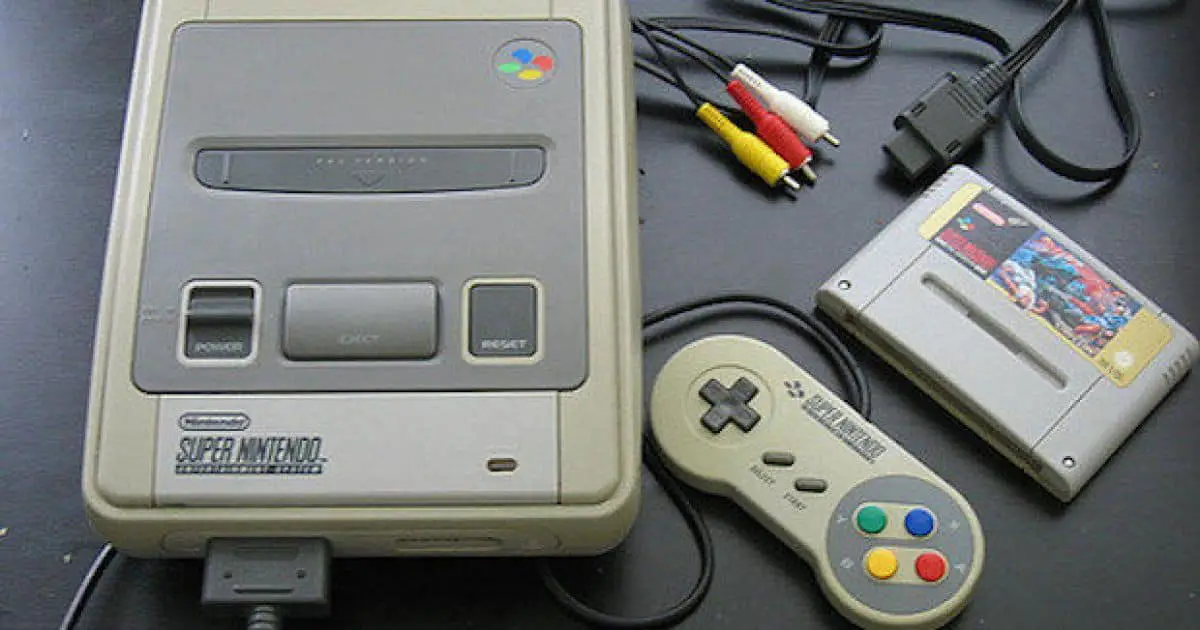
- Super Nintendo Console
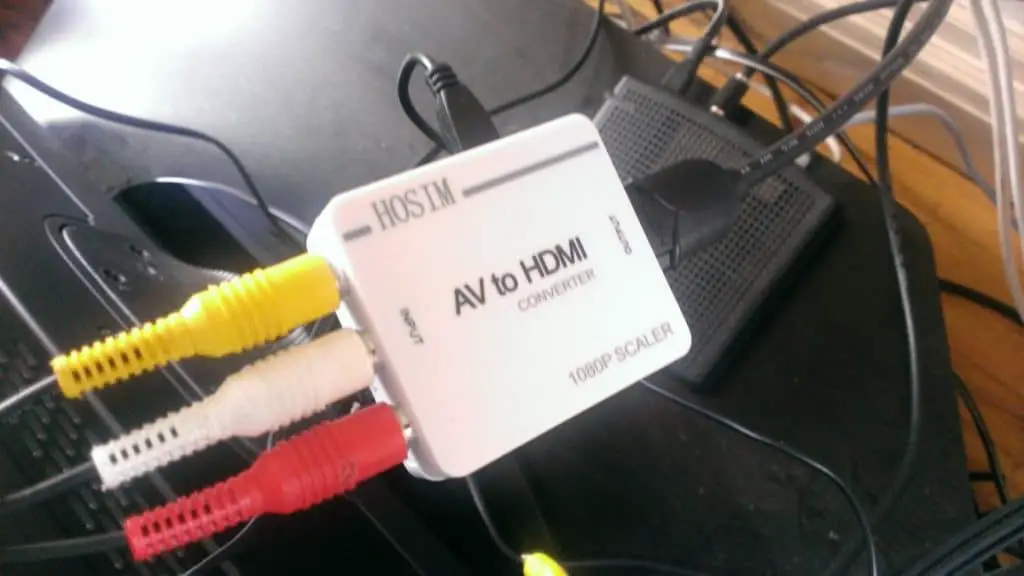
- Super Nintendo AV to HDMI converter (also known as a Universal MultiAV cable)
- HDMI cable
- Smart TV with an HDMI input
Step 2: Connect the Super Nintendo to the AV to HDMI Converter
Connect the AV (Audio/Video) end of the Universal MultiAV cable to the AV Out port on the back of your Super Nintendo console. The other end of this cable should be connected to the AV to HDMI converter.
Step 3: Connect the HDMI Cable
Next, connect one end of the HDMI cable to the HDMI output on the AV to HDMI converter. The other end of the HDMI cable should be connected to an available HDMI input on your Smart TV.
Step 4: Power On and Select the Correct HDMI Input
Turn on your Super Nintendo console and your Smart TV. Using your TV’s remote, select the HDMI input that you connected the HDMI cable to.
Step 5: Enjoy Your Games
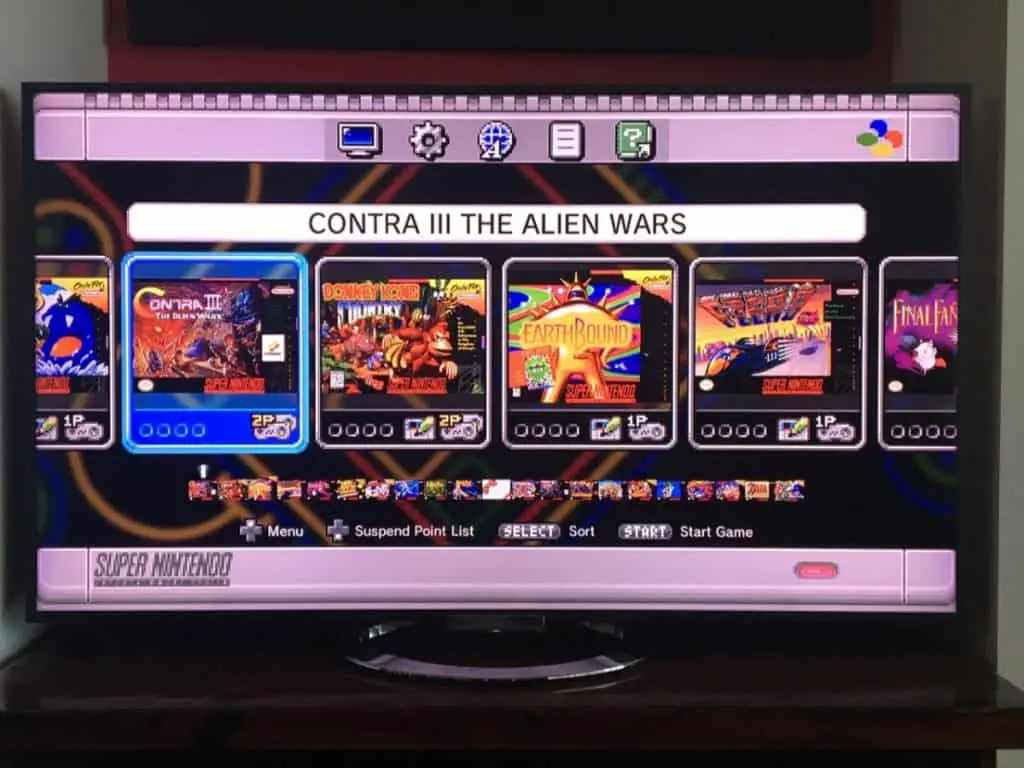
If everything is connected correctly, you should now see the Super Nintendo’s output on your Smart TV. You can now enjoy your favorite Super Nintendo games on your Smart TV!
Potential Issues and Troubleshooting
While the process is generally straightforward, you might encounter some issues when trying to connect your Super Nintendo to a Smart TV. Here are some potential problems and their solutions:
- No Signal or Black Screen: Ensure all your connections are secure. Check the HDMI input selected on your TV matches the one you connected your Super Nintendo to.
- Poor Image Quality: This could be due to a faulty or low-quality AV to HDMI converter. Consider investing in a high-quality converter for the best image quality.
- No Sound: Check the volume settings on both your TV and the Super Nintendo console. Also, ensure the AV cables are properly connected.
Remember, troubleshooting involves a lot of trial and error. If you’re still experiencing issues after trying these solutions, it might be worth consulting with a professional or reaching out to online gaming communities for further assistance.
Hey retro gamer! , I’m about to show you how to get the best image quality from your Super Nintendo on your modern TV with the best options available this year.
Any one of the devices mentioned it this article with give you an awesome looking picture on your TV. Just be careful. Make sure you follow any instructions with them otherwise you may not be getting the best from them.
How do I connect my old Super Nintendo to my new TV?
If like me you still would like to play some of those classic SNES games. You also want to be able to play them on a modern TV such as a Smart TV or HDTV.
Depending on what model of Super Nintendo you are using and what kind of display you would like to use it with, Also how much you are willing to pay and what kind of picture quality you are expecting or can just put up with; there are a number of different of options to consider.
Smart TV Inputs Explained
Many new Smart TVs can have any combination of these inputs. The most common input connection nowadays is the HDMI port.
HDMI stands for High Definition Multimedia Interface. This Connection on your TV will produce the best quality picture.
Here are the many different input connections that your TV may have:
| Port | Purpose | Quality | |
|---|---|---|---|
| HDMI | Video/audio/computer/console | Best | |
| Component | Video input | Good | |
| S-Video | Video input | Good | |
| Composite AV | Video input / Retro Computer or console | OK | |
| DVI | Computer | Very Good | |
| VGA | Computer | Very Good | |
| Antenna In | RF Input / Retro Computer or console | Poor |
The Difference Between AV and HDMI.
The AV signal coming from your SNES is an analogue composite signal that transmits in a low resolution.
HDMI is a High Definintion digital signal that can display very high resolutions.
Both of these signal types are not directly compatable so a device called an upscaler is required to convert the AV signal to HDMI.
The HDMI connection will definatly produce the best picture quality. If you are planning to connect an original SNES to your TV via the HDMI port you will need an upscaler or converter.
HDMI Upscalers
There are many different upscaler options available many of them produce an excellent image quality on your screen.
What are the options?
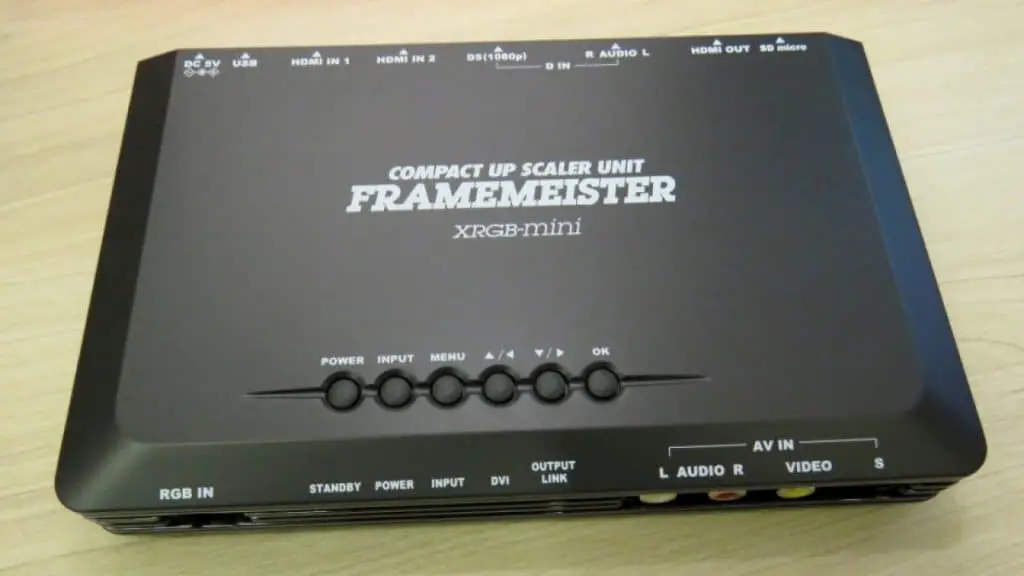
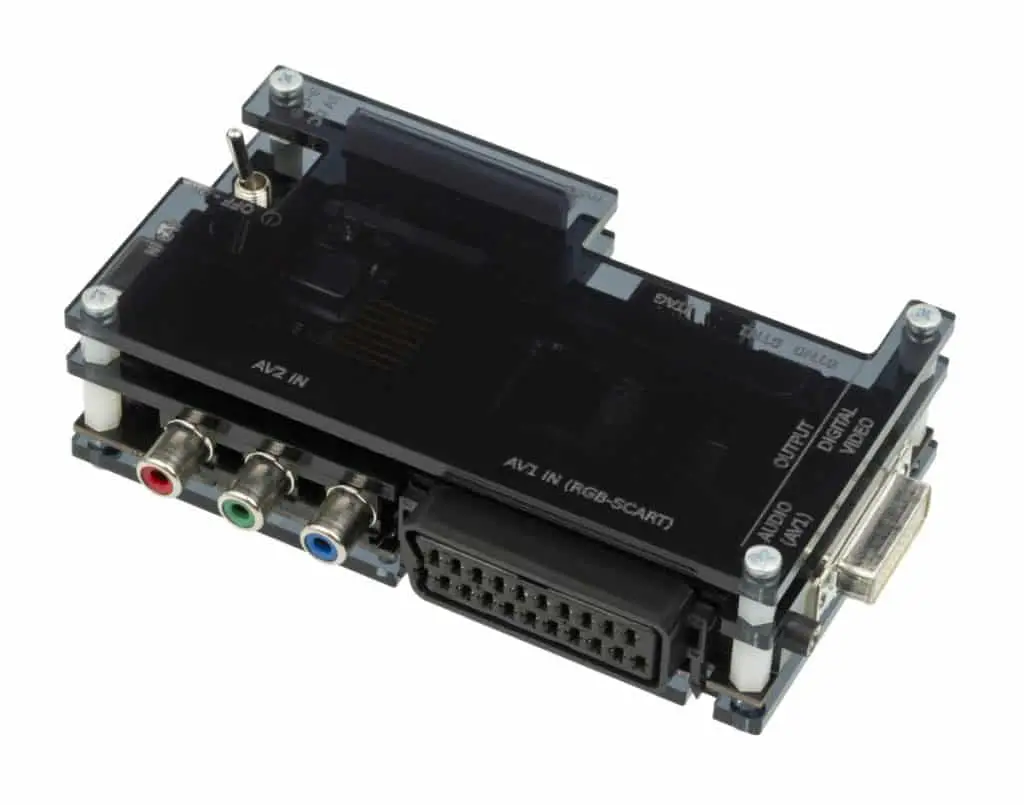
- XRGB Mini Framemeister
- Zerone CGA/EGA/YUV/RGB to VGA Arcade Game HD Video Converter Adapter Board
- Open Source Scan Converter
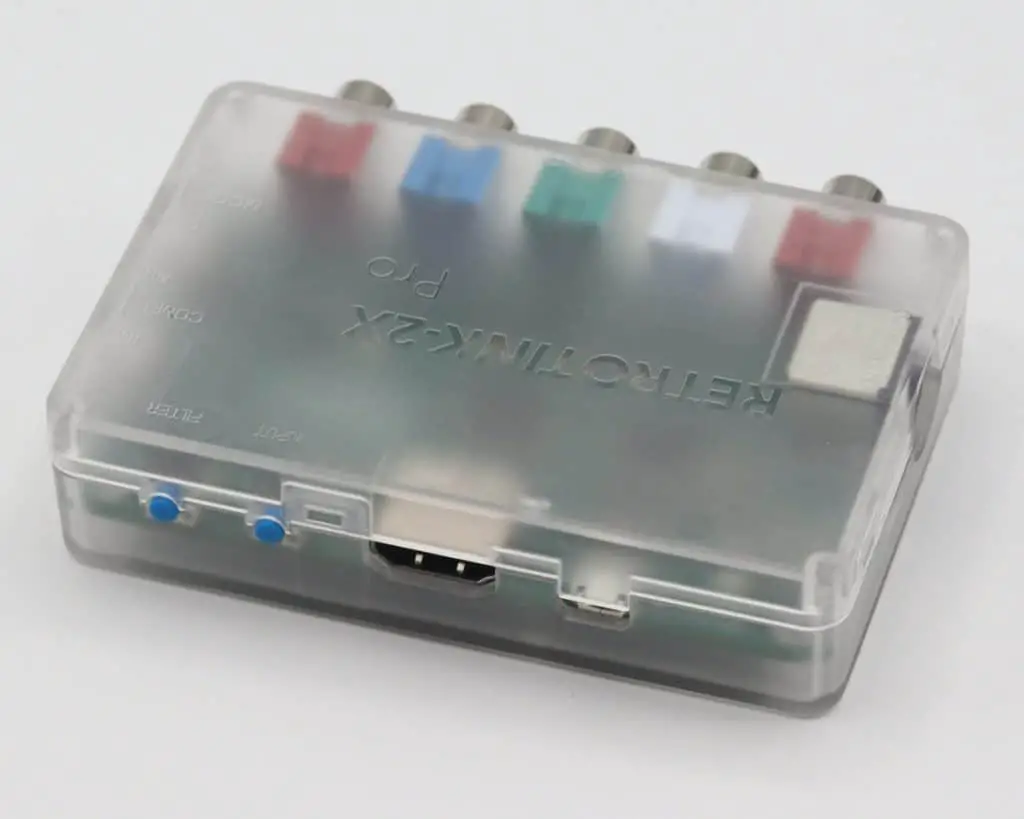
- RetroTINK2x
XRGB Mini Framemeister
Get one here: https://amzn.to/3qoqa02
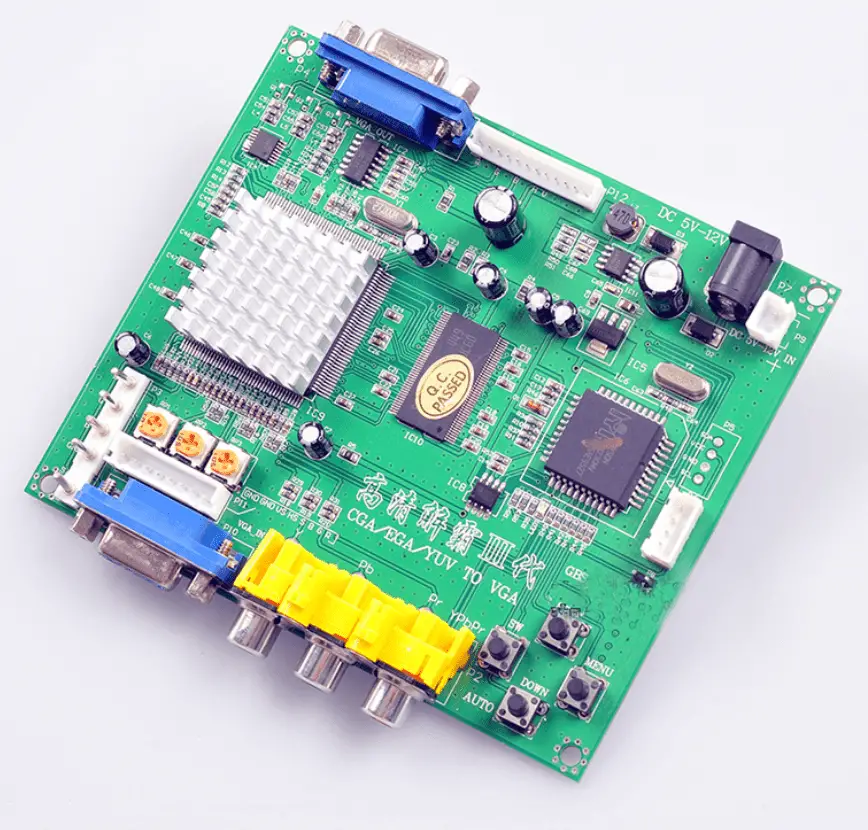
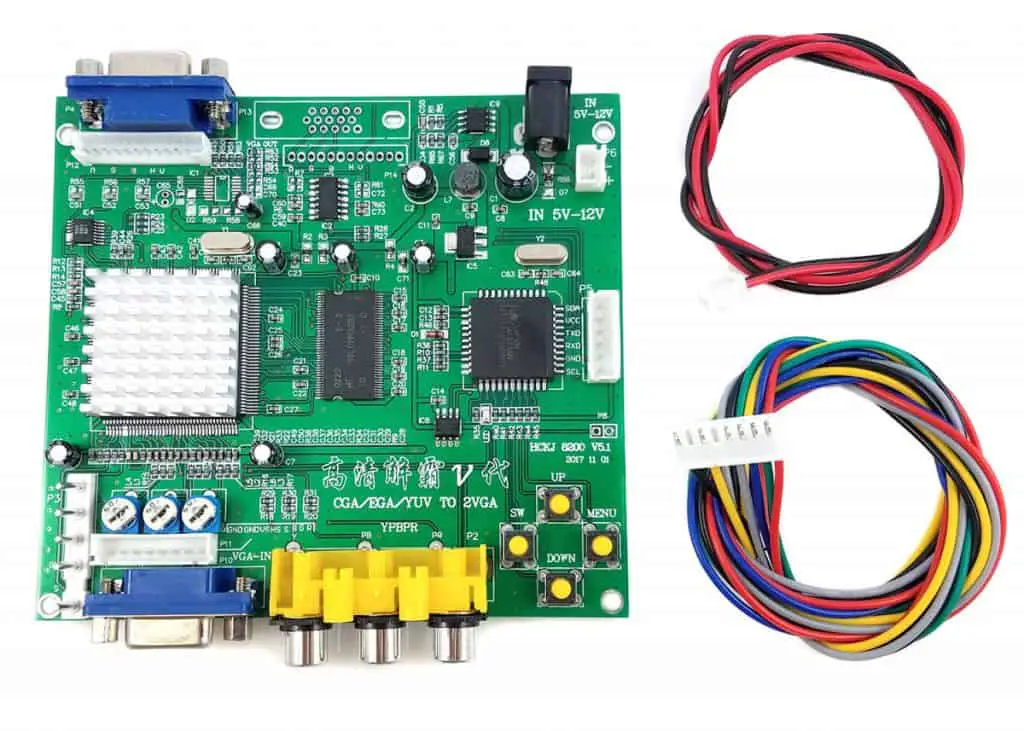
Zerone CGA/EGA/YUV/RGB to VGA Arcade Game HD Video Converter Adapter Board
Get one here: https://amzn.to/39Dee3K
Open Source Scan Converter
Get one here: https://amzn.to/38UmSvy
RetroTINK2x
Get one here: https://amzn.to/38SFIDa
Other Options
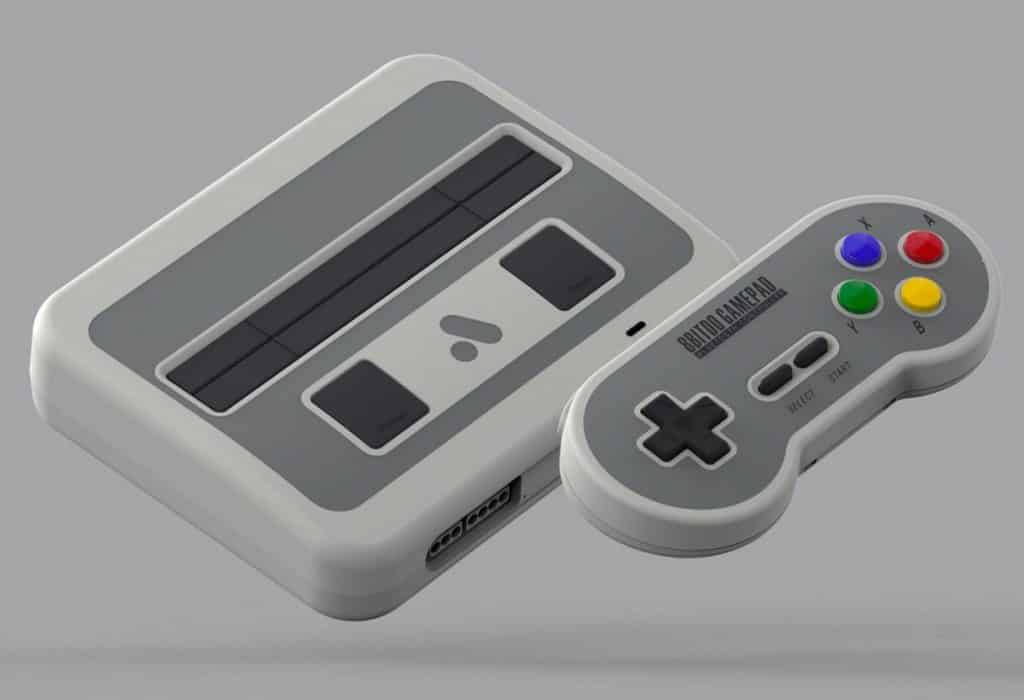
Nintendo Classic Mini: Super Nintendo Entertainment System
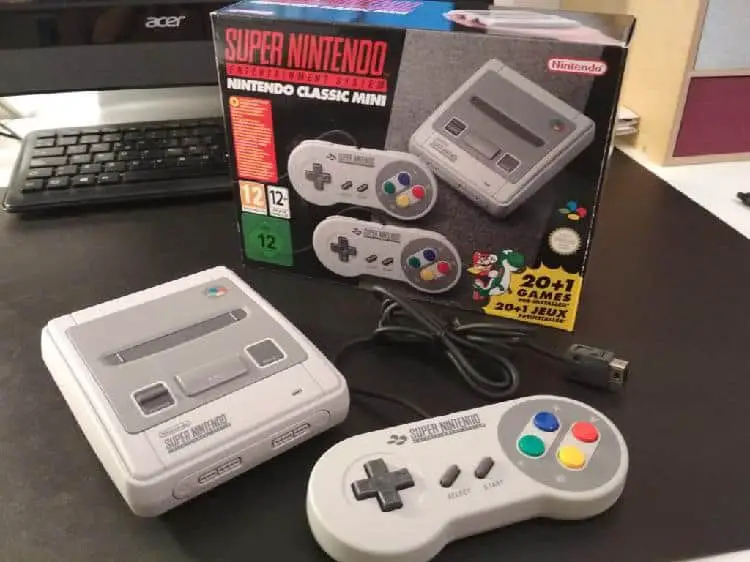
A excellent option for playing SNES games with the best video quality is to use a SNES Mini or Super Nintendo Classic Mini.
This is a stand alone console with built in games with the option to install more games. This has a HDMI output that will plug directy into the HDMI port of your HDTV or Smart TV.
This option has the best picture quality by far and is my personal favourite for playing SNES games on the HDTV in my living room.
You can get The SNES mini on Amazon, Check here for the latest price.
Does the SNES mini Play Cartridges?
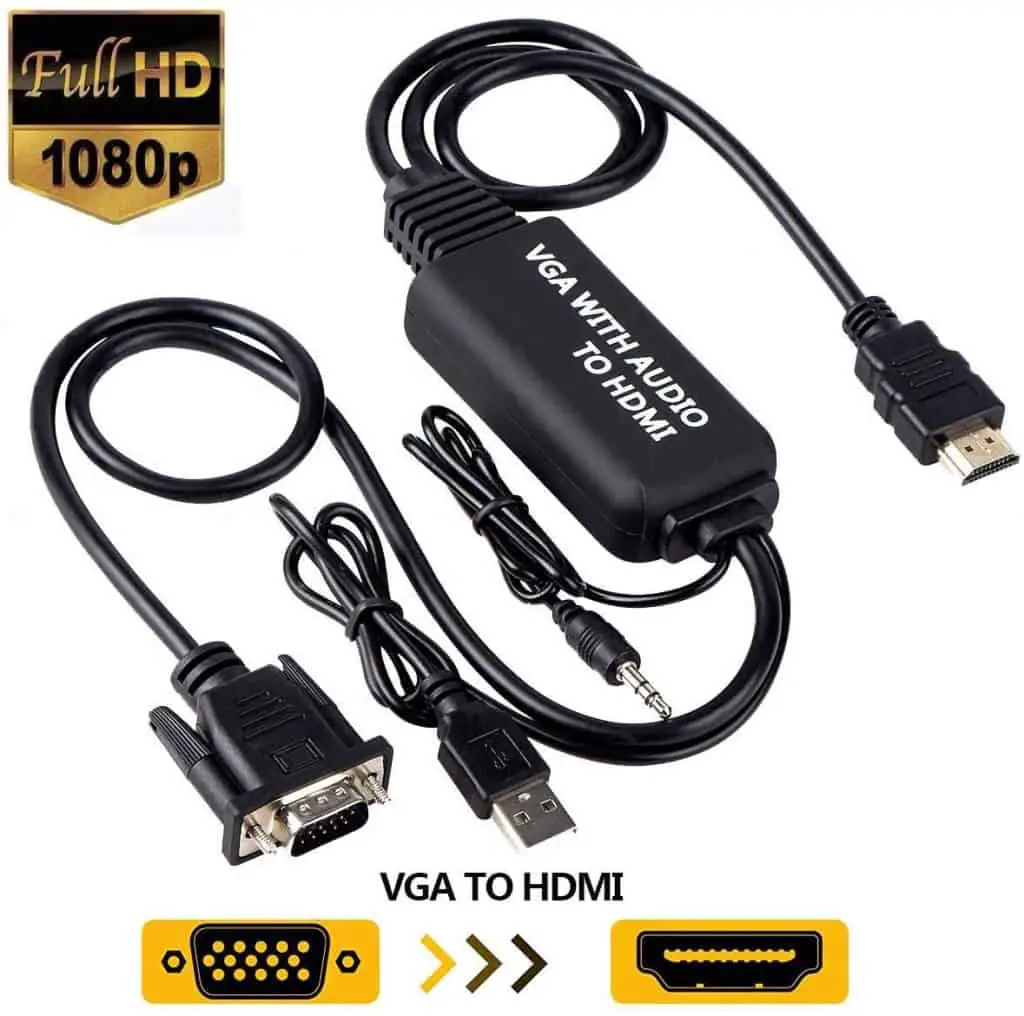
This is a GBS-8200 converter board and will convert RGB or composite video to VGA which then can be easily converted to HDMI. Using a cable adapter similar to this one here.
SNES Component mod
SNES YPbPr Component Cable
SNES mini RGB mod
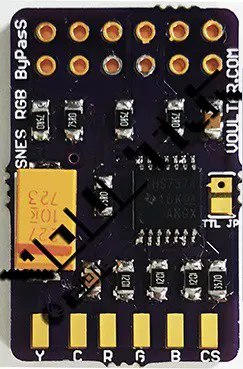
The stock SNES Mini console is not about output an RGB or S-Video signal natively, but mods are available to overcome this. Some soldering skills are required though. See here for more information.
SNES HDMI adapter
RF to HDMI Converter
Simple Composite Modification
Pound HD Link
How to Hook up Super Nintendo without multi out
| TV Input | SNES PAL | SNES NTSC | SNES Mini | |
| RF | Yes | Yes | Yes | |
| Composite | Yes | Yes | Yes | |
| Component | Yes | Yes | No | |
| RGB | Yes | Yes | No |
FPGA Analogue Super nt – https://www.analogue.co/super-nt/
LevelHike HDMI Cable for Super Nintendo – https://stoneagegamer.com/levelhike-hdmi-cable-for-super-nintendo-model-1.html
Connect a Super Nintendo to a VGA monitor or VGA compatable Televsion