Sometimes after removing a componant a lot of excess solder can be left remaing on the PCB. The problem is not all of us have the nessesary desoldering tools to had to make the job easier. One of the most effective would normally be a De-Solder pump. But what should you use if you dont have one? How do you remove Solder without a pump?
What are the best ways to remove Solder without a Solder Pump?
De-Solder Wick or Solder Braid
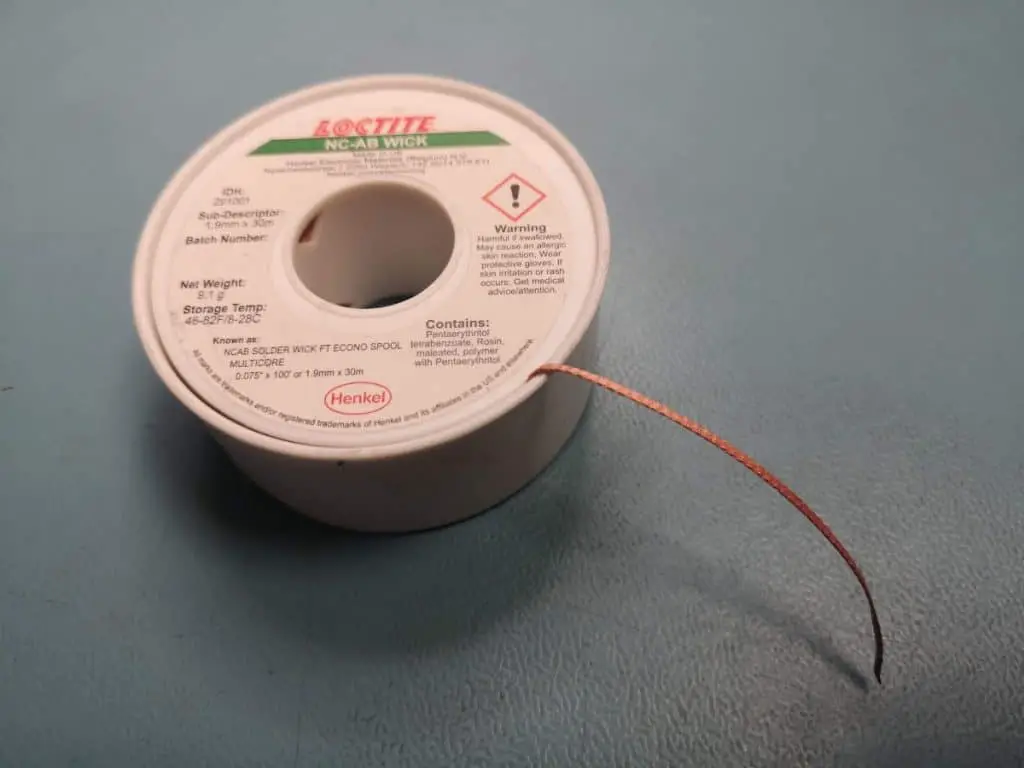
Desoldering braid, also known as desoldering wick or solder wick, is finely braided 18 to 42 AWG copper wire coated with rosin flux, usually supplied on a roll.
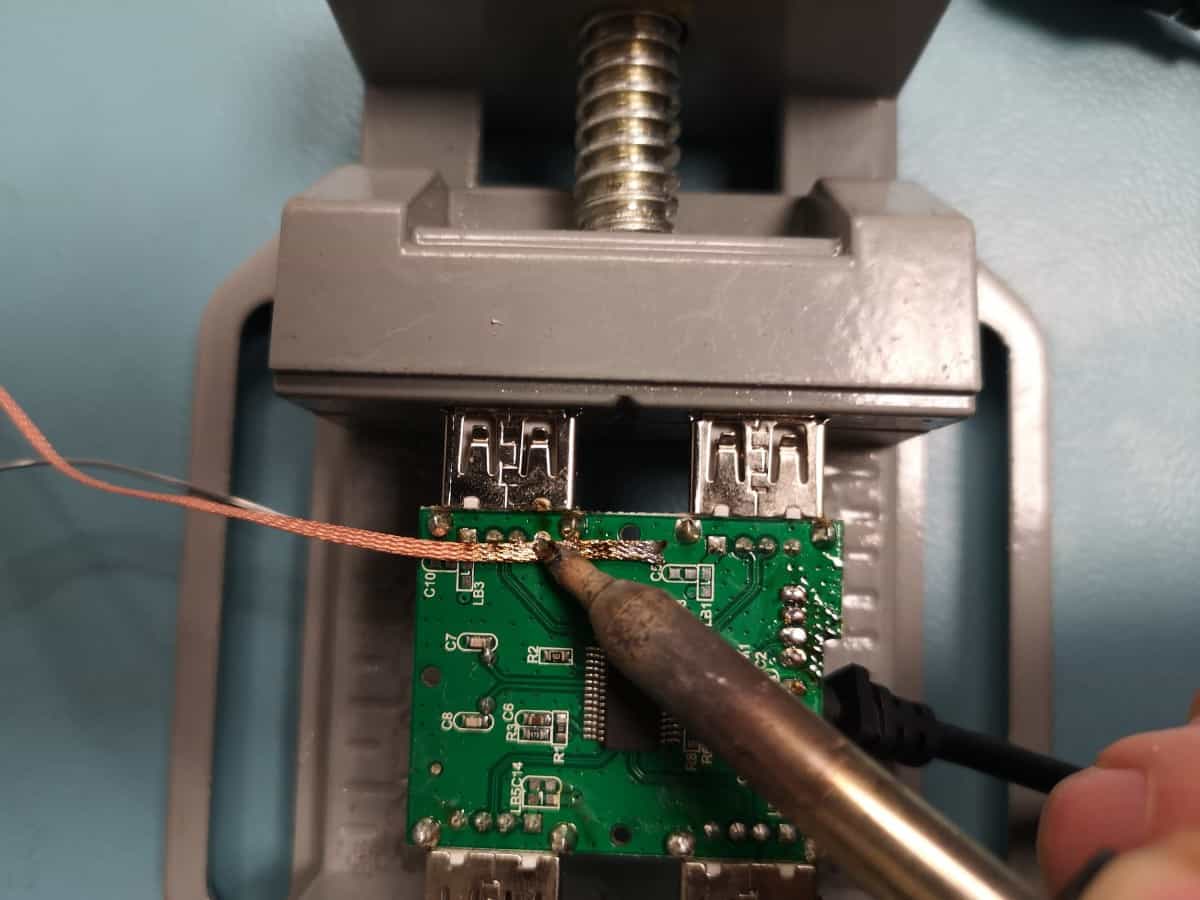
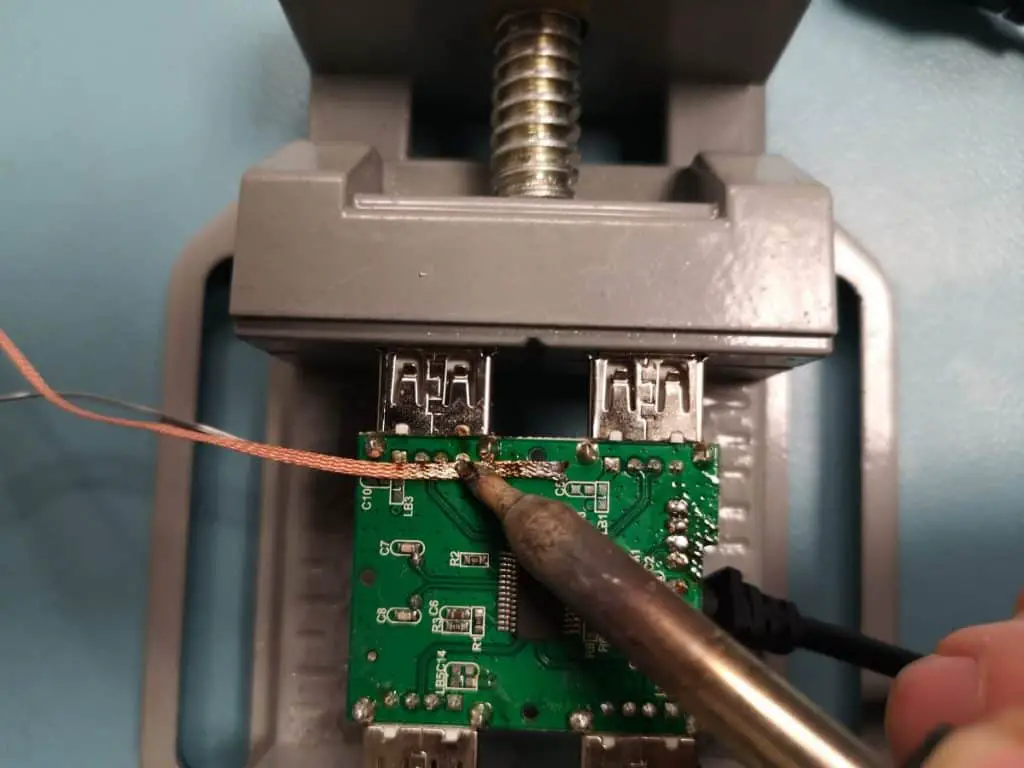
The end of a length of braid is placed over the soldered connections of a component being removed. The connections are heated with a soldering iron until the solder melts and is wicked into the braid by capillary action. The braid is removed while the solder is still molten, its used section cut off and discarded when cool. Short lengths of cut braid will prevent heat being carried away by the braid instead of heating the joint.
If you do not have any solderwick available. An alternative is just stranded wire, this not work quite as well and will take longer to be effective though.
For a guide on how to correctly use solder wick, click the link below.
Before starting with the usage of the soldering wick, I would like to bring to your attention the importance of the desoldering.
Why is desoldering as important as soldering?
It might come as a surprise to you, but in electronics desoldering is just as important as soldering. Truth be told, when I started to practice soldering, I wasn’t perfect all the time and messed up a few soldering projects. After that I made up my mind to learn desoldering and that was the way to save the work done.
I believe that nowadays anyone involved in manufacturing, maintaining and repairing electronics has to know some efficient ways to remove an excess solder. This skill might be required if, for instance, you need to eliminate bridging between the contacts, or to properly desolder some of the components as even the highest quality stuff fails from time to time. I can assure you, that desoldering is what you should learn.If you like soldering, you might be interested in these soldering kits
What are the ways to remove excess solder?
There are several ways to clean unwanted solder from the soldering board: desoldering pump, heat gun, compressed air, and more. However, the most popular and easy is a solder-wick – an old and reliable brand designed more than 40 years ago, and it meets industrial and outer space specifications.
What is a solder wick?
A solder wick, or in other words a desoldering braid, is a braided piece of copper wire. Solder wick comes in different length, widths, and flux types.
How does solder wick work?
Solder wick helps to transfer the heat through the copper braid to the solder joint. In other words, the copper braids heat up and help the solder to get or to “wick” into it.
What are the advantages of using solder wick?
The obvious advantage of using solder wick is a quicker wicking, which means significant reduction of solder removal/repair time. Having said that, risks reduction of damaging the board by the heat is also a bonus.
When to use soldering wick/desoldering braid?
Soldering wick could be used, mostly, for small repairs, removal of the excess solder in the tight joints. For instance, if I need to remove through-hole components from the circuit board, I prefer to use a solder wick or desoldering braid.
How to use desoldering braid?
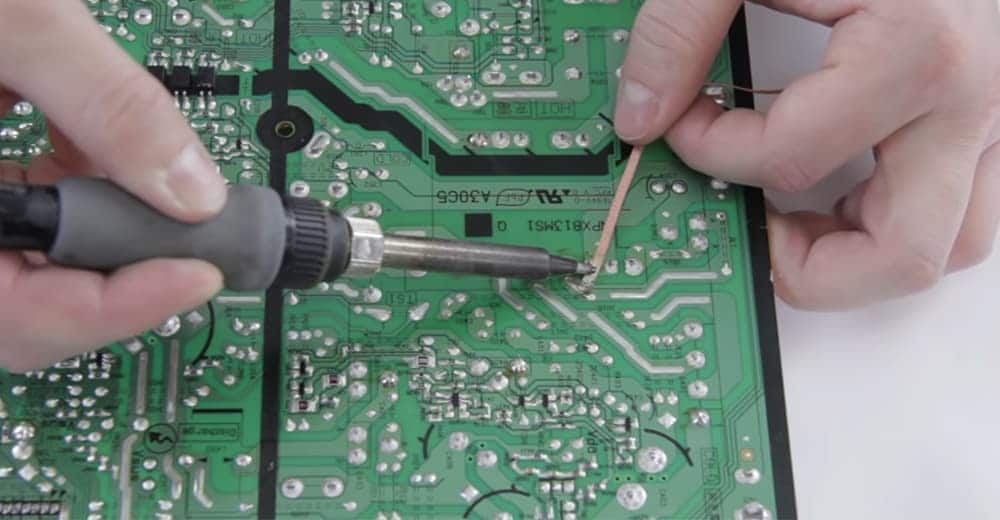
- Unwind several inches of the copper braid.
- Place the end of the braid on the solder joint you need to desolder or on excess solder you need to remove and lightly press it.
- Place heated solder iron tip on it. At that moment the solder will start melting and being pulled up into the desoldering braid or being absorbed by it.
- Once solder is totally removed, lift up both: a soldering iron and braid at the same time. Otherwise the braid might stay at the board.
Note: When the desoldering braid becomes fully saturated with the removed solder, but you still need to continue working, simply cut the end of the copper braid and go on doing the same with a new portion of the solder wick.
Tips and tricks
Below are some tips and tricks that will help you to improve your skills when you need to do some desoldering work or remove some excess solder from the circuit board.
- As solder wick can be bought with or without flux, make sure to match flux type to your cleaning process. Flux gives a fastest action and helps the surfaces to be heated and solder to flow. In case you are going to use a soldering wick without a flux, it would be better if you add it.
- Make sure you match braid width to solder joint or contact pad. It’s really of great importance to have a desoldering braid that closely matches the size of the contact. It’s easy to explain: smaller widths might not remove enough solder, as the braid doesn’t absorb enough solder. If the braid is wider that a surface with unwanted solder, it will take much more time to heat the copper. Moreover, it can interfere with other components of the circuit board and probably even damage them.
- Always match soldering iron tip to braid width. It is also very important to choose the size and form of the soldering tip close to the width of the braid. It’s obvious that braid should be heated very quickly; and if it is too small, you won’t be able to transfer enough heat to the braid. On the other hand, if the tip is too big, you may transfer too much heat that may affect the other joints, even desolder the areas you don’t want to tough. That’s why the soldering tip should have the same width.
Note: In case you need to desolder the larger areas, it’s better to use a blade knife soldering iron.
- Before starting the work, put a bit of a fresh solder on the soldering iron tip. It would help to conduct heat more efficiently to the desoldering braid.
- If you need to do desolder or remove an excess heat from the very tight areas, first add some solder. Yes! And don’t be surprised. It’s very easy to explain: small amount of solder is really difficult to remove in the tight areas, but if you add some extra solder before starting any removal, you will have a joint with larger amount of solder, which would be easy to remove.
- And the most important: when desoldering, move the soldering iron tip over the braid, not the board or pad.
- Clean flux residues with a good quality flux remover. Once all the components have been removed, clean the whole area with the quality flux remover. Well, actually, this is an optional step for no clean lead-free braid, but still it’s a good idea to clean the board.
Note: Don’t forget to angle the board to allow the residue and the cleaning substance to fall off.
Now I consider my desoldering skills to be pretty good, almost professional. However, it took me some time to practice! There are lots of videos in the internet how to use solder wick. I was watching so many of them… Some are too long and non-informative, others too complicated for a beginner to follow. I can recommend the one below: it’s short, pretty clear and gives you all information you might need.
Conclusion
In summary, I would like to say that desoldering technique is the one you should learn. Believe me, if you haven’t used a solder wick yet, there comes a day when you would need to clean a joint from excess solder or make a small repair or do some other desoldering. Of course, solder wick cannot be used for every job you are doing, but it’s a handy thing to use for quick fixings!