A Comprehensive Guide to Correctly Soldering a DB9 Connector
Introduction
Soldering is an essential skill for anyone working with electronics. It involves joining two pieces of metal using a filler metal, called solder. One of the most common components that requires soldering in electronics is the db9 connector.
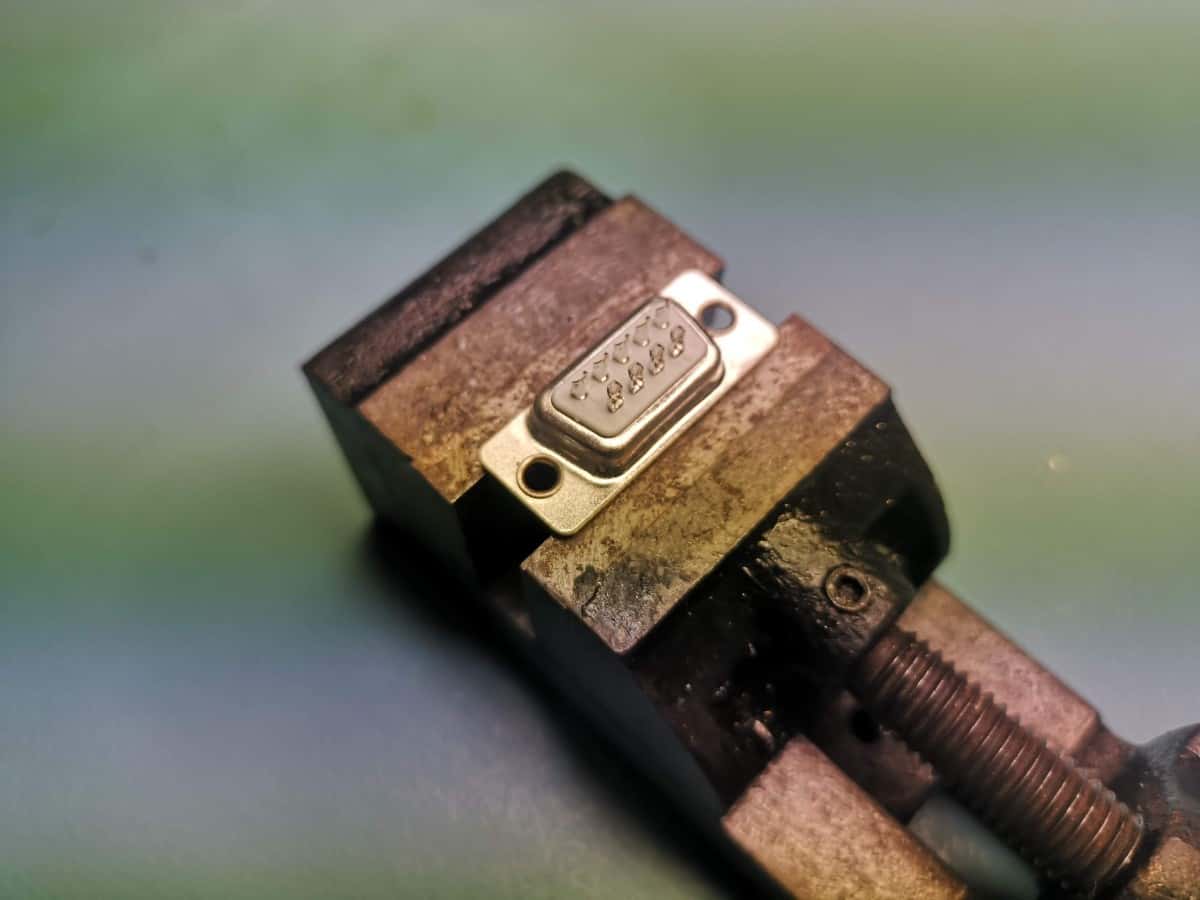
A db9 connector is a type of D-subminiature connector with nine pins, used mainly for serial communication and other digital interfaces. It’s essential to solder a db9 connector correctly since any loose connections or cold joints can cause unpredictable behavior, data loss, and even damage to your devices.
The Importance of Soldering a DB9 Connector Correctly
Soldering is not just about making strong physical connections; it’s also about ensuring electrical continuity between the components being joined. In the case of a db9 connector, every pin has a specific function, and failing to make proper connections can lead to data loss or device damage.
For example, if you’re building a custom cable for connecting your computer to an external device like a modem or printer through serial communication using db9 connectors, you need to ensure that all pins are correctly connected according to their functions. Failing to do so will result in incorrect data transmission and reception or even damage to your equipment.
Moreover, even if no immediate problem arises from poorly soldered connections in your project, over time they may corrode and break down as they age due to exposure to heat and moisture. This can eventually lead to system failure when you least expect it.
Tools Needed for Soldering a DB9 Connector
Before getting started on your project’s soldering process, you need some tools specifically designed for this task: – A Soldering Iron: A tool used for heating up metal parts so that the filler metal (solder) melts and forms strong bonds.
– Solder: A conductive metal alloy that flows into the joint to connect the two parts. – Flux: A chemical that helps clean and prepare the surface of the metal being soldered, helping the solder flow smoothly.
– Wire Strippers: A tool used to remove insulation from wires so they can be connected. – Wire Cutters: A tool used to cut excess wire or stray strands after soldering.
Having these tools in good condition and correctly used is essential for a successful and durable connection between components. Using high-quality tools is also important since cheap or poorly made tools may not heat evenly, fail prematurely, or even cause damage to your devices.
With all these things in mind, you now have an idea of why it’s so important to solder a db9 connector correctly and what tools you need for this task. In our next section, we’ll go through preparation steps you should follow before beginning your project’s actual soldering process.
Preparation
Inspect the db9 connector for any damages or defects
Before you start soldering the connections, it is crucial to inspect the db9 connector for any damages or defects. This will ensure that your final product works correctly and does not have any issues.
The first step in this process is to visually inspect the connector thoroughly. Look for any visible damage, such as cracks, breaks or bends in the pins.
If there are any visible damages, it is essential to replace the db9 connector entirely before continuing with soldering. If there are no visible defects, then proceed to test each pin with a multimeter to check for continuity.
Strip the wires to be soldered
The next step in preparing your db9 connector for soldering is stripping the wires that will be connected. You will need wire strippers for this task. The wire strippers have different slots of various sizes that can fit different wire gauges.
Insert one end of your wire into a strip slot that corresponds to its gauge and squeeze until you feel resistance. Hold on tight and pull gently on the insulation while twisting back and forth slightly until it slides off cleanly.
It’s essential not to strip too much of the wire as this could lead to poor connections or short circuits with other components close by. Ensure only about 1/4″ of bare wire is exposed from each cable end.
Clean the area around the pins of the db9 connector
Cleaning your working area before starting soldering will help ensure an excellent connection between all components and prevent any short circuits caused by excess debris or dirt. Use rubbing alcohol on a soft cloth or q-tip swabbing over each pin on both sides of your DB9 port’s board without getting liquid inside it (as alcohol might damage other electronic elements).
Clean each pin location thoroughly and allow it to dry before continuing with the next steps. Use a can of compressed air lightly to remove any remaining debris or dust from the connector’s surface.
Ensure that there’s no residue before moving on to the soldering process. By following these preparation steps, you’ll have a much more reliable, high-quality connection between your db9 connector and any other devices that it is connected with.
Soldering Process
Now that you have prepared the db9 connector and stripped the wires, it’s time to start soldering. Soldering is a delicate process that requires precision and patience. Take your time and don’t rush through this step.
Apply Flux to the Pins of the DB9 Connector
The first step in soldering a db9 connector is to apply flux to the pins. Flux is a chemical compound that helps the solder flow more smoothly by removing oxides from the metal surface.
Apply a small amount of flux to each pin using a flux pen or brush. Be careful not to apply too much as this can cause excess residue, which could lead to electrical shorts or other issues later on.
Heat up the Soldering Iron and Apply Heat to One Pin at a Time
Next, heat up your soldering iron by plugging it in and allowing it to reach its operating temperature. Once heated, hold it against one pin of the db9 connector for several seconds until it becomes hot enough for solder to melt into place.
Moving quickly, touch your pre-tinned wire (from section 2) against the pin while continuing to heat with your iron (1-2 seconds). You should see some resistance from molten solder as you press down on wire with iron.
Apply A Small Amount of Solder To Each Pin
Avoid using too much solder as this can cause blobs or bridges between pins which will result in an electrical short circuit. To add just enough quantity of hot molten metal on each pin try touching tip of wire being held with tweezers at junction point between wire insulation and exposed copper core towards edge where excess wire was removed (from section 2).
Once you see a bead of molten solder surrounding the wire, remove iron and let it cool. This should provide you with a clean and strong joint.
Ensuring It Flows Evenly
The key to making a good solder joint is to ensure the solder flows evenly between the two surfaces being joined. Avoid lumps or bumps of excess metal by keeping tip of iron in contact with both wire and pin while adding molten metal on each pin.
Repeat Until All Pins Are Soldered
Repeat this process for each remaining pin, taking care not to rush or apply too much heat. The end result should be clean, strong joints that are electrically sound. In the next section we will cover testing your work for continuity between pins and wires.
Testing and Finishing Touches
After soldering the db9 connector, it is important to check for continuity and inspect your work for any missed connections or cold joints. This section will cover how to use a multimeter to check for continuity, trim excess wire or stray strands with wire cutters and inspect your work properly.
Use a multimeter to check for continuity between each pin and its corresponding wire
A multimeter is an essential tool when it comes to checking for continuity between the pins of the db9 connector and their corresponding wires. You can use either an analog or digital multimeter depending on your preference. To test for continuity, start by setting your multimeter to the continuity testing mode.
Insert one probe of the multimeter into the first pin of the db9 connector while touching the other probe on its corresponding wire. If there is continuity, you will hear a beeping sound from your meter indicating that there is good electrical contact between the pin and wire.
Repeat this process with each corresponding pin and its wire until all connections have been tested. If you find that any of the pins do not have good electrical contact with their corresponding wires, reheat them with a soldering iron until they make good contact.
Trim any excess wire or stray strands with wire cutters
Once you have tested for continuity, it’s time to trim any excess wires or stray strands using a pair of sharp wire cutters. Excess wiring can lead to short circuits which can damage components beyond repair. It’s important that you use sharp cutters as dull ones tend to crush wires rather than cutting them cleanly.
Cut as close as possible without damaging either the solder joint or nearby components while making sure there are no exposed wires left sticking out from the insulation. Any exposed wires can cause short circuits that can damage your circuit or even start a fire.
Inspect your work for any missed connections or cold joints
Before finalizing the project, it’s important to inspect your work and ensure that all connections have been made correctly. A missed connection can either render the component non-functional or cause it to malfunction.
You must also look for cold joints which are caused by insufficient heat during soldering. To inspect your work, start by visually inspecting all of the solder joints for any gaps and then use a magnifying glass to look closer at each joint.
If you find a gap in any of your solder joints, reheat it with a soldering iron until you see the joint filling in completely. For cold joints, reheat them until they melt and blend into a smooth connection.
Testing and finishing touches are crucial when working with electronics as they ensure that everything is assembled correctly and safely. By following these steps carefully, you will be able to enjoy your project knowing that it has been assembled properly!
Conclusion
Summary of Steps
Soldering a db9 connector requires careful attention to detail and a steady hand. The steps involved include inspecting the connector for any damages or defects, stripping the wires to be soldered, cleaning the area around the pins of the db9 connector, applying flux to the pins, heating up the soldering iron and applying heat to one pin at a time, applying a small amount of solder to each pin ensuring it flows evenly, using a multimeter to check for continuity between each pin and its corresponding wire, trimming any excess wire or stray strands with wire cutters and inspecting your work for any missed connections or cold joints. Following these steps will ensure that your db9 connector is correctly soldered and will function properly.
The Importance of Taking Your Time
When working with electronics, it is imperative that you take your time and be meticulous. Rushing through this process can lead to damaged components and faulty connections which could result in costly repairs.
Soldering is not something that should be rushed; it requires patience, precision, and attention to detail. By taking your time and carefully following each step outlined above, you can ensure that your finished product will function properly.
Encouragement To Practice
Like any skill worth having, it takes practice to become proficient in soldering. Don’t get discouraged if your first few attempts aren’t perfect – keep practicing!
In fact, even experienced professionals make mistakes from time to time. Continuing to improve your skills over time will make future projects easier and more successful.
Whether you are an engineer working on a project or just someone interested in electronics as a hobbyist, learning how to correctly solder a db9 connector is an essential skill that should not be overlooked. With practice and patience you too can master this technique – remember only practice makes perfect.