Most monitors you will find around the world, and which I recommend are from Sony or licensed from Sony. You also can find information regarding Sony monitors online with relative ease. When you are looking to buy one, you can learn a lot from just a name of the monitor – at least when it is a PVM.
Firstly, you can figure out how old the model is:
30 Early to mid 80s
40 Late 80s to early 90s
50 Mid 90s
M Late 90s
L Early 2000s
And you can figure out things like where it was sold in originally, the target industry and few other things:
U United States
E Europe
A Australia
J Japan
M 220v
Q Multi standard support (NTSC and PAL)
MD Medical
In all Sony monitors, the first two numbers indicate the size, and the following indicate the series.
In addition to these you may see an N which Sony used for their budget series of PVM’s with a lower TVL count. What is a TVL count? For detailed reading, try Wikipedia or andynumbers’ gaming blog
Simplified, it is the measure of resolution for CRT’s. The higher the count, the sharper your scanlines are. The sharpness also increases the visible flicker on interlaced video as a lower count will cause the picture to be blurrier and the alternating scanlines of an interlaced video (more on that later) will blur together. Additionally, the black space between scanlines will be more prominent on higher TVL counts.
Older PVM models have the TVL count of 450 for standard tubes, and 600 for those with the HR Trinitron logo on them, standing for “high resolution”. The later generation had 600 as a standard and 800 on the higher end versions. The N versions have a TVL count of 500 and are closer to good consumer TV sets. If you are looking at N-series monitors, make sure the model has RGB connectors.
For BVM’s the number of TVL’s depends on both the model and the size. A 9-inch model will likely have 450 TVL’s, while a 14-inch monitor will have 800. Later versions will likely have 1000 for a 24-inch and above, while 20-inch models will be 900. Unless of course they are widescreen models, in which case they will have less. This is because you count the vertical lines in a horizontal distance equal to the height of the tube. BVM’s that go up to 720p and 1080i can be found.
Resolutions:
Most people don’t associate resolution with TVL’s, instead you will think pixels and the resolution that your console outputs. 240p is the most common NTSC resolution for retro games, which is 352 x 240 pixels, or 288p for PAL with more vertical pixels. Most PVM’s support up to 480i NTSC or 576i PAL. 480i is particularly common with PS2 games and is why many PS2 games seem to flicker. If you are interested in why this happens, you may want to check the Wikipedia article – for retro gaming, you will want want progressive scan if you can get it.
Some PS2 games, many Dreamcast and GameCube games support 480p and majority of Wii games support 480p, but most PVM’s don’t. Here’s a list of those that do, that I know of:
Sony PVM14L5
Sony PVM20L5
Sony PVM20M7MDE
Sony BVM-D20F1*
Sony BVM-F24*
Sony BVM-A32E1W*
Sony BVM-A24E1W*
Sony BVM-A20F1*
Sony BVM-A14F5*
Sony BVM-D14H1*
Sony BVM-D14H5*
Sony BVM-D24E1W*
Sony BVM-D32E1W*
*E/J/U
Some common examples:
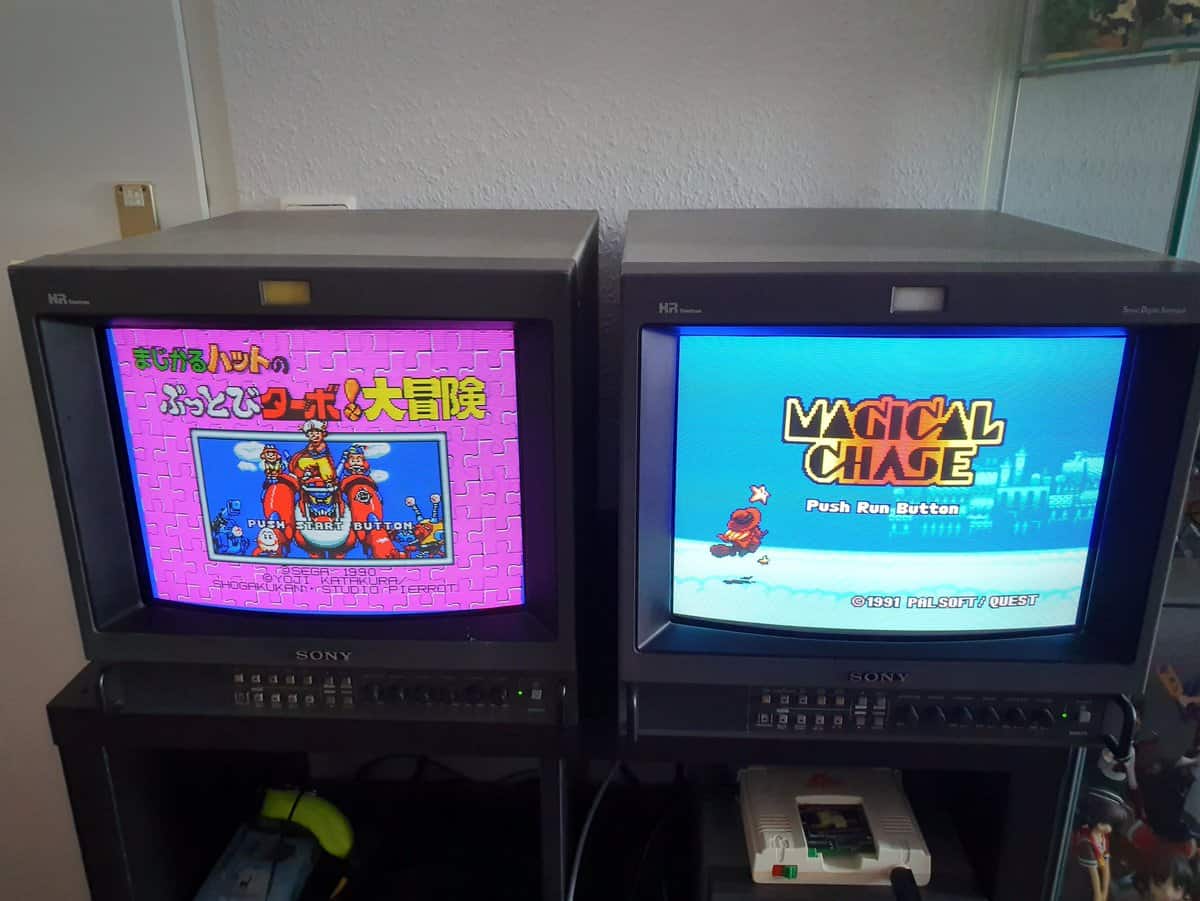
I have some monitors you will typically find on the secondhand market. Three professional video monitors, a 13-inch Sony PVM 1354Q, a 14-inch multi-format Sony PVM-14L5, a 14-inch Olympus OEV143 which is essentially a Sony PVM 14M2, an actual Sony PVM 14M2, and lastly a small broadcast video monitor, Sony BVM-9045QD. Despite all sharing the same Sony Trinitron technology, they are all very different monitors that were made with different uses in mind. Let’s take a closer look at each.
Sony PVM-14M2U
PVM-14M2U is probably the easiest relatively new monitor to find. It has 600 TV lines (as opposed to PVM-14M4U which has 800) and also has 20-inch version in PVM-20M2U. Even though they came out in the late 90’s, I have seen units with manufacturing dates all the way until 2004. Mine is made in 2002 looks almost like new.
Olympus OEV143
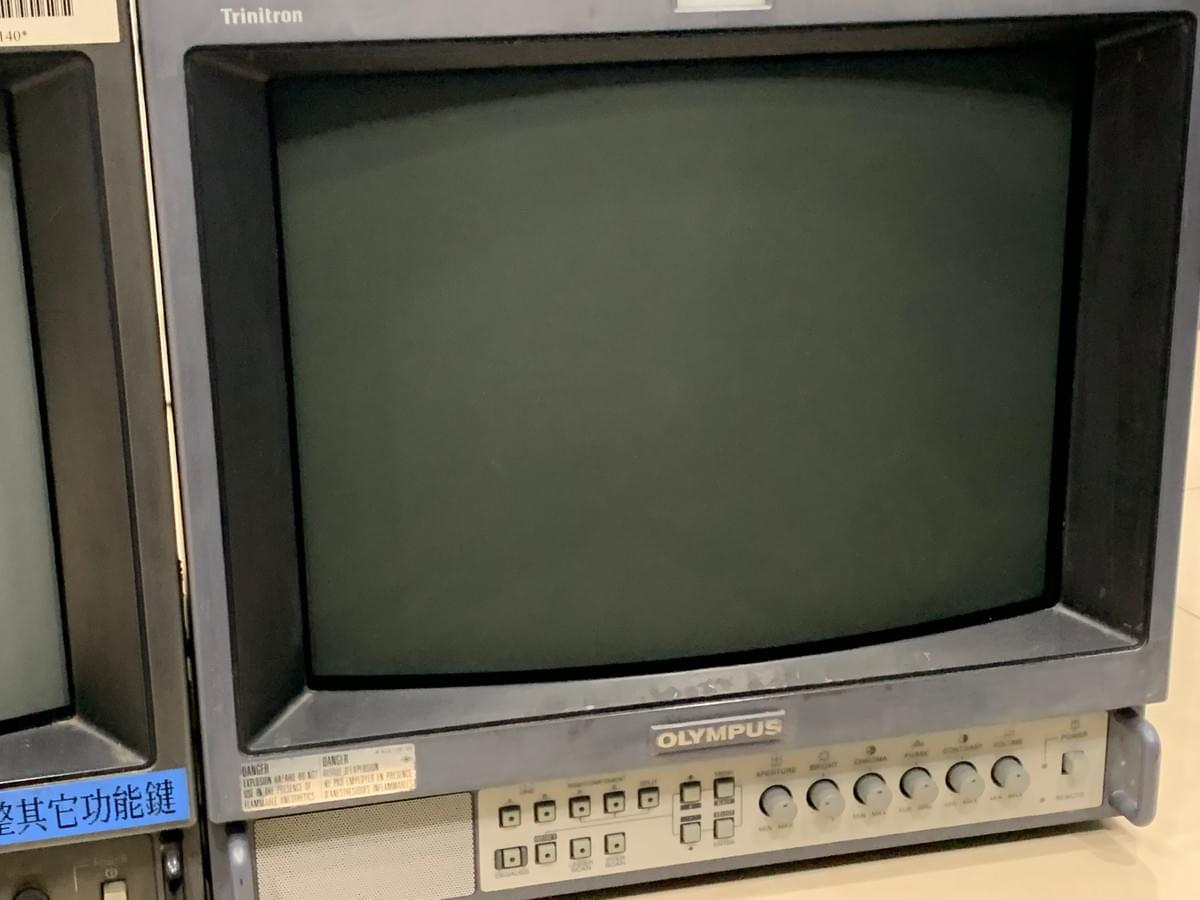
Olympus licensed Sony’s PVM technology to use in their monitors mainly targeted at medical use. You can actually see the history of this particular monitor from the stickers that warn you not to use it near flammable anesthetics. Medical monitors have often been used a lot less than monitors that were used for example as security monitors, where they were on 24/7. However, their use often has been less varied, resulting in burn-in on the tube. This particular monitor retained the ghosts of its medical past with numbers imprinted on the tube, but since it uses the same tube as Sony PVM-14M2 that it is based on, I could replace the tube with an unused new spare from 2004, and the image is now great. While these monitors are very similar, if you can choose, take the Olympus since it has two sets of RGB connectors. This allows you to connect two consoles, two SCART switches or two Extron Rxi interfaces, or a mix.
Sony PVM-14L5
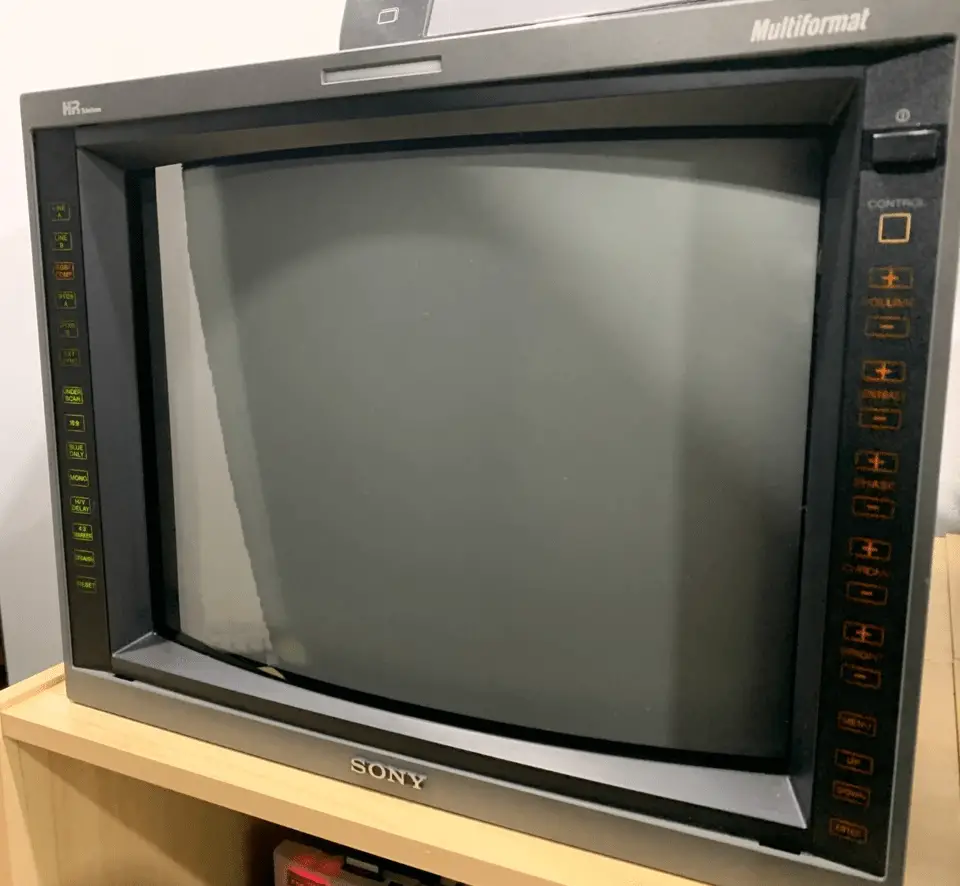
The 14L5 and its larger, 20-inch sibling 20L5 are multi-format monitors, which means they support 480p, unlike most of the PVM’s which can only display up to 240p or 480i. The RGB and connectors are the same are the same, you just choose component in the menu. You play a lot of 480p games on consoles such as Nintendo GameCube, you may consider paying the premium that these monitors usually command.
The controls are buttons on the sides instead of the panel below the monitor as the older models. The buttons light up when the control button is pressed. There is a button that should switch between RGB and component without having to go to the menu, but on my monitor at least it doesn’t work.
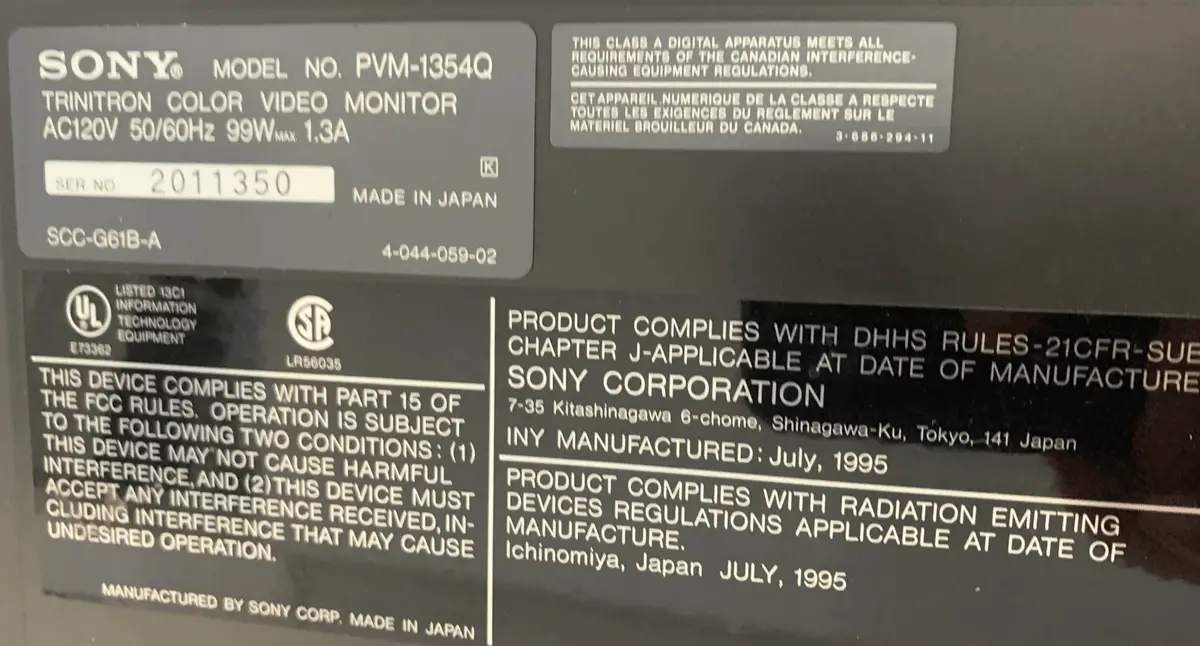
Sony PVM-1354Q
The Sony PVM-1354Q were sold for variety of uses, and this one in particular was used in an editing room for subtitles. I know this since I got it from the original owner, and it was still plugged in to a Sony Betacam Editor. Unfortunately, the subtitle timestamps have burned into the tube, and that is not the only problem with this monitor. We’ll get back to those issues in a later section.
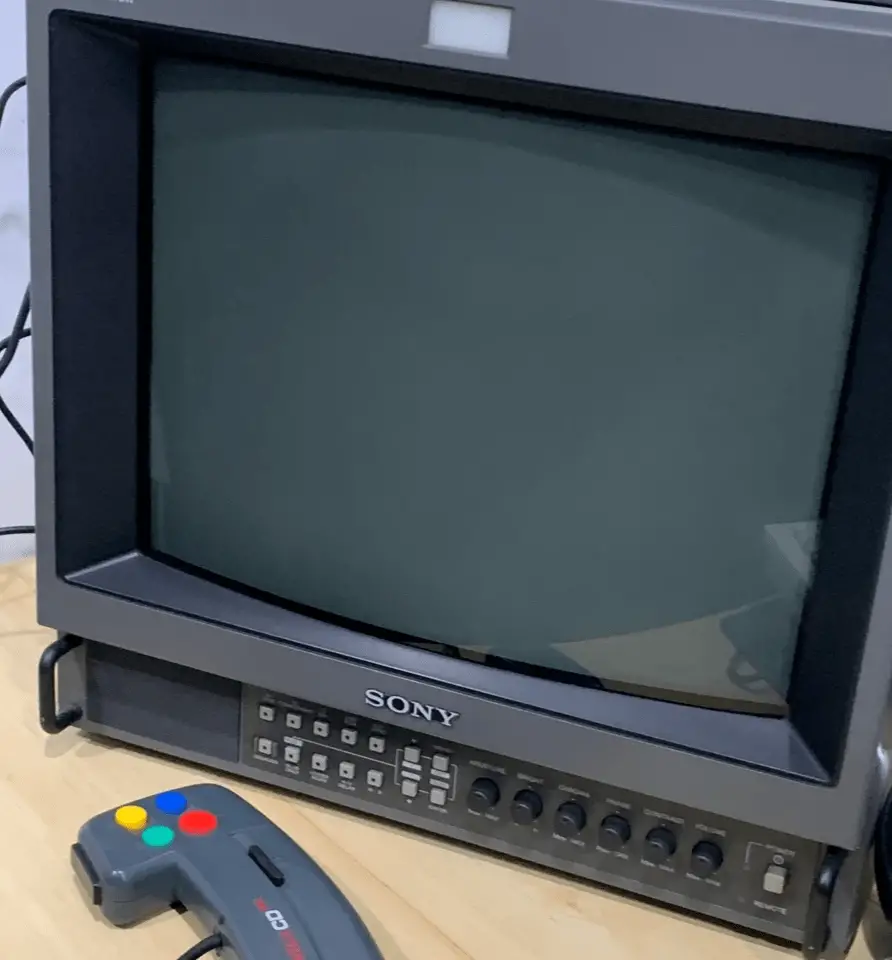
Sony BVM-9045QD
Sony BVM-9045QD is a 9-inch broadcast video monitor. This one was used in a production truck of a TV station. BVM’s generally have superior options to fine-tune the image and larger ones come with more connectivity and expansion options, however, they may need additional hardware to operate, so if you are buying one, make sure you have what is needed to input RGB and to navigate the menu. There are many configurations and expansions out there so looking at model numbers alone is not enough. One benefit of BVM’s is that on many you can actually check how many hours they have been in operation. If you can’t see any issues that I’ve listed in the “potential problems” section and the usage counter shows under 20,000 hours, the odds are good that it will be working for a long time.
Inputs, cables and sync:
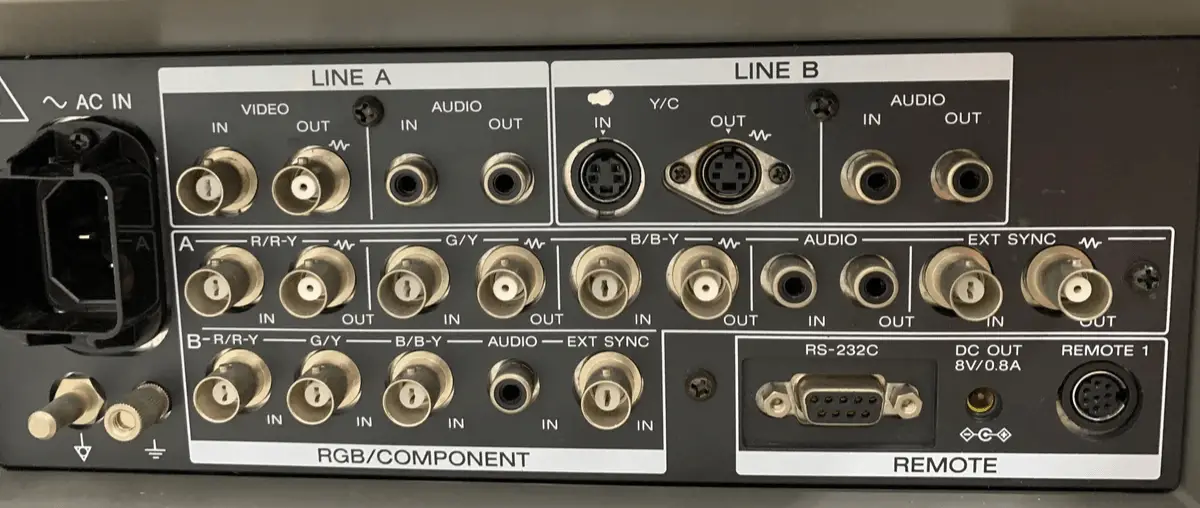
Professional CRT monitors use BNC connectors. If you use BNC connectors (for example you have a SCART to BNC adapter) it will also have a separate sync wire which you need to connect to external sync and choose “ext sync” setting on your monitor, as well as choose RGB as the output. If you use component cable, you choose component and internal sync.
To connect your retro consoles or computers you need to make sure to:
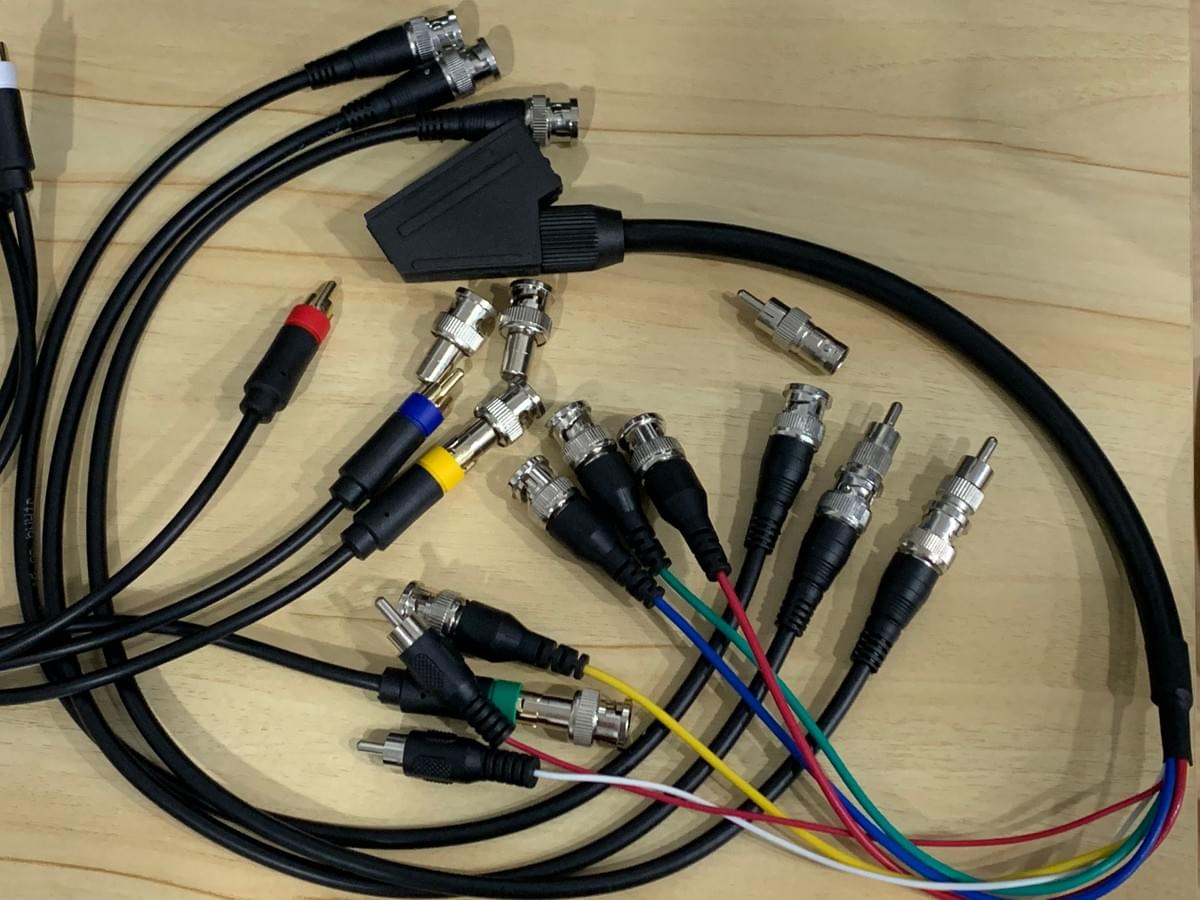
- Use proper 75 Ohm cables, either BNC or RCA plugs with adapters. If you use RCA cables, make sure they are 75 Ohm cables. You will find cables rated things such as “SYV-75-3” where SYV means that it is a solid polyethylene insulated coaxial cable, 75 Ohm, with 3mm insulation. You will not need more insulation than 3mm for retro gaming. Proper, 75 Ohm cables with RCA plugs are harder to find – HD Retrovision component cables are a safe bet.
- Make sure you get CSYNC from your consoles. RetroRGB has an article that covers how and why: https://www.retrorgb.com/csync.html.
PVM’s also usually have a single mono RCA input for their internal speaker. The speaker is not great, and you really can get better sound even with very cheap computer speakers.
Potential problems:
If you can test the monitor before buying, there are three things you will want to check; does it have any burn-in, is the geometry off and can it be adjusted, and of course whether or the retrace lines lie outside the viewable area where they belong. Here are some examples:

The retrace lines are visible. All RGB monitors have these lines but they belong outside the viewable area. Some sellers may try to be sneaky and stretching the image out so far that they disappear, but too much overscan will make part of your games disappear outside the view. This can generally be fixed by changing the PVM capacitors. If you can find a monitor with only this problem and you know someone who can change the capacitors for you, it might just be a good deal. Messing with the insides of a CRT can be dangerous, so only attempt fixes yourself if you know what you are doing.
Burn-in can be very easily spotted if it’s particularly bad, like in the image above. With naked eye you can see the burn-in before the monitor is even turned on, but it would not show on my camera. It is not possible to remove burn-in from a CRT without changing the tube, so unless you can source a good tube and either are a competent electrician or find someone to change it for you, you don’t want to buy a monitor like that has this problem. Sometimes the burn-in is very subtle and you can only see it against a certain background.
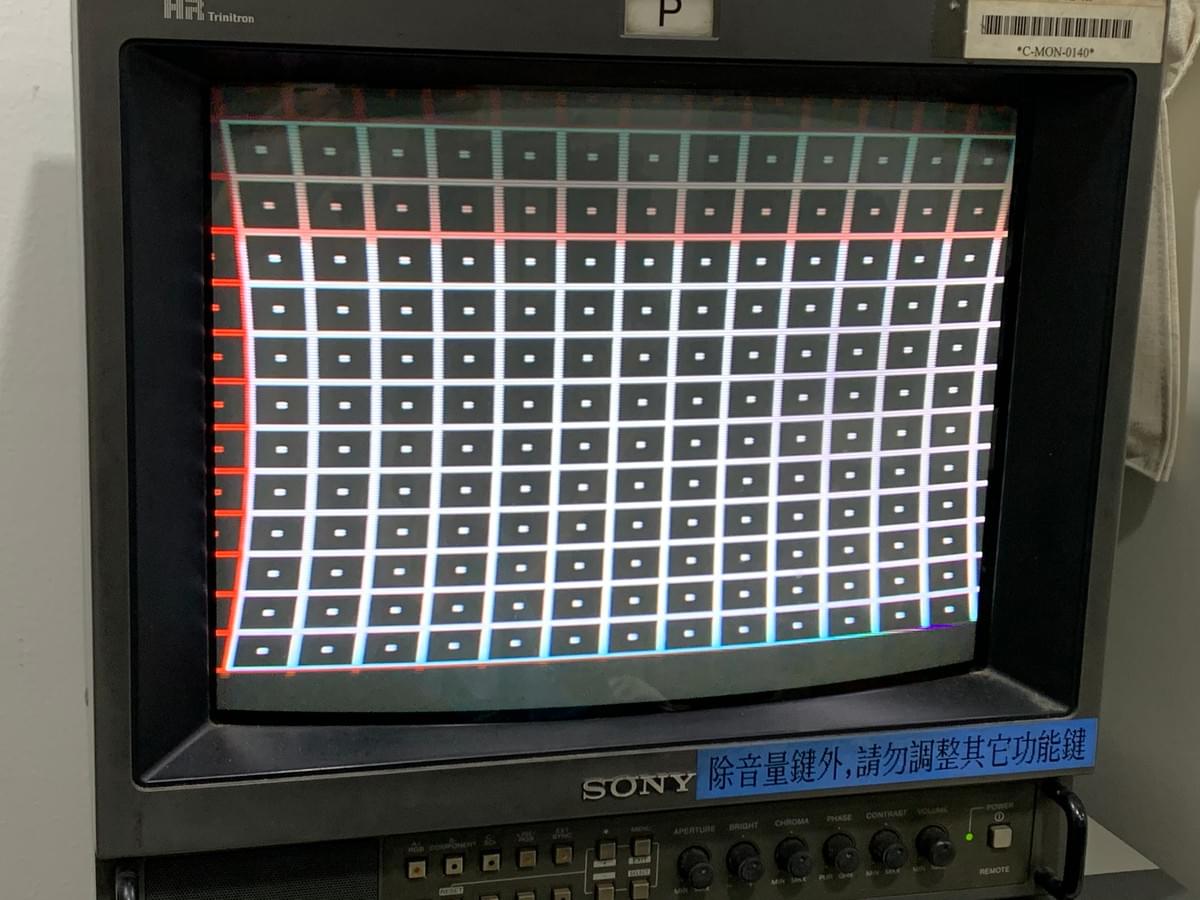
The geometry is off. You can check the geometry by anything with straight lines. Some games have test screens, and just about any old NES game will have a lines that are supposed to be straight that you can use to check this. You can adjust the geometry in the advanced menu, but when those adjustments don’t work, as in this case, you would need to replace the capacitors and possibly do other fixes as well. I haven’t bothered with this monitor since it also has burn-in.
Adjusting the image:
There may be an easy fix for the geometry. You can access the adjustments with a button combination in the menu, by pressing enter and degauss at the same time. If you are using NTSC, you need to make sure that you see “60”, as NTSC is 60hz opposed to 50Hz for PAL. Opposite for PAL settings. The basic settings you have available are:
Menu/Enter – scroll through the settings
Up/Down – change the setting
Degauss – Press twice to save the setting
H Frequency – Horizontal position
Video phase – Horizontal position as well
H Size – Horizontal size
V Center – Vertical position
V Size – Vertical size
Pin Phase – Tilt over center axis
Pin Amp – Corner adjustment
Lower Pin amp – Lower corner adjustment
U/L Pin – Upper corner adjustment
SEXY – Center line adjustment
V Linearity – Vertical linearity
V Bow – Bend upper screen left or right
Lower V Bow – Bend lower screen left or right
V Angle – Vertical angle
Conclusion:
If you are buying a modern monitor, the advice would be “buy one that best suits your needs”. We don’t have to be that vague here. If you don’t want to do a lot of research into BVM’s, buy the L5 series PVM since it supports up to 480p signal and is a relatively new model. If you have a choice between Olympus and Sony, buy the Olympus because it has likely seen less use as a medical monitor, and you get the extra inputs.