
Removing any chip from a PCB cant be a difficult process. Any component with more than 3 pins needs to removed by a more detailed process other than just holding the soldering iron across the legs and pulling the component out. There are 3 main different methods to desoldering a chip. Depending on weather it is a surface mounted IC or through hole chip different methods can be appropriate.
What equipment might I need to remove a chip from a Circuit Board
Destructive method – Cutting a chip from a PCB
If you do not need the chip that you want to remove and It dosnt matter if the chip is destroyed, you can just use a pair of side cutters and snip each leg of the chip. Then remove each leg from the holes individually. To remove each leg, hold the soldering iron on each of the holes in turn and use a pair of tweezers to pull out each leg. Be sure not to hold the soldering iron on the pcb for any longer than nesessary or you may find the pads coming away from the pcb. Use some de-solder wick to remove any excess solder. Now that the holes are clear its probably a good idea if there is room on the PCB to fit an IC socket so that the new chip can be removed with ease in the future.
Pros and Cons of this destructive method
Pros
- Easy to do and doesnt take much skill
- Cheap option if you dont need the old Chip
- No special tools required
Cons
- Can sometimes damage the pcb
- Risk of pad and track removal
- Destroys the old chip
I’ve found some good quality cutters that are perfect for cutting legged componants here: on Amazon
Desolder Wick Method
De-Solder wick is a very easy to use method of removing excess solder from just about anything that has solder on it.
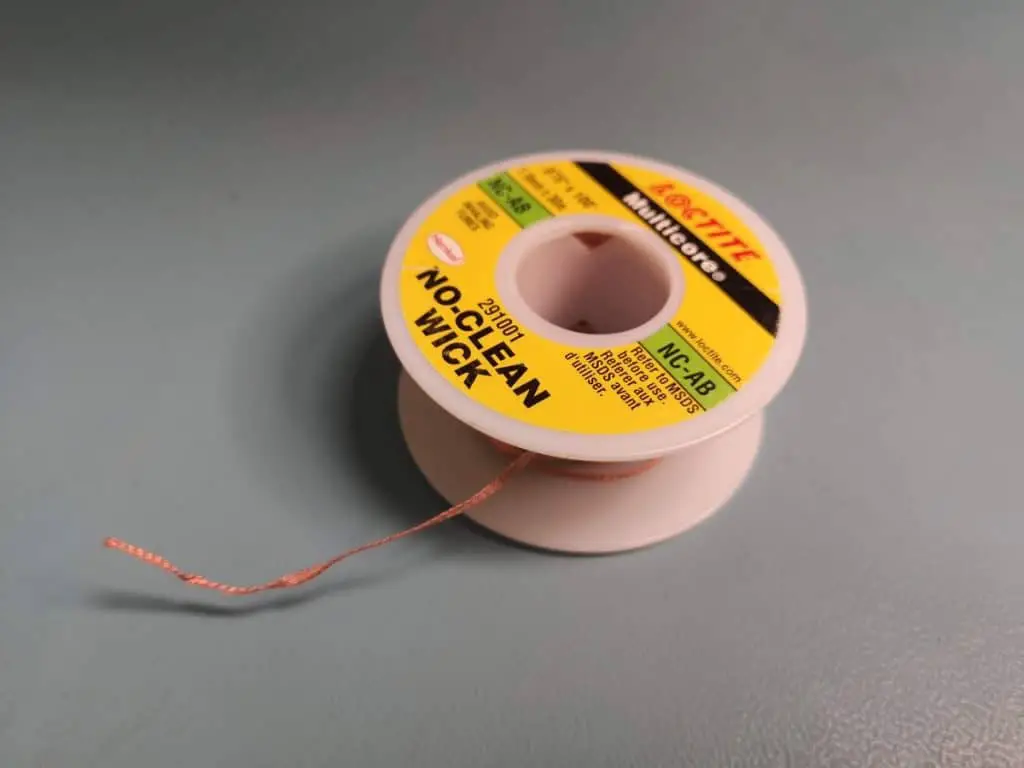
How do you use a Desolder Wick?
To start off make sure the end of the solderwick is clean, if not snip off the end with some side cutters to make sure there is no solder already on the end.
Turn the PCB upside-down and place the end of the wick over the first leg of the chip and then hold the soldering iron on top of the wick until the solder starts to melt and you start seeing the solder soak into the de-solderwick. Keep the soldering iron on the end of the wick until no more solder is soaking into the wick.
Move onto the next leg of the IC and repeat the process until you have removed the majority of the solder from of the legs of the chip.
Now although you can see that most of the solder has gone from the legs, you will find that the chip will not come out of the holes. The legs will still be attached to the inside of the holes. So using a pair of tweezers and the soldering iron, hold the iron against the leg the wiggle the leg with the tweezers to free it from the side of the hole.
Repeat this process with each of the legs of the IC.
Gently pull on the chip and it should just come away from the PCB.
Job Done!!
Pros and Cons of the Desolder Wick method
Pros
- None Destrictive: the removed chip is not damaged
- Leaves clean empty via holes for the new chip to be fitted
Cons
- Can sometimes damage the pcb
- Risk of pad and track removal
- Can be fiddly to do
- Desolder Wick is an extra consumable that needs to be purchased first
I’ve found some good priced solder wick that will do the job just fine here: on Amazon
Solder Sucker or Solder Pump Method.
The solder sucker method uses a vacuum suction device to remove the solder from the PCB.
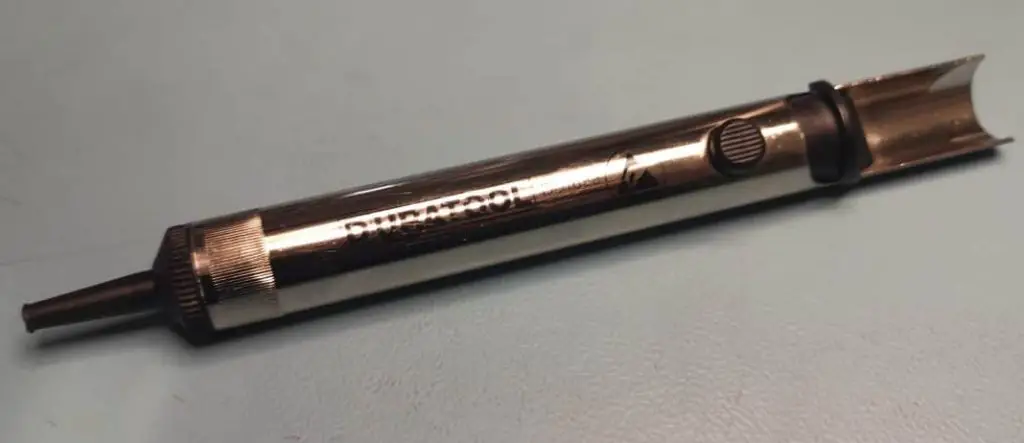
How to use a Solder Sucker or De-Solder Pump
The most reliable way to use a solder sucker for removing a through hole IC is to hold the PCB vertically in a vice so that you can access the underside and topside of the pcb with each hand.
Hold the soldering iron on the Top of the first pin of the chip and place the solder sucker over the same pin but from the underside of the pcb. When solding iron has melted the solder, press the button on the solder sucker to extract the solde from the surrounding hole.
Repeat this process for all of the pins of the chip.
Pros and Cons of the Solder Sucker Method
Pros
- None Destrictive: the removed chip is not damaged
- Leaves clean empty via holes for the new chip to be fitted
- No consumables are used so is a low cost method
Cons
- Can sometimes damage the pcb
- Risk of pad and track removal
- Doesn’t always clear all of the solder and more attempts may be needed.
Here is a very high quality Solder Pump I’ve found on Amazon :https://amzn.to/35wgQz3
How to remove stubborn solder
More Articles