How to Remove Solder from a Circuit Board Hole
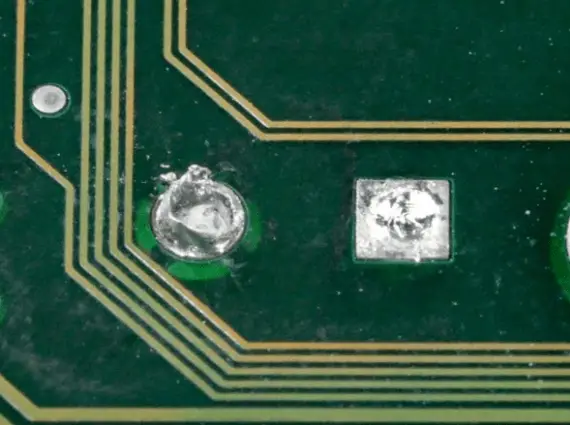
Frequently after removing a component from a PCB you will find that some of the holes will still have solder remaining. This solder can be very difficult to remove especially if it connects to a ground plain or heat sink. A through hole which is clogged with solder will prevent an replacement part being fitted in place.
Conventional methods for removing stubborn solder include using a solder sucker or solder braid.
Here are some of the methods that can be used to remove stubborn solder from a pcb holes.
How to Remove Solder with a Desolder Pump, Solder Sucker or Desoldering Bulb
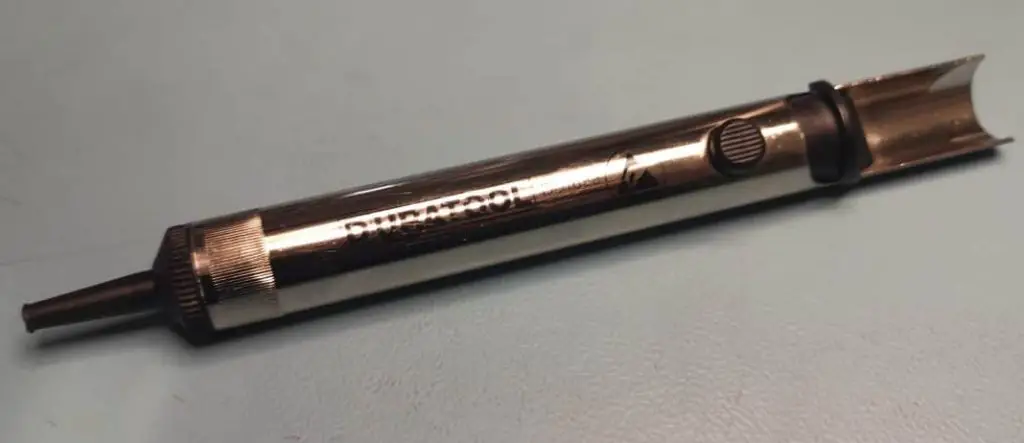
What is a desolder pump?
A desoldering pump also known as a solder sucker, is a manually-operated spring loaded tool which uses air to remove molten solder from a parts of a printed circuit board incude blocked pcb holes. You can get your own one here: https://amzn.to/3jDOcBS
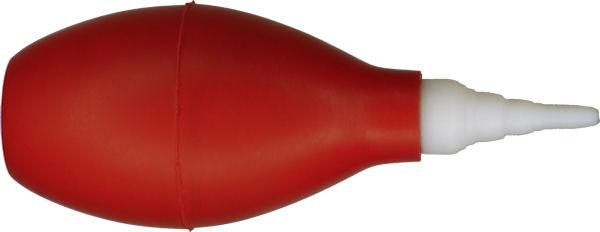
What is a desoldering Bulb?
A desoldering bulb is a manually-operated rubber vacuum tool which uses air to remove molten solder from a parts of a printed circuit board including blocked pcb holes. You can get your own one here: https://amzn.to/3d3SPnK
To remove excess solder from a hole:
- The printed circuit board is held in a vise or PCB holder
- The tip of the desoldering bulb is placed behind the hole and the bulb is squeezed
- The tip of a heated soldering iron is pressed against the hole to melt the solder
- Keeping the bulb against the hole, the bulb is released (unsqueezed) either with the soldering iron in place or just as the iron is being withdrawn. I’ve found both techniques helpful depending on the size of the hole and amount of remaining solder. In either case, the molten solder is drawn into the desoldering bulb.
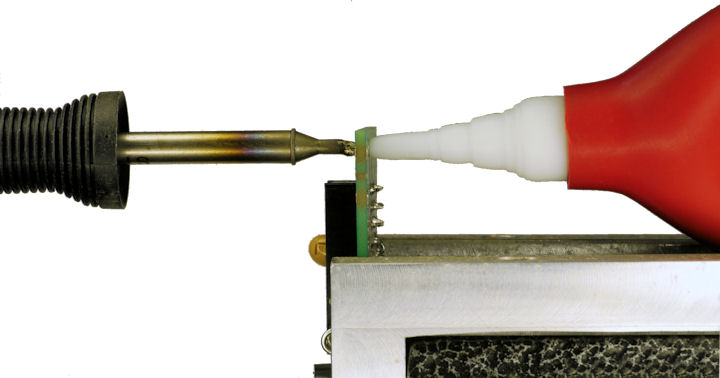
Desoldering hole with soldering iron and desoldering bulb
Unfortunately, the vacuum action of the bulb also removes the solder from the tip of the soldering iron. To prevent damage and to allow for maximum transfer of heat to the next clogged hole, regularly reapply a coating of fresh solder to the tip of the soldering iron. (This is called “tinning”.)
Drill
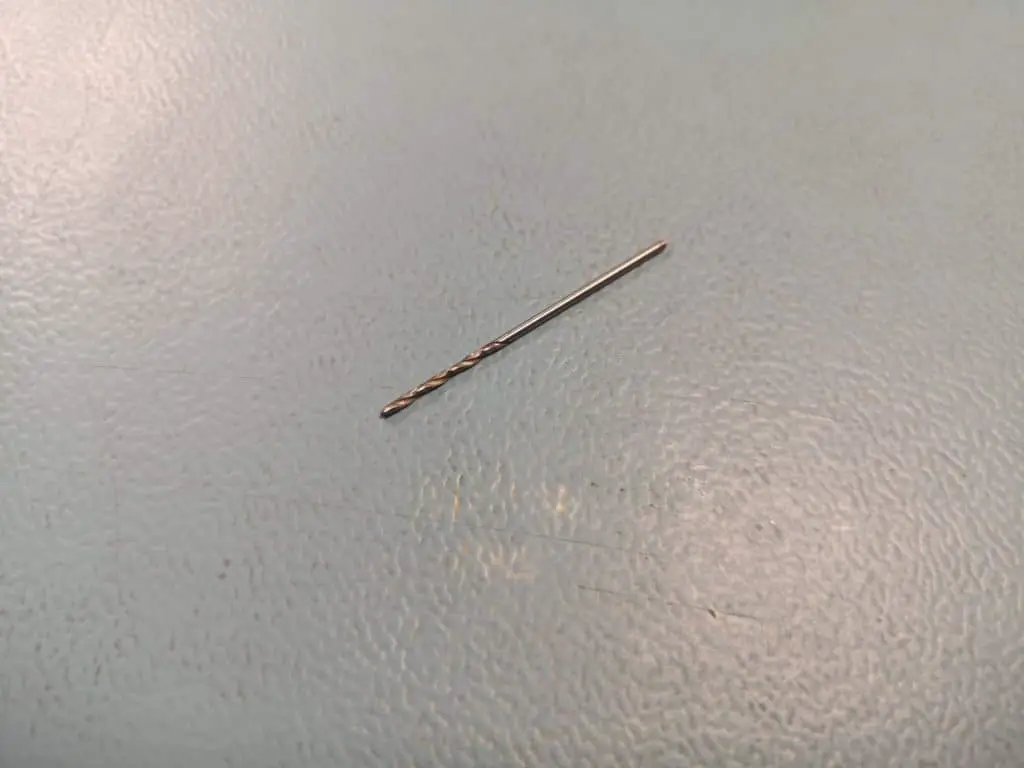
Another effective technique is to use a small hand drill or a pin vise Get one here: https://amzn.to/3aWFWsJ and some Drill Bits here: https://amzn.to/3tYMAYq.

Pin vise used as a hand drill
For many PCB layout programs, the default hole size is 0.029 inches, which is a #69 drill. Of course, you’ll want to purchase a variety of drills depending on the sizes of the holes that you need to unclog.
Be careful. Using an oversize drill will remove the through-hole plating that connects the trace from one layer of the board to another layer. The loss of electrical connectivity may prevent the circuit from working.
Select carbon, cobalt, or high-speed steel drill bits, not carbide. Carbide will stay sharper longer, but is brittle. Therefore, carbide is only appropriate for industrial repeated drilling in a rigid setup, not a hand drill.
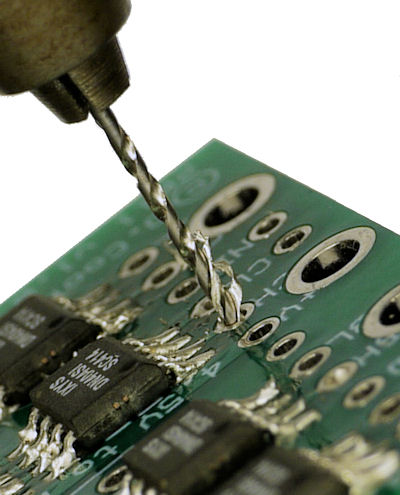
Drill removing excess solder from hole
Only the tip of a drill has cutting blades. The sides of a drill are dull channels for the material. So, reinsert the tip multiple times if necessary rather than spinning the sides of the drill in place.
I find that sucking out the solder with a desoldering bulb and then drilling out any remaining solder is great combination.
How to Remove Solder using Solder Wick or Braid
Desoldering Braid
On the other side of the aisle, there are people that swear by desoldering braid. It consists of tiny woven copper wires that wick up adjacent solder when heated.
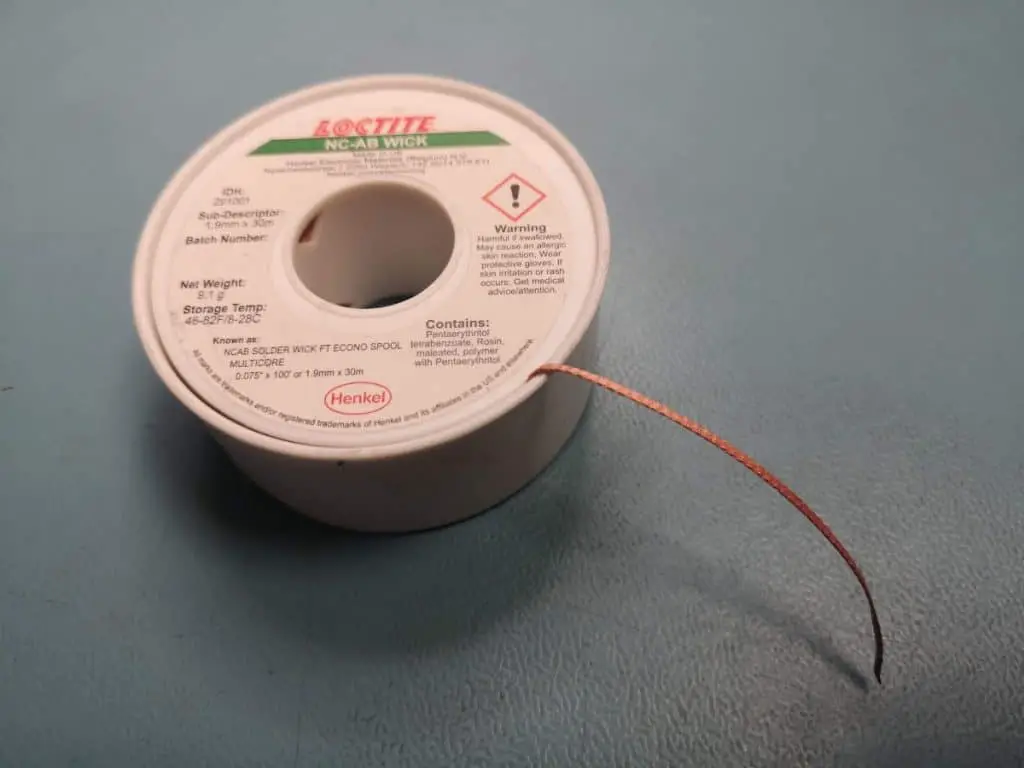
The idea is that you place fresh desoldering braid on top of the hole (or anywhere with excess solder), and then apply heat to the braid using the tip of the soldering iron. When the braid is saturated with old solder, you simply snip off the end. Get some of your own here: https://amzn.to/3pbhd9e
Pencil Lead, Stainless Steel Needle, or Toothpick
Other people recommend pressing a thin rod into the solder-clogged hole while heating it from the other side with a soldering iron. The rod mechanically pushes out the molten solder.

Tip of mechanical pencil
To prevent the rod from becoming soldered in the hole, people use materials that are difficult or impossible to solder. Examples include: carbon pencil lead, stainless steel, or wood (toothpick).
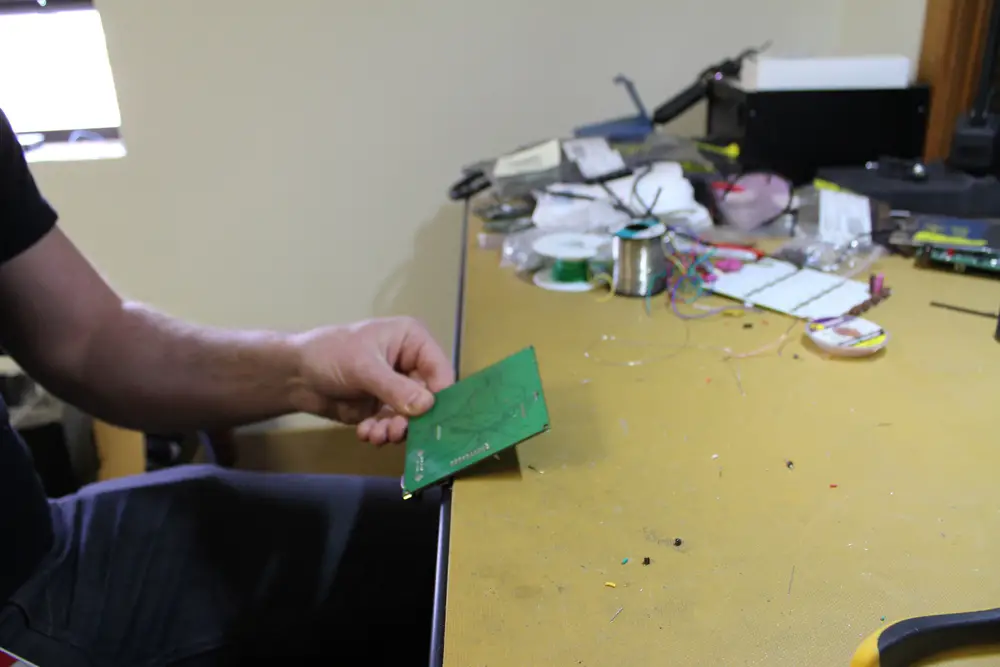
Slap Method
Hold the soldering iron on the solder joint until the solder is melted.
Hold only until the solder is melted.
When the solder is liquid, I hold the board about six inches off the edge of my workbench, and gently (but firmly!) “slap” the edge of the board on the table.
Hold until the solder in the via is melted,
…and then firmly “slap” the board on the edge of the workbench.
When the board hits the table, the board stops, but the liquid solder (and hopefully the header pin) comes out onto the workbench. The solder is dangerously hot, so once again, make sure to wear protective goggles and clothing covering anywhere the solder might accidentally fly. Once the solder has left the via, it will become solid again in about a second, so it wont be too hot for long. If all the solder or the header pin doesn’t come out of the via, simply repeat the process. I do this for each of the pins until all the vias are clear of solder.
It is important to note at this point that one should never insert the tip of the soldering iron directly into the via. This can easily rip the pad off the outside of the via, which is a much bigger problem than a via with too much solder. Always remember to only touch the outside of the via with the soldering iron.
Once all the solder is cleared from the vias, you can re-install some new headers (on the correct side this time!). And you’ve completed in five minutes what would have taken much longer with a solder vacuum tool.
This can be a bit confusing if you’re just going from the pictures, so please be sure to check out the video below for full action-shots!
Leave the Solder in the Hole
There is one last approach that is practical if only one hole is clogged per component — do nothing. Later on, when you want to solder a wire or component in the hole, simply heat the wire or component lead while pressing it into the hole. The solder will melt.