Step 1:
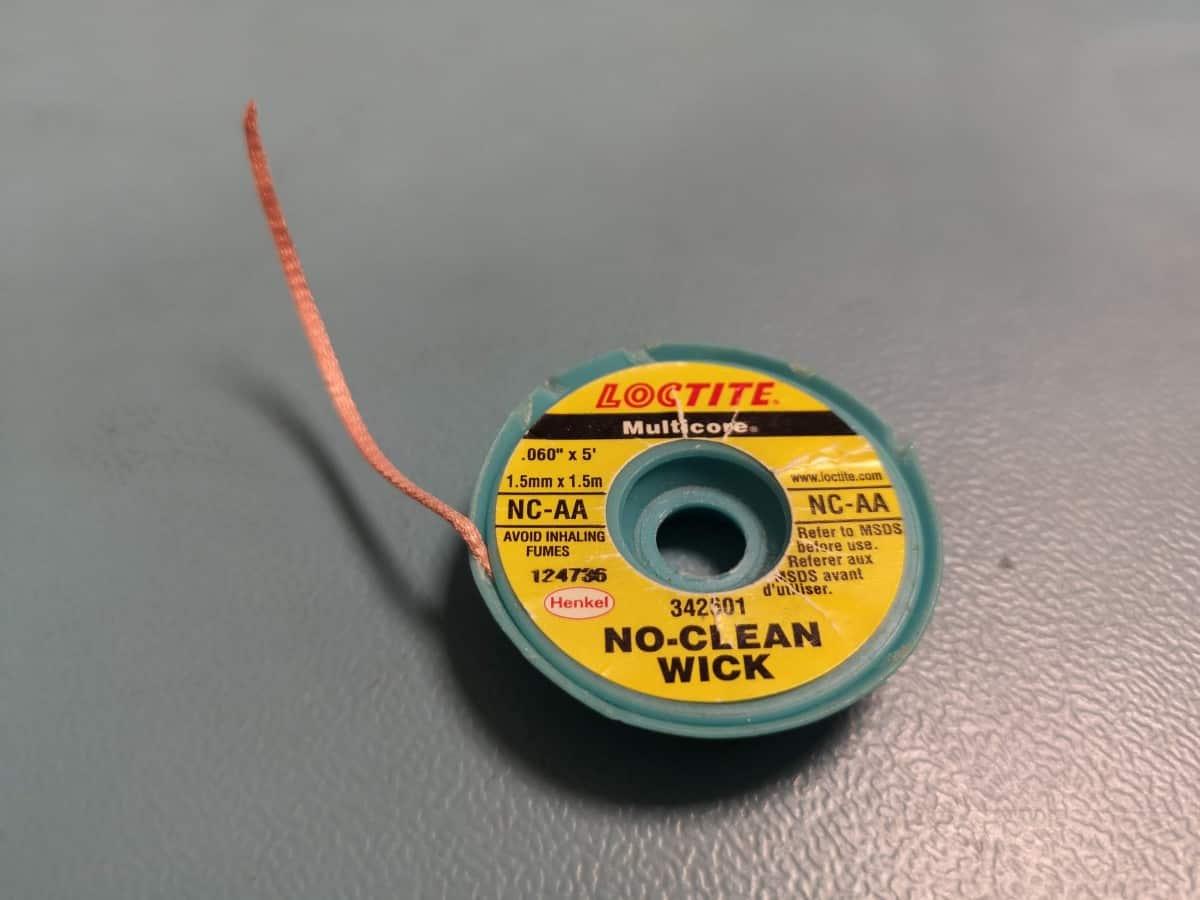
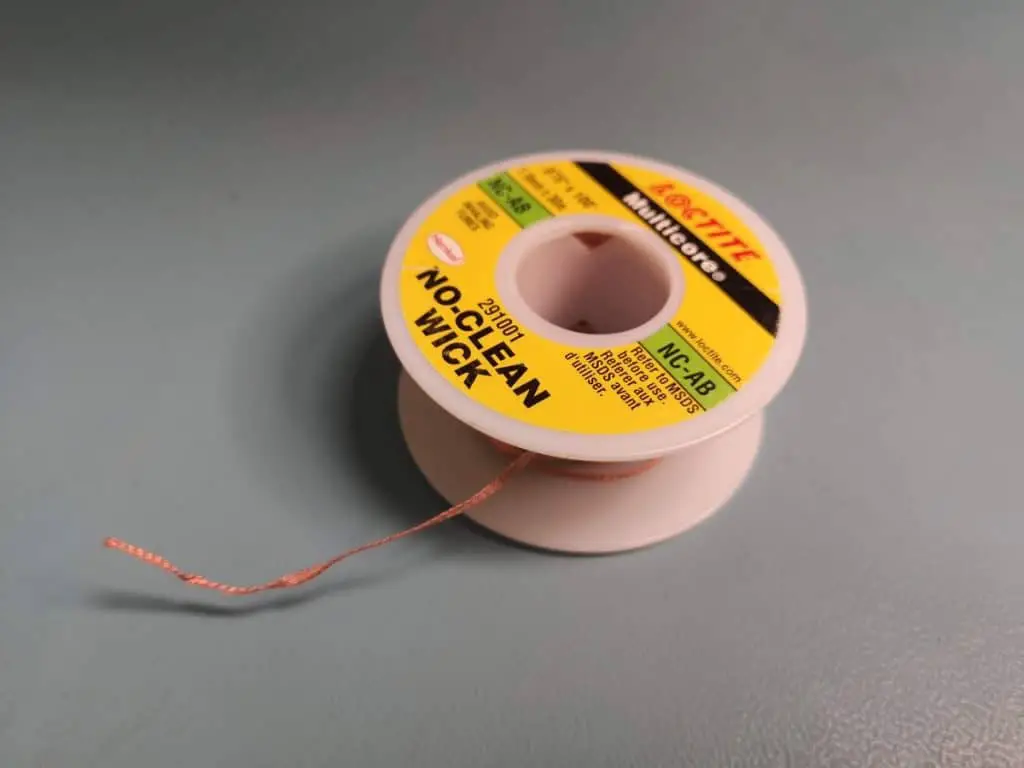
Extend the solder wick out of the reel and ensure there’s no solder already on the end. If there is any solder already wicked onto the end. Just use a pair of side cutters to snip the end off to leave a clean, unused strip of solder wick.
Step 2:
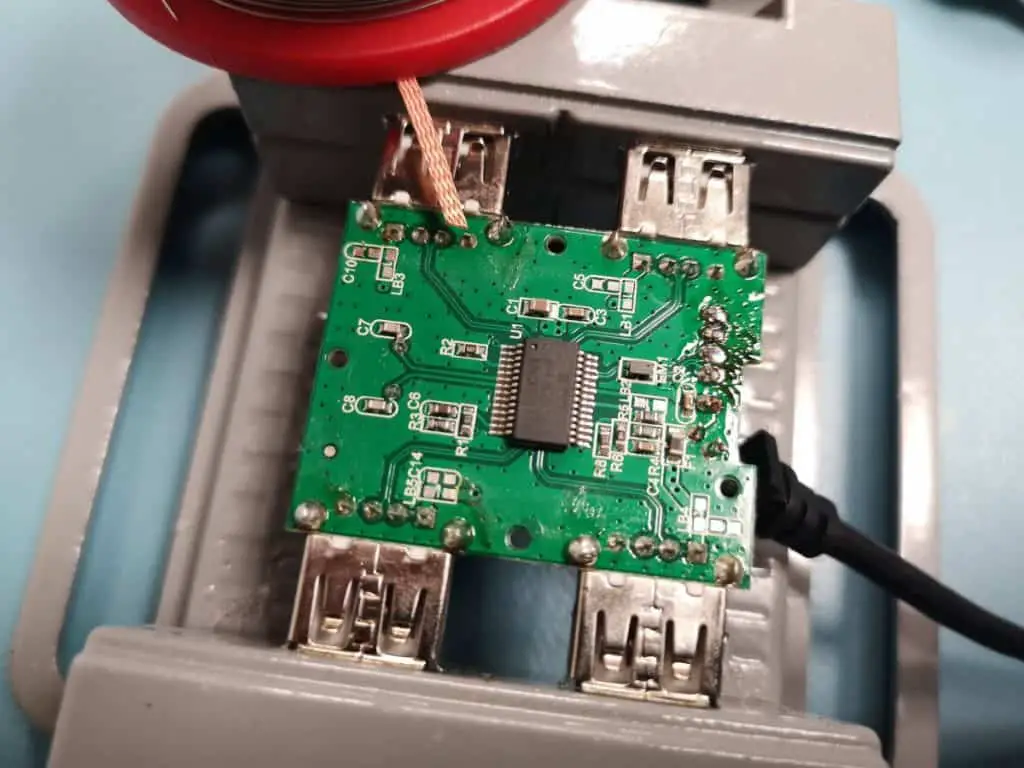
Locate the area of solder on the PCB that you wish to remove. And hold the tip of the solder wick down onto it.
Step 3:
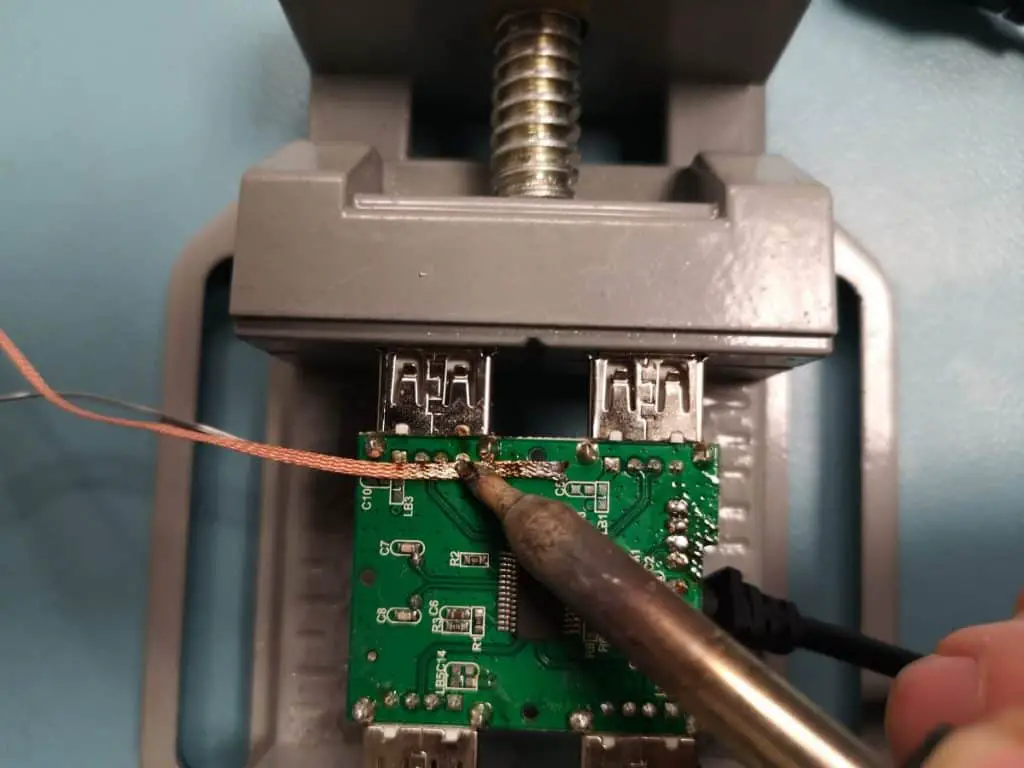
Make sure your soldering iron is set to at least 350 degrees and hold the iron down on top of the end of the solder wick.
Step 4:
After a few seconds the solding are should start to melt the solder and the solder will start to wick up into the solder wick. Be careful the solder wick will begin to get very hot. So you might want to just do this a bit at a time.
Step 5:
When the solder wick becomes fully saturated with solder and there’s more you need to remove, simply snip the end portion off and continue.
Step 6:
Repeat steps 2 though 5 until all of the solder has been wicked away.
Step 7:
Use flux cleaner and a brush to remove any dirt and flux from the pads so the the area is prepared for any new componants.
Solder wick is available with or without flux, and with multiple types of flux. Flux helps clean the surface being heated which inevitably helps the solder flow. It is recommended to add flux to solder wick that isn’t already coated with it or solder wick that may already have it but it is aged. For more information on flux and the different types, please refer to the blog found here.
In summary, solder wick is not the right tool for every job, but it is a very good item to have on hand for quick fixes.