If you have an old Commodore Amiga that’s not working well, it might need new capacitors. Capacitors are small parts that store electricity, but they can wear out over time. This guide will show you how to replace them and make your Amiga work like new again!
Key Steps for Amiga Capacitor Replacement
- Identify faulty capacitors
- Source high-quality replacements
- Safely remove old capacitors
- Install new capacitors with correct polarity
- Test and troubleshoot
- Regular maintenance and inspection
Why Replace Capacitors?
Capacitors are important parts of your Amiga’s motherboard. They help everything run smoothly. But after 20-30 years, they can start to fail. When capacitors go bad, you might see:
- Random crashes or freezes during games
- Weird video glitches that mess up the graphics
- Strange noises coming from your Amiga
- The computer not turning on at all
- Problems starting up or reading disks
- Unexpected shutdowns
Replacing old capacitors fixes these problems and helps keep your Amiga working well for longer. It’s also really fun to do yourself and makes you feel like a computer wizard!
What You’ll Need
Before we start, let’s get all the tools and parts ready. Here’s what you’ll need:
- Small screwdrivers
- Soldering iron and solder
- Tool to remove old solder
- New capacitors
- Rubbing alcohol and cotton swabs for cleaning
- Magnifying glass
- Anti-static wrist strap (optional but helpful)
- Small pliers
- Multimeter for testing
- Flux for better soldering
- Special tape to protect other parts
- A well-lit, clean workspace
Choosing the Right Capacitors
Picking the right new capacitors is really important. Here’s what to look for:
- Voltage rating: Should be the same or higher than the old ones
- Capacitance: Try to match the old ones closely
- Size: Make sure they’ll fit on the board
- Quality: Use good brands for better reliability
- Temperature rating: Look for ones that can handle at least 105°C
- ESR: Lower is usually better for Amiga circuits
- Lifespan: Longer-lasting capacitors are worth it
If you have an Amiga 1200, check out our Amiga 1200 capacitor list for exactly what you need.
Step-by-Step Replacement Guide
1. Prepare Your Workspace
Find a clean, well-lit place to work. Use a wooden table if you can. Organize your tools and parts so they’re easy to reach. If you have an anti-static wrist strap, put it on to protect the sensitive parts in your Amiga.
2. Open Up Your Amiga
Carefully remove the screws from your Amiga’s case. Take pictures or make notes about where each screw goes. Gently open the case and unplug any cables inside. Look at the motherboard for any obvious damage.
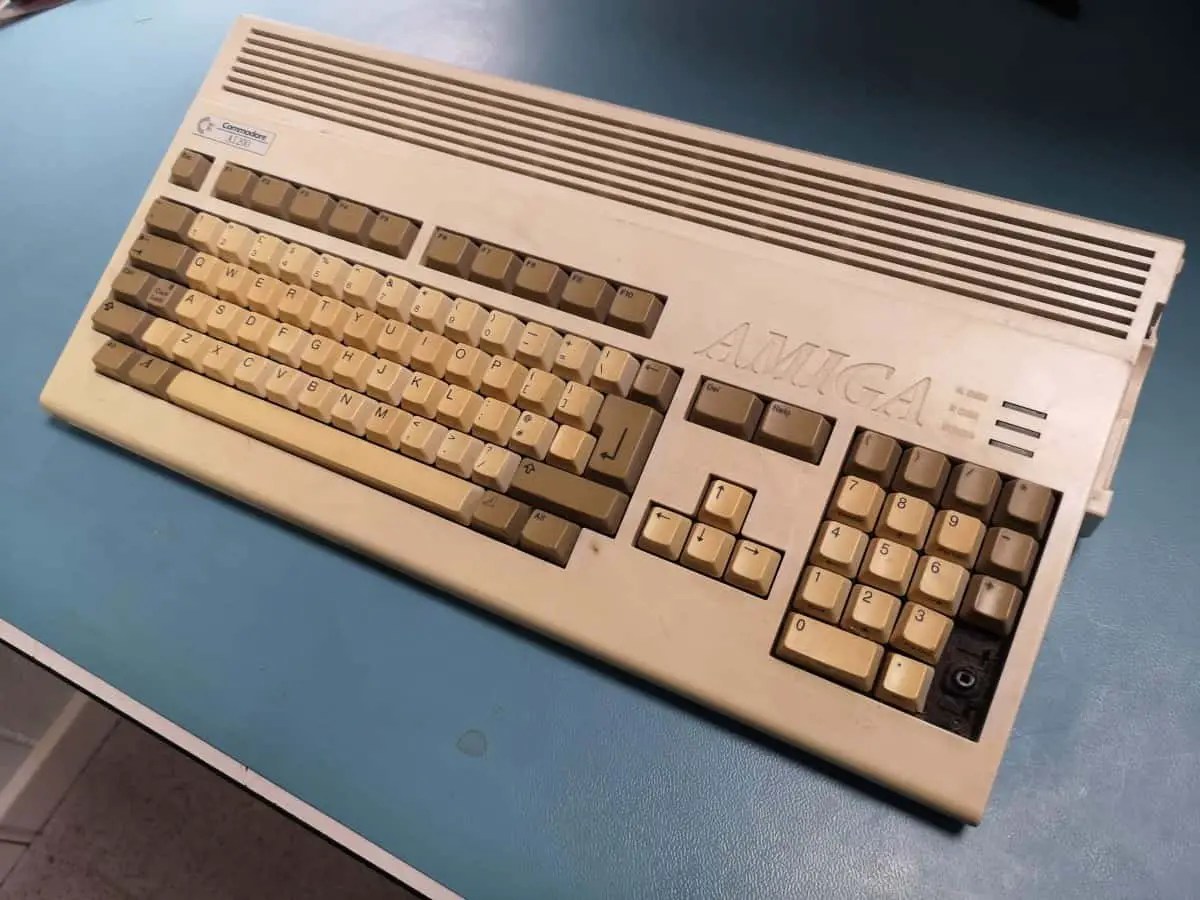

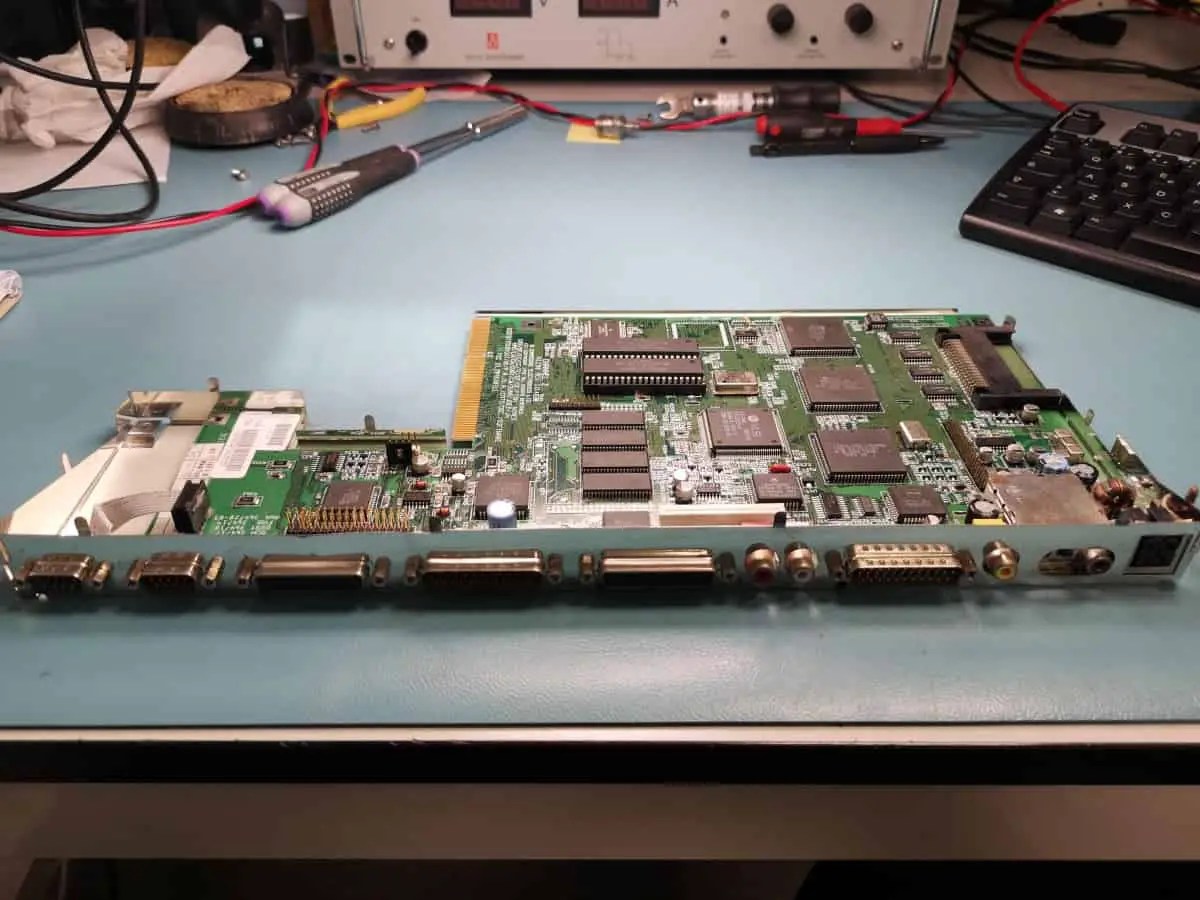
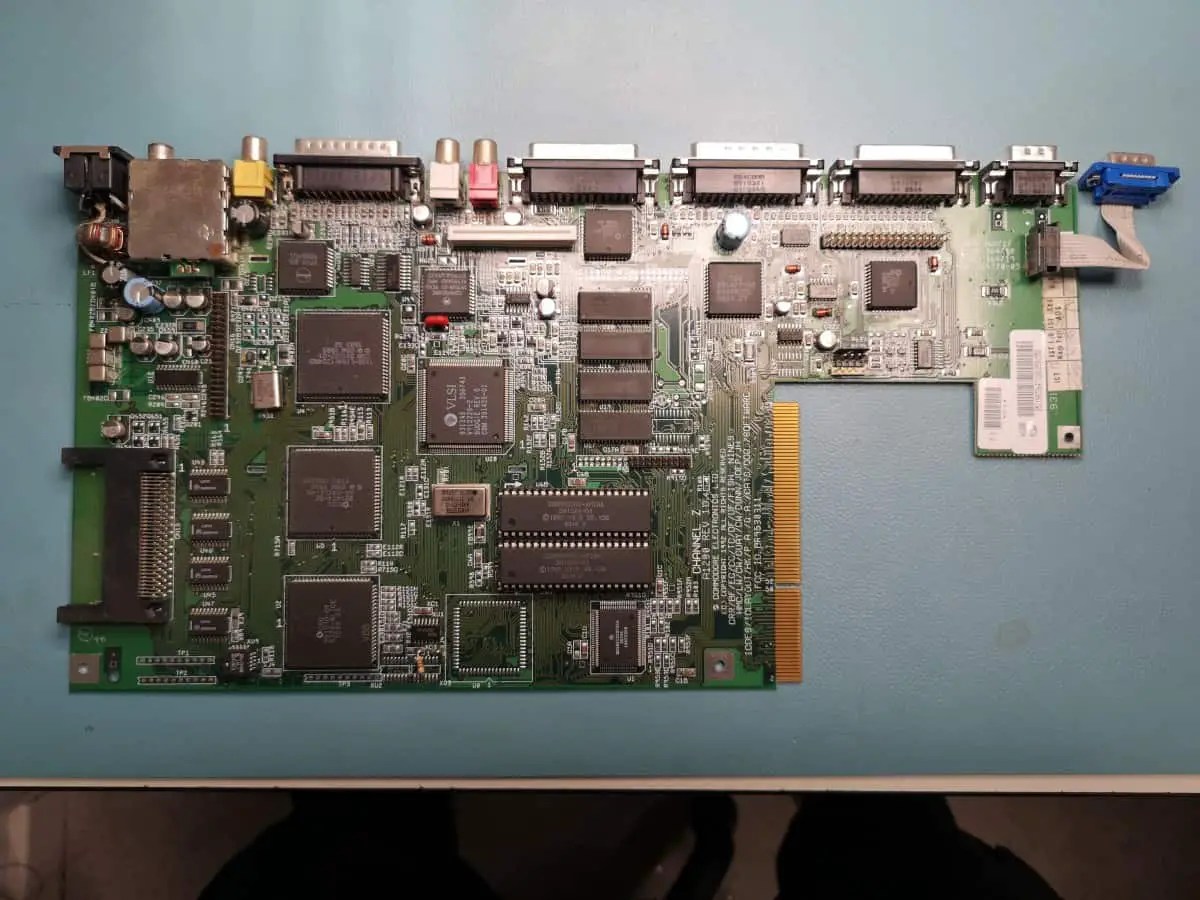
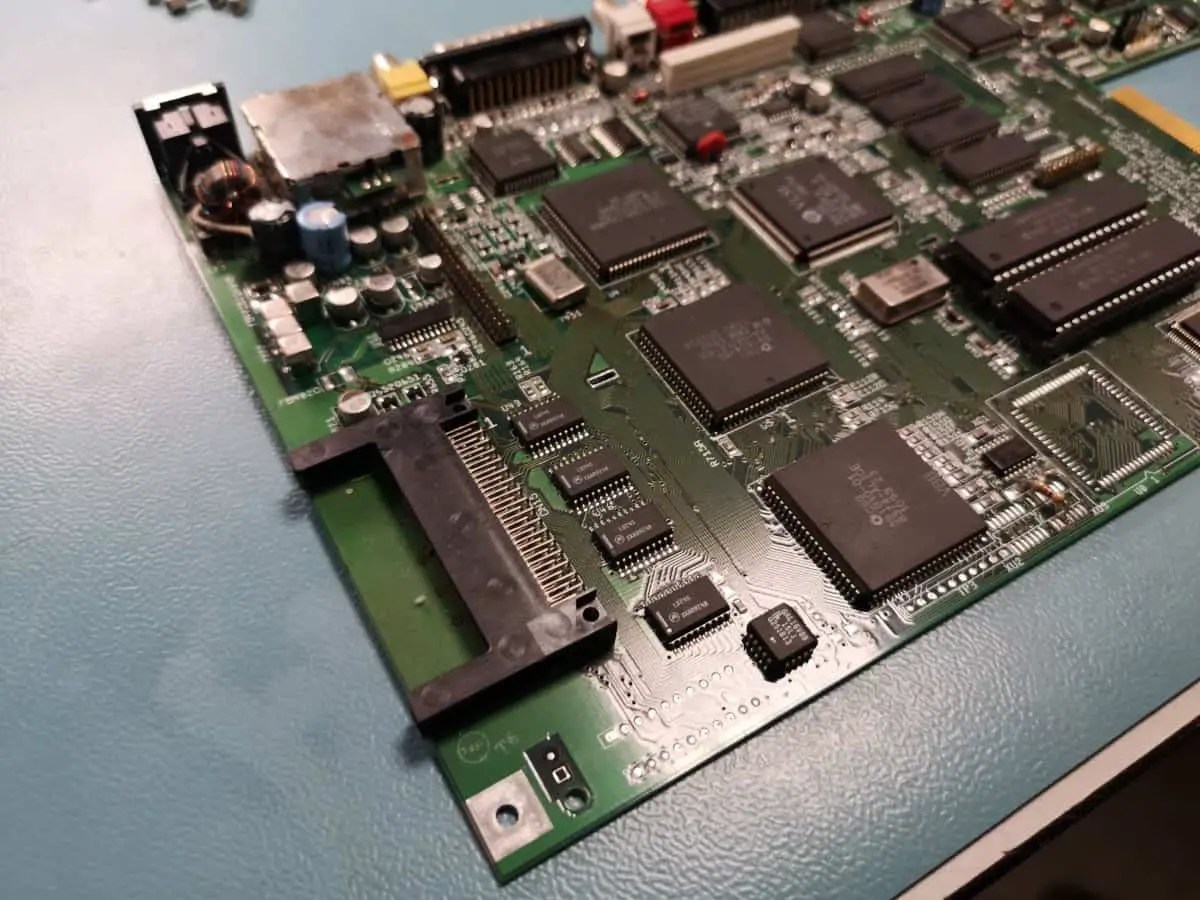
3. Identify the Capacitors
Look for small cylinder-shaped parts on the motherboard. These are the capacitors. Some might look swollen or have goo around them – these definitely need replacing. But it’s best to replace all of them, even if they look okay.
4. Document and Remove
Take clear pictures of where each capacitor is. Write down their positions and which way they face. This is super important for putting the new ones in correctly. To remove the old capacitors:
- Heat up your soldering iron
- Melt the solder on one leg of the capacitor
- Use your desoldering tool to remove the melted solder
- Do the same for the other leg
- Gently wiggle the capacitor out
Take your time and be careful not to damage the board.

5. Clean the Board
Use rubbing alcohol and cotton swabs to clean where the old capacitors were. This helps the new ones work better. Let the board dry completely before you put in the new capacitors.
6. Install New Capacitors
Now it’s time to put in the new capacitors:
- Make sure you have the right capacitor for each spot
- Check that it’s facing the right way – the longer leg is usually positive
- Bend the legs to fit the holes on the board
- Put the capacitor in and bend the legs slightly on the other side to hold it
- Solder one leg, then the other
- Trim any extra wire from the legs
Take your time and double-check each one as you go.
7. Double-Check Your Work
Before you close everything up, check your work carefully:
- Make sure all the solder joints look smooth and shiny
- Check that each capacitor is facing the right way
- Make sure nothing is touching that shouldn’t be
- Clean the board one last time
8. Reassemble and Test
Now it’s time to put your Amiga back together and see if it works:
- Reconnect any cables you unplugged
- Put the motherboard back in the case
- Put all the screws back in
- Plug in your Amiga and turn it on briefly to make sure nothing’s smoking
- If that looks good, close up the case completely
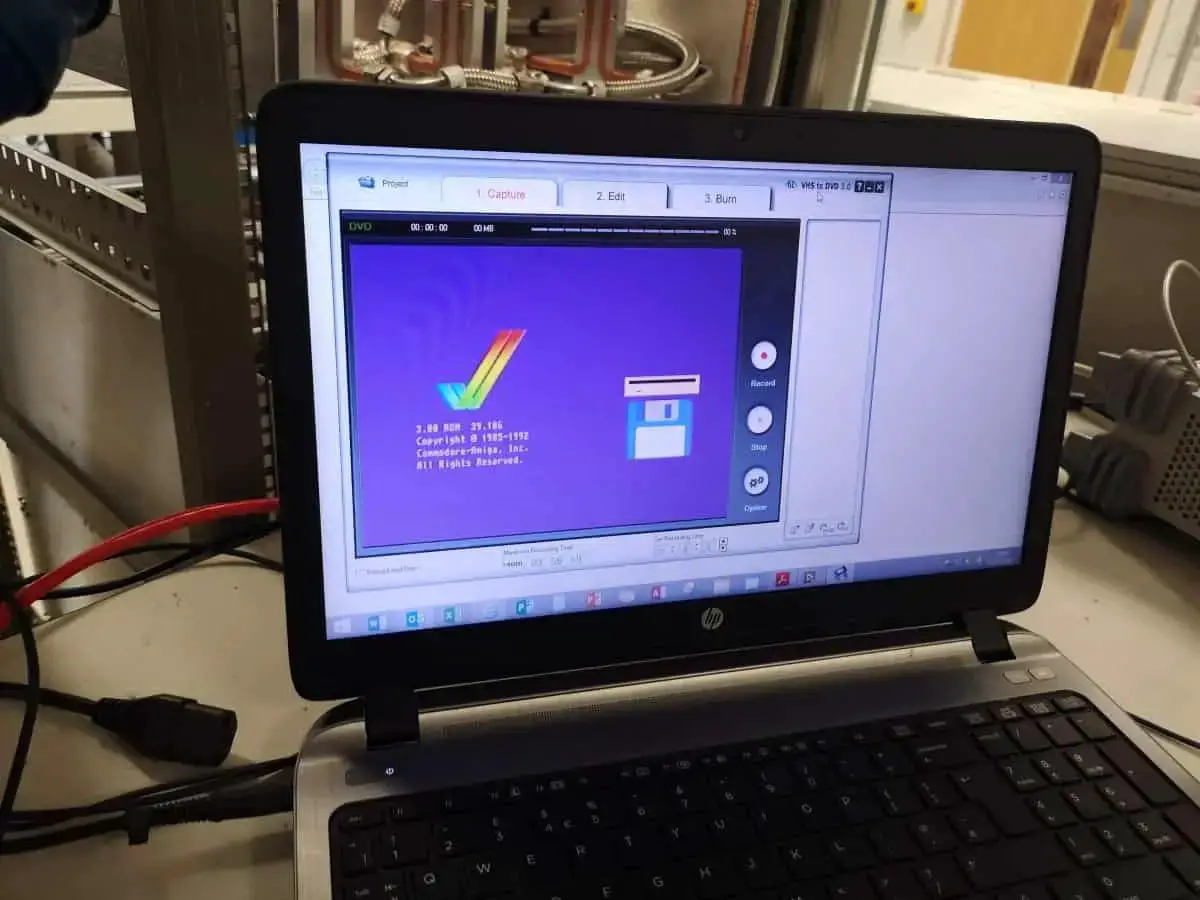
- Connect your Amiga to a monitor and test it out
If everything went well, your Amiga should be working much better now!
Wrapping Up
Great job! You’ve just fixed up your Amiga by replacing its old capacitors. This will help it work better and last longer. You’ve learned some cool skills that you can use to fix other old computers too.
Your Amiga is now ready for lots more fun with games and other cool stuff. Remember to take care of it and check on it every now and then to keep it working well.
If you want to learn more about fixing up Amigas, especially the Amiga 1200, check out our complete Amiga 1200 refurbishment guide. It has lots of helpful information for making your Amiga even better.
Have fun with your newly fixed Amiga!