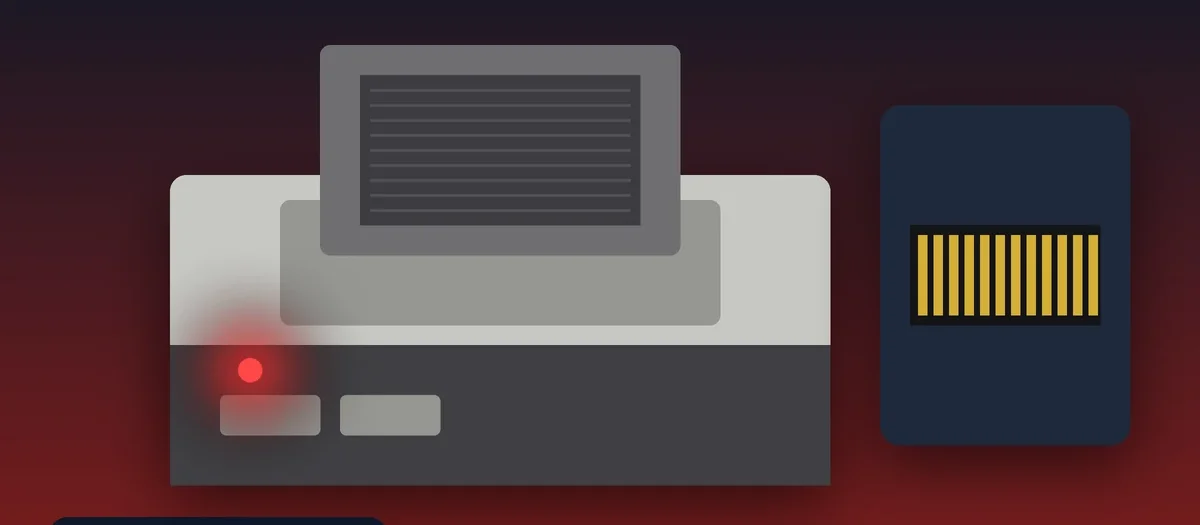
Quick answer: a blinking red power light on a front-loading NES (model NES-001) means the console’s lockout chip cannot “see” the matching chip in the game cartridge, so it resets the system about once a second. Nine times out of ten the real cause is a poor electrical connection: dirty cartridge contacts or a worn 72-pin connector. Clean the game first, then clean or replace the 72-pin connector. Disabling the lockout chip is the last resort, not the first fix.
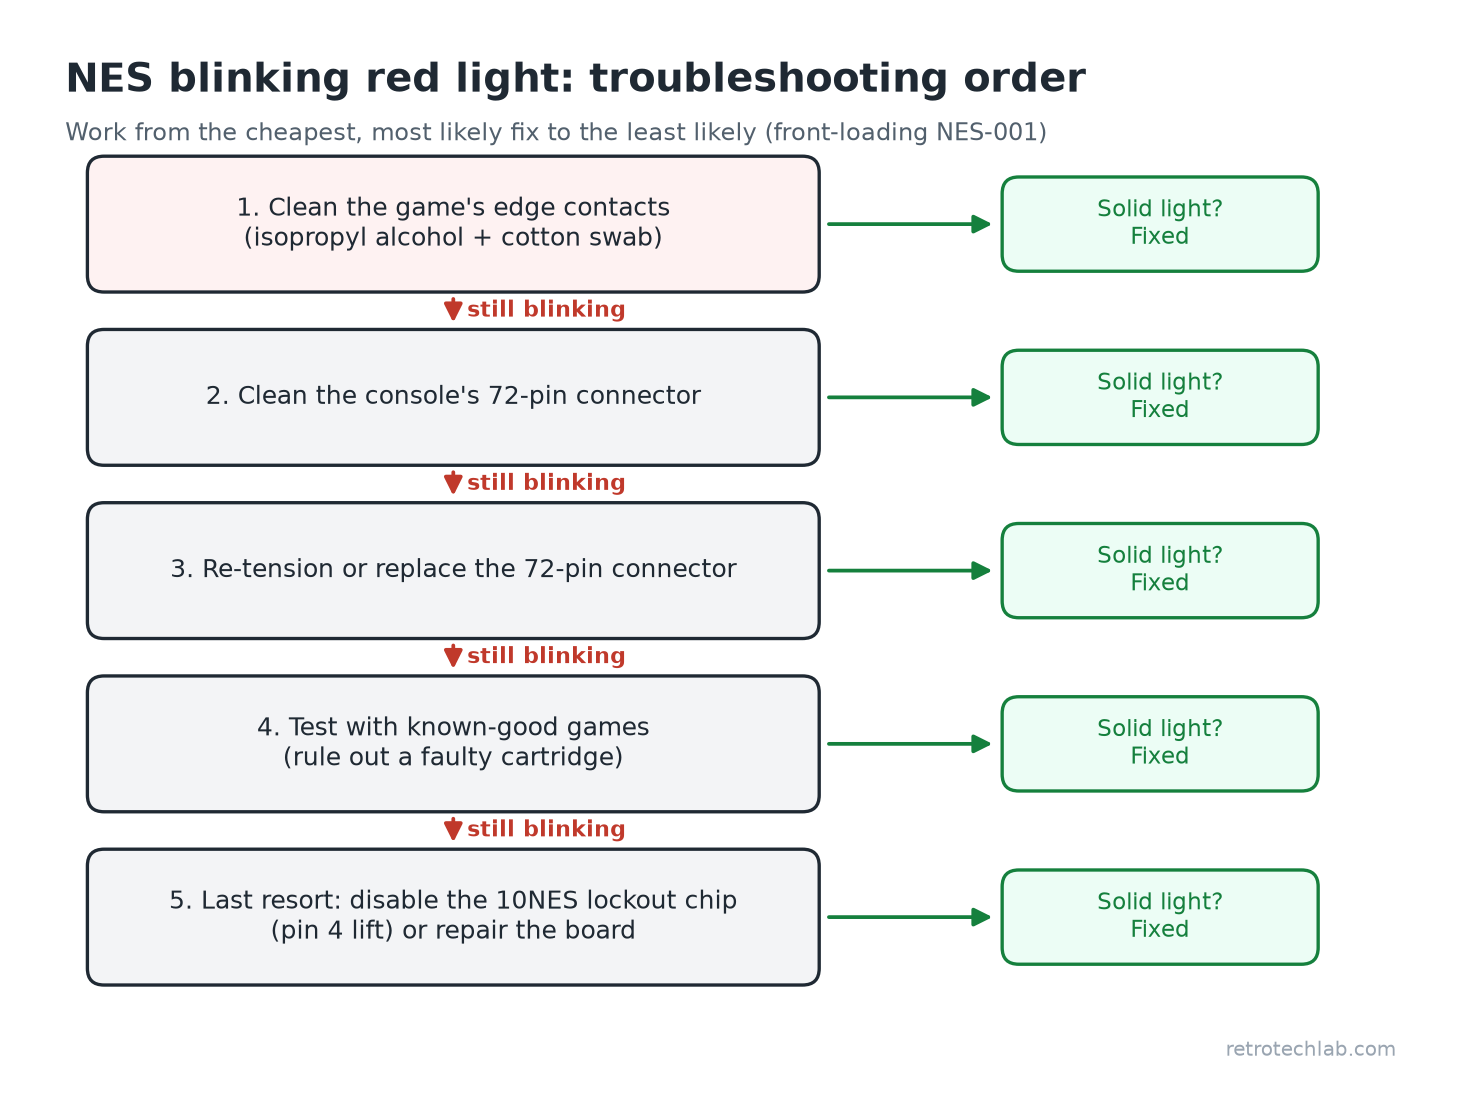
If you have ever pushed a cartridge into your NES, pressed power and watched the red light flash while the screen flickers between grey, black or garbled graphics, you have met one of the most famous faults in retro gaming. The good news is that it is almost always fixable at home with basic tools. This guide explains what is actually going on inside the console and works through the fixes in the order you should try them.
What the blinking red light actually means
Nintendo built a lockout system called the 10NES into the original NES to block unlicensed and out-of-region games. It uses two identical microcontrollers: one on the console’s motherboard (the “lock”) and one inside every licensed cartridge (the “key”). When you switch on, the two chips exchange a data stream. If the console chip does not get the answer it expects, it holds the CPU in reset and then tries again, roughly once per second. The power LED is driven by that same lockout chip, which is why the light blinks in time with the resets.
So the blinking light is not a “dead console” warning. It simply means the handshake failed. The chip in your game is almost certainly fine; it just cannot be heard through dirty or loose contacts.
Is it normal with no cartridge inserted?
Yes. With no game in the slot there is no “key” chip to answer, so a front-loading NES will blink with an empty slot. That is expected behaviour and not a fault.
Does the top-loader NES do this?
The redesigned top-loading NES (NES-101) does not have the 10NES chip at all, so it does not blink. A top-loader with a bad connection will usually just show a black or garbled screen instead.
Common causes, from most to least likely
| Cause | Typical symptom | Fix |
|---|---|---|
| Dirty or oxidised cartridge contacts | Some games blink, others work | Clean the game’s edge connector |
| Worn 72-pin connector (pins lost their spring) | Most or all games blink; works if you press the cart down hard | Clean, re-tension or replace the 72-pin connector |
| Dirty 72-pin connector | Intermittent, gets better after several tries | Clean the connector |
| Damaged cartridge chip or broken pins on a game | One specific game never works | Repair or replace that game |
| Lockout chip or other board fault | Blinks with known-good games and a new connector | Disable the 10NES or repair the board |
Before you start: what you will need
- 90%+ isopropyl alcohol and cotton swabs (avoid household cleaners)
- A Phillips screwdriver for the console
- A 3.8 mm security bit (“gamebit”) to open NES cartridges, if you want to clean the board inside a game
- Optionally, a replacement 72-pin connector
If you need them: 3.8 mm gamebit driver, high-purity isopropyl alcohol and a replacement NES 72-pin connector (check price and reviews; quality varies between sellers).
As an Amazon Associate, Retro Tech Lab earns from qualifying purchases.
Step 1: Stop blowing into your cartridges
Blowing into a game felt like it worked in the 1980s, mostly because pulling the cart out and reseating it moved the contacts slightly. The moisture in your breath does no favours to the copper contacts and helps them oxidise over time, which makes the problem worse in the long run. Nintendo itself told players not to do it. Clean instead.
Step 2: Clean the game’s contacts
- Dip a cotton swab in isopropyl alcohol, squeeze out the excess, and scrub both sides of the cartridge’s edge connector.
- Repeat with fresh swabs until they stop coming away black or brown. Very dirty games can take ten or more swabs.
- Let the contacts dry completely (a minute or two) before inserting the game.
For stubborn tarnish you can open the cartridge with a 3.8 mm gamebit and clean the bare board, which is easier to reach. A plain white pencil eraser rubbed gently along the contacts can lift light oxidation, but brush away every crumb afterwards and avoid abrasive pads or metal polishes, which can strip the thin plating.
If one particular game still blinks while others work, look closely for bent, missing or lifted contact fingers on that cartridge. That game, not the console, is your problem. Our guide to cartridge pin corrosion and cleaning goes deeper on stubborn contacts, and how to clean and maintain old cartridges covers routine care.
Step 3: Clean the 72-pin connector
The 72-pin connector is the slot your cartridge pushes into. The NES-001 uses an unusual design: you push the game in, then press it down, and the connector clamps onto both the cartridge and the motherboard edge. Decades of use flatten its spring contacts and fill it with dirt.
You cannot reach the connector’s contacts properly from the slot, so for a real clean you need to open the console:
- Unplug the power and AV/RF cables.
- Remove the six Phillips screws on the underside and lift off the top shell.
- Remove the screws holding the metal RF shield and the cartridge tray, then lift the tray and connector assembly out.
- Slide the 72-pin connector off the motherboard’s edge. Note which way round it fits.
- Clean both rows of pins with isopropyl alcohol and a small brush, and clean the motherboard’s edge contacts with a swab.
- Let everything dry, then reassemble and test with a game you have already cleaned.
Step 4: Re-tension or replace the 72-pin connector
If a clean connector still needs you to push the cartridge down hard to make it work, the pins have lost their spring. You have three options:
Option A: Bend the pins (free, but fiddly)
Some restorers carefully lift each contact slightly with a small flat tool so it presses harder on the cartridge. It can work well, but it is slow and easy to overdo; a pin bent too far can snap or short against its neighbour.
Option B: The “boiling” method
You will see guides that boil the bare plastic connector in water to relax and reset the pins. Results are mixed and opinions are divided. If you try it, remove the connector fully from the console, never boil anything still attached to the board, and dry it thoroughly before refitting.
Option C: Fit a replacement connector (easiest)
New aftermarket 72-pin connectors are cheap and simply slide on in place of the old one. They grip much more tightly, so carts can feel stiff at first. Some brands have a reputation for gripping very hard or for poor quality, so read recent reviews before you buy. A refurbished original connector is another option if you can find one from a reputable seller.
Step 5: Disable the 10NES lockout chip (last resort)
If the console still blinks with clean, known-good games and a good connector, you can disable the lockout chip so it never resets the console. The best-known method, documented on the ConsoleMods wiki, is to cut pin 4 of the CIC chip on the motherboard (marked “CIC” near the RF/power area) at its base, lift it, and wire it to ground. A “two-wire” method that bypasses the chip altogether is also widely used.
Know the trade-offs before you do it:
- The power LED behaviour changes (it may stay off or behave differently depending on the method), so you lose the visual warning.
- It does not fix a bad connection. If the contacts are poor, the game may now boot and then crash or glitch, and badly connected games with battery saves can have their save data corrupted.
- A handful of unlicensed games that used voltage spikes to defeat the lockout are reported to run hot on a modded console.
- As a bonus, a disabled lockout lets the console run games from other regions, though some still will not work properly because of PAL/NTSC differences.
Still blinking? Other things to check
- Try several known-good games. If none work after a new connector and cleaning, the fault is on the motherboard.
- Power supply: a weak or wrong adapter can cause odd behaviour. The NES-001 originally used a 9 V AC adapter in North America; check the rating on the label of the one you are using.
- Board damage: look for corrosion, burnt components or broken traces near the connector and the CIC chip. Our guide on common retro console problems covers wider diagnostics.
Once your console boots reliably, you will probably want it looking good on a modern screen; see how to connect a NES to a modern TV. If the shell has gone yellow, our guide to restoring yellowed NES consoles explains the options, and if you are buying or selling, the NES price guide shows what working consoles are worth.
FAQ
Why does my NES blink red with no game in it?
That is normal on a front-loading NES. With no cartridge there is no lockout chip in the slot to answer the console, so it keeps resetting and the power light blinks.
Will blowing on the cartridge fix a blinking NES?
Not properly. Reseating the cart is what sometimes helps, while the moisture from your breath encourages corrosion. Clean the contacts with isopropyl alcohol instead.
Is a new 72-pin connector worth it?
Yes, if cleaning does not help and games only work when you press them down hard. A replacement is cheap and slides on without soldering, but read recent reviews because quality varies.
Does disabling the lockout chip fix the blinking?
It stops the reset loop, but it does not fix a dirty or worn connector. Games can still crash or corrupt saves if the connection is poor, so fix the contacts first.
Does the top-loader NES have the blinking light problem?
No. The NES-101 top-loader has no 10NES lockout chip, so it does not blink. A bad connection on a top-loader usually shows a black or garbled screen instead.
Why does only one game blink?
If other games work, that cartridge has dirty, damaged or missing contacts, or a faulty chip inside. Clean it thoroughly and inspect the contact fingers.